


How to Convert 8mm to Digital Format (5 methods)
Discover the 5 easiest ways to convert your old 8mm of Super 8 films to digital in order to safeguard and enjoy all your memories for years to come.
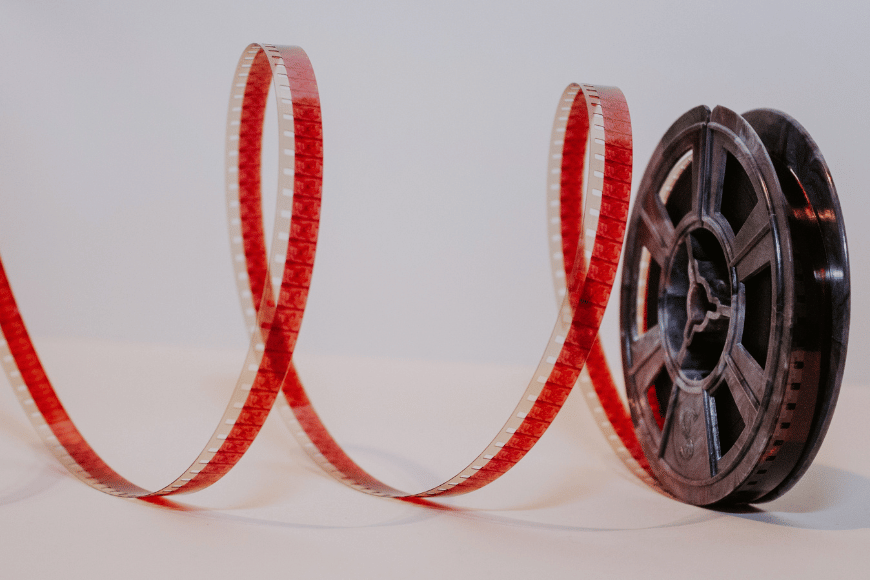
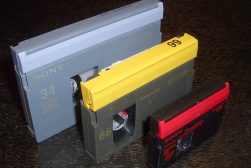
8mm and Super 8 have been some of the most popular video formats for a long time.
So it’s not surprising people still want to learn how to convert 8mm to digital format.
If you have a cherished collection of 8mm or Super 8 tapes filled with precious memories, you should preserve them for posterity.
In that case, you’re in the right place.
In this article, I’ll show you how to convert 8mm and Super 8 to digital, be they clips of birthdays, anniversaries, or weddings.
I’ll discuss the best DIY methods, professional services, and tips to get the best out of your films.
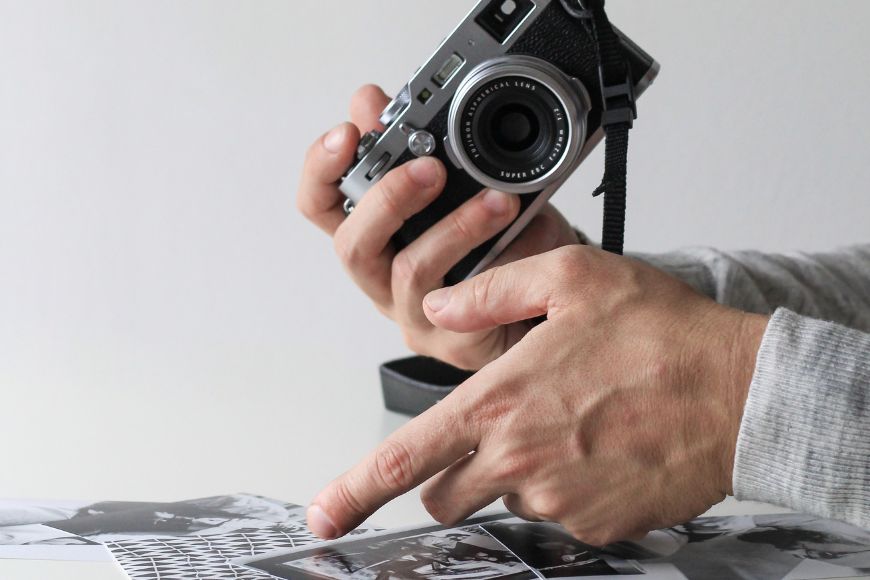
If you’re a fan of film photography, you might also like to read our guide to converting negatives to digital pictures.
Table of Contents
How to Convert 8mm Films to Digital Videos
You have several options when it comes to 8mm conversion. Below are the three methods I use and their pros and cons.
Converting 8mm Film to Digital Yourself Using Camera
Recording the film using modern cameras is the most affordable alternative to transform your film memories. It’s a simple process that wouldn’t require special equipment or knowledge.
You’ll need a camera to do this method. You can use your smartphone’s cam or a DSLR video camera, whichever you prefer.
Apart from the camera, you’ll also need an 8mm film projector, a smooth white wall, a tripod, a table, and a dim room.
Here’s how you do it:
- Set up your 8mm film with your film projector.
- Clean the projector screen before aiming it at the white wall.
- Prepare your camera and tripod next to the projector.
- Next, turn on your projector and ensure your camera captures the desired frame.
- Hit record on your camera and play on the projector.
Always test your camera angle before recording. Stabilizing and proper positioning ensure you capture the film reel properly.
After converting your film to a digital video format, save it to your PC for secure safekeeping. You can also use video editing software to improve aspects like picture clarity.
Pros
One advantage of film transfer using a camera is that it’s affordable. It’s easy to do on your own without investing in expensive equipment.
Cons
The primary disadvantage of this method is that it can’t recreate your original film’s quality. It’s quite time-consuming for people with multiple 8mm films to convert.
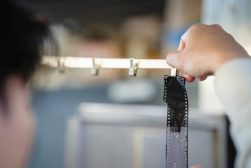
Convert 8mm Film to Digital by Scanning Frame-by-Frame
Scanning films frame-by-frame is just as it sounds. It means scanning the film’s frames individually, compiling them into a video file, and playing them back.
You’ll need a DSLR camera, an 8mm film projector, a tripod, a dim room, a black cloth, and lots of patience. You might also need a DSLR lens adapter to filter your adapter’s light output.
That said, it’s worth noting that this method involves intricate steps. So, it’s best for people who know their way around film projectors and DSLR cameras.
Follow these steps:
- First, set your film projector on a stable table.
- Place the camera facing the projector lens head-on but at a distance that captures the entire film frame.
- Turn the camera on, then drape a dark cloth covering the camera and projector lens.
- Switch the light off and adjust the camera settings accordingly.
- Finally, thread your 8mm film and start capturing with your camera.
Use editing software to import your digitized photos. Create a timeline, edit the quality, and export your video.
This method will deliver higher-resolution videos than recording projections off a wall. Using DSLR cameras also reduces graining, capturing each frame with crisp clarity.
Pros
Scanning frames is an affordable method. With the proper equipment, the resulting video will be far more accurate than recording the film as it plays.
Cons
You can expect higher quality, but the output won’t be the best. Capturing each frame also takes a lot of time and patience.
Convert 8mm Film to Digital At Home with a Transfer Machine
Using a transfer machine or a digital converter is another excellent method. These devices are made specifically for digitizing 8mm and other analog content with a click of a button.
Transfer machines come with a camera, a film projector, and a special mechanism to record your reels. They record the film strip directly to produce videos with superior quality than manual capturing.
There are several transfer machines and converters you can purchase. However, they can be expensive, costing between $300 and $400.
Here’s how you operate a transfer machine:
- First, set up your device in a dark room.
- Then, load the roll of film carefully into the designated slot.
- Follow the threading instructions to prevent misalignments and glitches.
- Check the camera alignment for the best capture.
- Hit start and wait until the device completes the transfer.
Some transfer machines have camera settings, such as exposure and sharpness. So, adjust the device camera according to your preference to get your desired results.
After transferring, you can save your converted file to USB flash drives or DVDs.
Pros
The main benefit of digital converters and transfer machines is that they produce better video quality. They’re also efficient compared to other DIY 8mm conversion methods.
Cons
One disadvantage of this technique is it requires technical knowledge. And a digital converter doesn’t come cheap, especially those that produce the best results.
Professional Service to Convert 8mm to Digital Format
Of course, you can always hire professionals to do the job for you. After all, they have the equipment, knowledge, and experience you can rely on.
Digital professionals guarantee the best results out of your treasured 8mm or Super 8 films. It saves time and effort and reduces the risk of damaging your footage.
Here are some of the digital conversion services available nationwide:
1. Convert 8mm to Digital Costco DVD
Costco’s Photo Center is a reputable name for any digital services. They convert old video formats, such as VHS tapes and other mediums, to DVDs.
Costco offers transfer services for virtually every type of tape. It includes Betamax, VHS-C, HI-8, Digital8, DVC, DVCAM, DV, and 8mm.
Converting your tapes in Costco is affordable, too. Their pricing starts at $19.99 for two tape recordings with up to two hours of video content.
You can avail of Costco’s video-conversion service through their official website. Or you can drop your 8mm films at the nearest Costco branch.
2. Convert 8mm Film to Digital Walmart
Walmart, the country’s leading retailer, provides services for digitizing your films. And like Costco, they can transfer virtually every tape format, including 16mm and 8mm.
Walmart transfers a single videotape for as little as $12.96 as long as the footage doesn’t exceed 30 minutes. Plus, they offer discounts for multiple tape conversions.
You also get several storage options.
You can get your digitized copy online through MemoryCloud Online Access. Or you can order USBs or DVDs for more convenient access.
Availing Walmart’s services takes three steps: creating your order, sending your tapes, and receiving your copy. The turnaround time is typically around three to five weeks.
Why Should You Convert 8mm to Digital Format?
Modern technology has provided us with convenient ways to capture and store memories. We have precise cameras and the safest methods of storing digital files.
However, this wasn’t always the case.
People back in the day used films with different frame sizes to record events. And while they allowed amateur filmmakers like us to capture important moments, you can’t keep them forever.
For one, film degrades with time. External elements can harm the film material, leading to loss of image quality or irreparable damage.
Additionally, film projectors to play film formats are becoming increasingly scarce. This issue makes replaying 8mm or Super 8 films in this period difficult.
Converting 8mm or Super 8 films to digital download, DVD copy, or USB thumb drive solves these problems.
Digital copies ensure that your stored footage is safe from degradation. It lets you replay and share film memories with friends and family whenever and wherever you want.
Frequently Asked Questions (FAQS)
Can You Transfer 8mm Film to DVD?
Yes, you can transfer 8mm tapes to DVD. You can do this at home using 8mm tape converters or hire professional services.
The price of tape converters ranges between $200 and $300. On the other hand, professional conversion services cost $10 to $20, depending on your film’s length.
How Much Does It Cost to Convert 8mm Film to Digital?
The total cost of converting your 8mm films to digital will depend on several factors. The number of tapes and their lengths can considerably affect your bill.
You can save money if you have the equipment for DIY conversions. Otherwise, you could spend hundreds of dollars on a camera, film projector, and digital converter.
If you prefer to have your 8mms converted professionally, you can always opt for Walmart or Costco. You’ll pay $10 to $20 for each tape, but it ensures you get the highest quality.


Jeff Collier is an experienced film photographer who enjoys experimenting with modern digital photography equipment, software and apps. He’s also an ex-world champion triathlete and avid cyclist, clocking hundreds of km each week in the beautiful Tweed Valley of northern NSW, Australia.

WELCOME TO SHOTKIT
Enter your email to be sent
today's Welcome Gift:
19 Photography Tools
🔥 Popular NOW:


Shotkit may earn a commission on affiliate links. Learn more.