


How to Choose & Use a Polarizing Filter
Master the art of capturing vibrant visuals with our guide on how to pick and utilize a polarizing filter for enhanced, reflection-free photos and video.
Learn | By Judyth Satyn
This is a guide to how to choose and use a polarizing filter.
Polarizing filters are incredible tools and are worth experimenting with, whether you’re taking photos or shooting video.
Polarizing lenses subdue unwanted reflections and negate glare. Dull scenes will suddenly pop with vibrant life.
Read on for tricks and tips on how to use a polarizing filter to capture stunning photos.
Table of Contents
What Is a Polarizing Filter?
If you buy one camera lens filter for your photography or filmmaking, make it a polarizing filter.
It instantly improves scenes by increasing contrast and adding vividness. Plus, it can remove glare, reduce reflections and eliminate haze.
Ever worn a pair of polarized sunglasses? Suddenly, the sky illuminates, and the clouds pop with contrast.
A polarizing filter has the same effect on the photographic scene.
The filter is made from rotatable optical glass and attached to the camera lens.
You can adjust the polarizing effect by rotating the filter.
The polarizing filter blocks light waves that vibrate in one direction from entering the lens.
While permitting light waves that vibrate in a different direction to pass through.
By doing this, it can reduce glare and reflections or enhance colors.
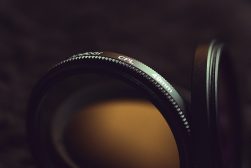
Why do photographers use polarizing filters?
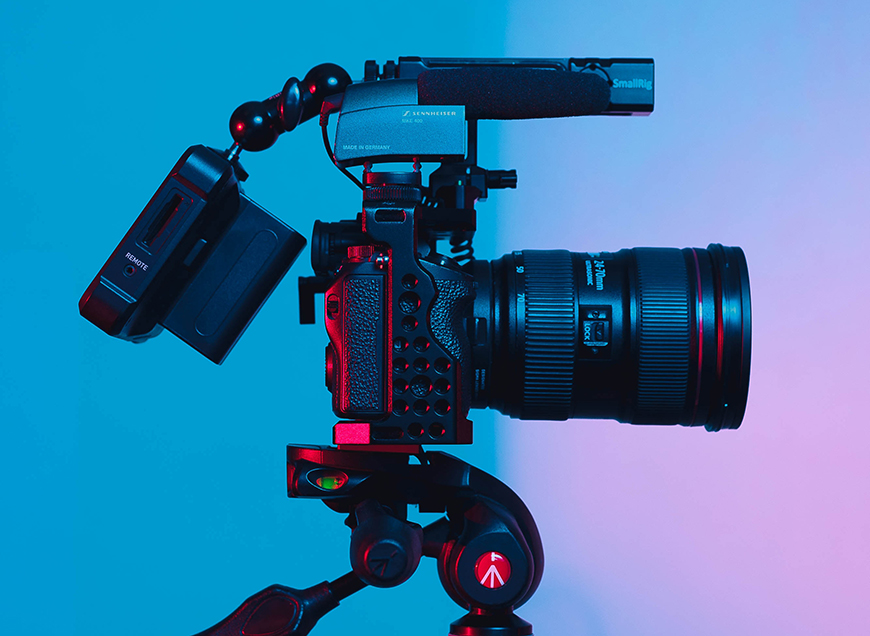
Credit: Sirisvisual
Many product, architecture and landscape photographers won’t be caught photographing without a polarizing filter.
There are many advantages to using a polarizing filter. Firstly it gives photographers added control over their image results.
Product photographers can use a polarizer to cut down on reflections in photos. This includes reflections on glassware, phones and jewellery.
When photographing glass, the reflections can be difficult to avoid—removing reflections when editing is time-consuming and difficult.
Using a polarizing filter, the light reflecting off the glass can easily be removed or softened.
Polarizing filters will dramatically improve landscape photos by reducing glare and escalating vibrancy.
A polarizing filter can cut down on scattered light from the sky and haze in the distance.
Faraway hazy mountains will become visible, clearer and sharper.
Dull grey clouds will be illuminated, literally popping out of the sky.
When photographing bodies of water, a polarizing filter can eliminate reflections.
Like magic, photographing the rocks at the bottom of a riverbed is possible.
To replicate the effects of a polarizing filter post-production would be nearly impossible.
There are many benefits for photographers who learn how to master polarizing filter techniques.
How do videographers and film-makers use polarizing filters?
Similar to photographers, videographers and filmmakers utilize polarizing filters for various reasons:
- Eliminate distracting reflections in dynamic scenes
- Enhance the contrast between skies and clouds for more dramatic outdoor sequences
- Boost color saturation for a richer visual narrative
- Reduce haze for clearer long shots.
- Capture clearer underwater footage by minimizing surface glare.
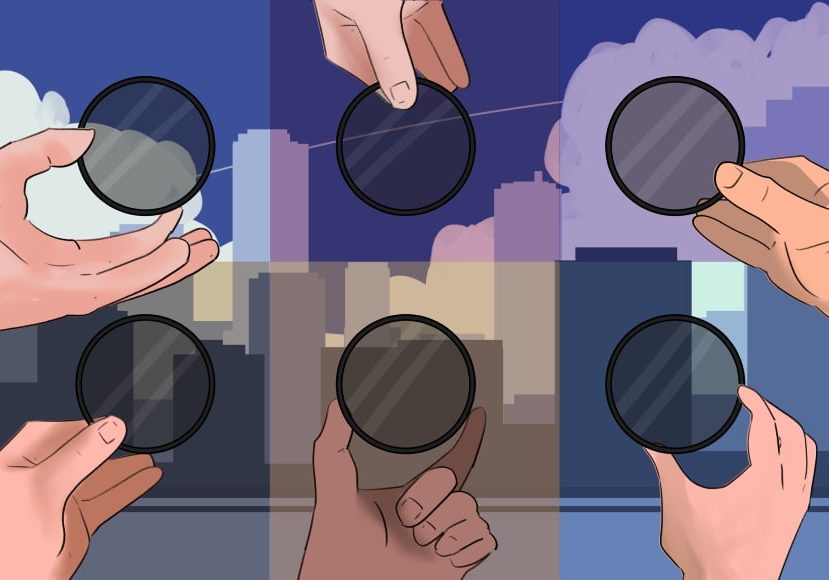
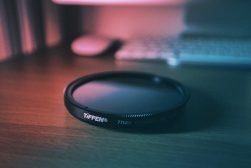
Types of Polarizing Filters
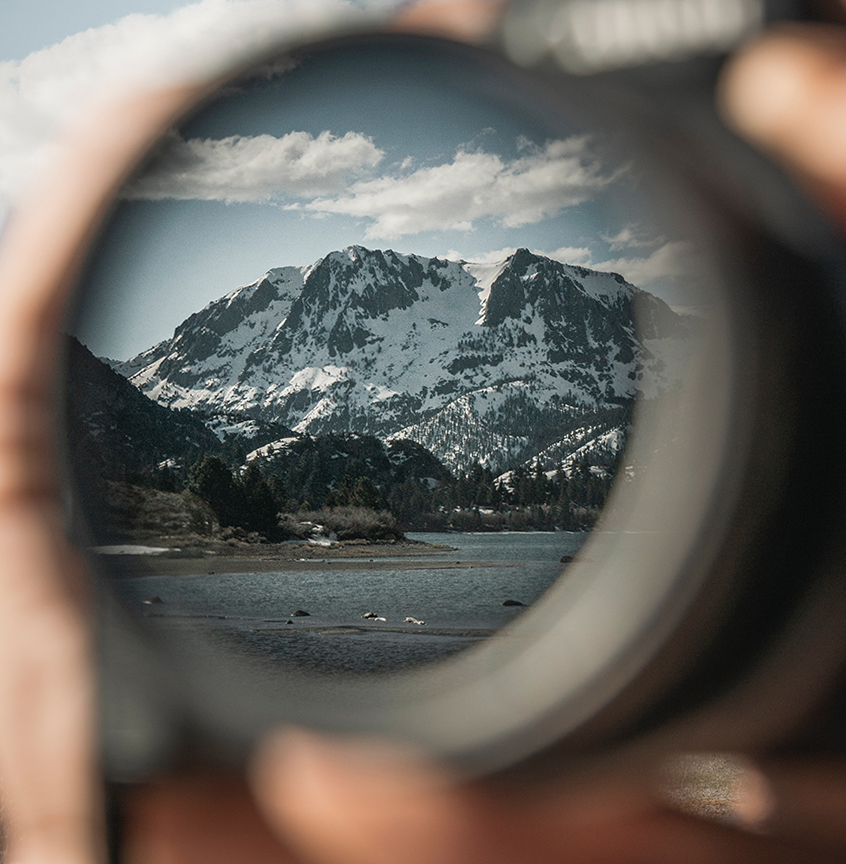
Image: Yann Allegre
There are two main types of polarizing filters photographers use today.
They are the linear polarizing filters and the circular polarizing filters.
They both screw into the front of the camera’s lens and are circular in shape.
Both filters generate similar effects, enhancing contrast while reducing glare and reflected light.
The circular polarizing filter is a more advanced version of the linear filter. It uses an extra filter layer to convert linear polarized light into circular polarized light.
The circular polarizing filter is also called CPL filter. It is the most popular filter today because it doesn’t disrupt the camera’s sensor.
Both filters have a darkening effect on the image and will require at least a stop of light.
Linear polarizers were traditionally used with analogue SLR cameras.
However, they are less in demand today because they aren’t compatible with all DSLRs.
They interfere with DSLR’s metering system and autofocus function.
The reason they affect the camera is because they change the way light reaches it’s sensor.
If you use a DSLR camera, the best filter choice is a CPL. To make sure your camera’s functions won’t be affected.
You can use either type of filter if you have an analogue camera.
Polarizing Filter Sizes, Shapes and Compatibility
“]Lens Size and Shape
Polarizing filters are available in a range of different diameter sizes. There will be a filter size to match each lens size.
The lens filter’s thread size usually determines the size of the polarizing filter.
Make sure to check when you are buying a polarizing filter that its size matches your lens.
The most common lens sizes are between 67mm, 77mm and 82mm.
You can find a lens’s filter compatibility size in its specifications or on the front of the lens.
Both polarizing filters are circular. Even though the linear polarizing filter is named linear, it is still circular.
Step-Up and Step-Down Rings
Photographers can use step-up or step-down rings to attach polarizing filters.
Using a step-up or step-down ring allows you to use a filter with different-sized lenses.
A step-up ring can attach a polarizing filter with a larger thread than the camera lens.
For example, a 77 mm lens and 82 mm filter can be combined using a 77 mm to 82 mm step-up ring.
A step-down ring will combine a smaller-sized filter with a larger lens.
This means you don’t have to buy lots of polarizing filters if you have different-sized lenses.
Instead, save yourself money by purchasing step-up rings, and use one filter for all your lenses.
Compatibility
When the polarizing filter’s thread matches the lens’s thread, they will be compatible.
Usually, lenses display the compatible filter size on the lens body. It will be a number displayed in mm.
If you want your filter to be compatible with multiple lenses, buy the largest size filter.
You can then purchase step-up or step-down rings to attach the filter to all the lenses.
Linear filters are not compatible with all modern DSLRs. They affect their camera sensor and metering system.
Circular polarizers are compatible with all SLR cameras.
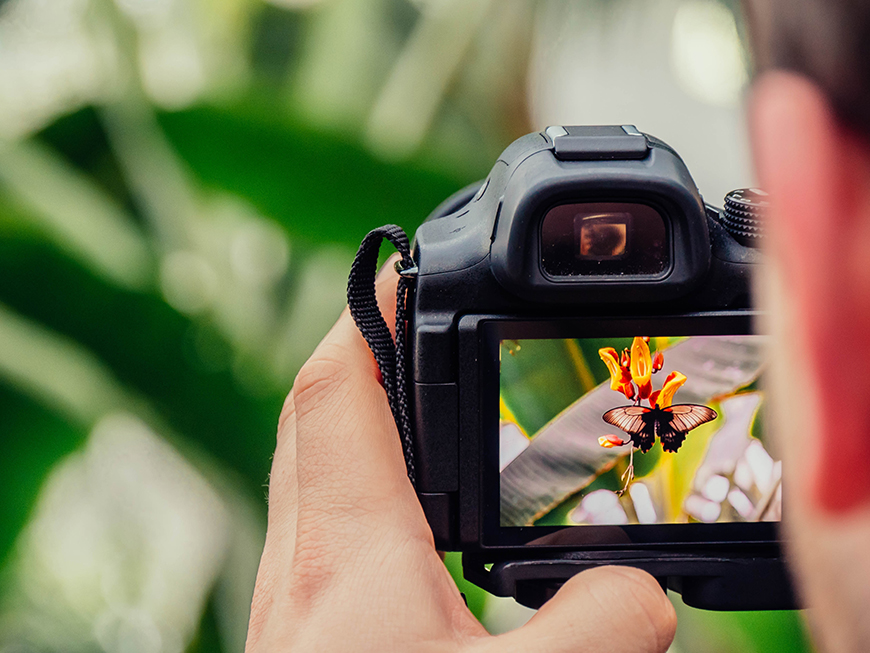
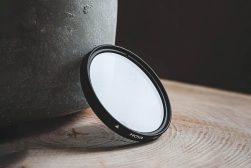
Image: Jamie Street
Quality matters when choosing a polarizing filter
A low-grade polarizing filter will interfere with image clarity.
The light polarisation will not be consistent, resulting in visible optical disruptions.
Because they are made with low-grade materials, they will also be more prone to wear and tear.
The accumulation of tiny scratches and marks will adversely affect your image result.
The best option is to invest in a superior-quality polarizing filter. It might cost more at first, but it will be worth it.
A quality filter will be less prone to producing flares or unwanted effects.
This includes when you are shooting in challenging light conditions.
It will give consistently reliable results in comparison with a low-grade polarizing filter.
They are made with superior materials, are durable, and are less prone to scrapes.
Multicoated and single-coated filters
Multicoated and single-coated refers to the number of coatings applied to a polarizing filter.
Coatings are added to a filter to produce the filter’s optical performance.
Multicoated filters, true to their name, have several coatings applied.
Single-coated filters are coated once on each side of the filter glass.
Multicoated and single-coated filters will generate different optical results.
The single-coated filter will have a softer polarizing effect than the multicoated filter.
It does not entirely eliminate glare and reflections. This can be useful when you want to achieve a reduced polarizing effect.
Multicoated filters have increased light transmission. In low light conditions, this will improve image clarity.
They are more effective at reducing reflections and producing higher contrasting effects.
The multicoated filter is more expensive, but it is also more durable and powerful.
There is a diverse range of reputable polarizing filter brands.
Some are better known for value for money, others for a superior product.
Brands such as Lee Filters, Marumi, HOYA, and Nikon are some of the best-known and most reliable filter brands.
When Should You Use Polarizing Filters?
The visual effects of a polarizing filter are incredible.
Here are some areas in which they have the greatest visual impact.
Reducing Glare and Reflections
Who doesn’t want to gaze into the depths of the mysterious lake? Hidden under the water’s reflective glare.
Polarizing filters are like magic erasers, removing unwanted reflections and achieving the impossible.
Normally when photographing bodies of water, the camera lens will capture reflections.
Using a filter, you will be able to photograph past reflections and see below the surface of the water.
When shooting images of glass, a polarizing filter is priceless. It achieves what no other editing tool can.
It reduces glare and reflections, which is essential for product photographers.
Arranging the correct lighting to reduce glare on glass can be tricky. Removing reflections post-product is a tedious and time-consuming task.
In comparison, a polarizing filter removes glare and reflections effortlessly.

Credit: Andrew Ly
Enhancing Sky and Clouds
Polarizers have an incredible knack for deepening the saturation of blue skies.
A light blue sky will pump with dark vivid vibrance.
They make clouds pop by reducing haze and increasing contrast.
The filter needs to block vertically polarized light to get the best result.
By looking at the filter, you won’t know which direction of light it is blocking.
The only way to know what direction of light the filter is blocking is to view the image results.
Rotate the lens and view how it affects the sky’s colors. Are the colors more enhanced?
The polarizer won’t work when pointing directly at the sun. So it isn’t advisable to use when photographing sunrises or sunsets.
The optimum angle is when the camera is pointed at a 90-degree angle from the sun.
An easy way to find the right angle is to point your finger at the sun while extending your thumb.
Where your thumb points will be the best direction to photograph the sky and clouds.
The polarization will vary due to the camera’s angle from the sun and the rotation of the filter.
Experiment with different locations, angles from the sun and filter rotations.
If there is absolutely no polarizing effect, even when you twist the filter, it might be due to the sun’s position.
Check the sun isn’t directly behind or in front of you.
If you are using using a wide-angle lens, the results will be sporadic and inconsistent.
To achieve the best results, use a standard lens.
Boosting Color Saturation

Credit: James Wheeler
Have you ever wondered why landscape photographers always produce such incredible colors?
Their secret is they are most likely using polarized filters.
If you want to maximize color vibrancy in your images, use a multicoated filter.
The multicoated filter will give the most powerful results. The colors will roar from the photo with life.
Dull, flat scenes will have an injection of much-needed saturation and contrast. Colors will be beautifully intensified.
Don’t forget to rotate the filter to adapt the polarizing effect.
Another thing to note is that polarizers will decrease the light that enters the camera by one to three stops.
After all, light absorption is it’s job! Due to the loss of light, using a tripod when photographing might be a good idea.
Controlling Haze
Polarizing filters are effective at reducing atmospheric haze in distant scenes.
Landscape images take on an extra dimension, no longer masked by a layer of haze.
The reduction of reflection from haze increases the dynamism and contrast of the scene.
Distant mountains, clouds, and horizons previously engulfed in haze will be visible.
Highlighting Foliage
A polarizer can highlight and increase color saturation of foliage.
Diffused light becomes more apparent as the polarizer reduces the reflections on foliage.
This results in the amplification of saturated colors and rich greens of foliage.
Adjust the filter for the best results when photographing forests and nature.
The polarization filter will reduce the camera’s light intake, so pack a tripod.
How to Use a Polarizing Filter Creatively
A simple little polarizing filter can make a significant impact on your photos.
Harness the creative potential of a polarizing filter and use it to your advantage.
Revealing glorious lake beds and colorful fish hidden under unwanted reflections.
Or enhance the vibrant colors of the background scene of a portrait.
Artistic Effects
Have a lust for creative ventures. I certainly do. When I first discovered the polarizing filters, I was addicted.
All photos I took had high saturation and intense contrast. Glare effects were welcomed in photos.
Looking back at my polarisation photos, I can see they certainly aren’t all works of art. Not even technically savvy.
But if there is one thing that obsession is good for, it is exploring and understanding techniques.
If you want to get the most out of your polarizing filter, try it in all situations and all locations.
I achieved some incredible results shooting tea cups and the light from the window in my kitchen.
An interesting technique to play with when using a polarizer is multi-exposure shots.
Overlay different filter effects in one frame, such as sun glares and vivid sunsets.
Portraits and Beyond
An unconventional use for polarizers is to snap portrait photos when using one.
Try it! You will find they offer some interesting results.
Instead of using layers of concealer, a model’s skin shine can be reduced using a polarizing filter.
Skin shine is simply a reflection of light. When using a polarizer, the skin will look slightly matte.
The filter will enhance the colors of clothing, makeup and hair. Making them come to life with vibrancy.
They will also add saturation to the background colors. This is particularly favourable if you are shooting outside.
Architectural Photography

Credit: Patrick Tomasso
It is definitely worth using a polarizer when photographing architectural structures.
Particularly buildings made from glass or reflective surfaces.
When photographing buildings, reflections and glare can be distracting and hard to avoid.
Finding the right light or position to reduce glare can be a tricky task.
If glares and reflections are captured, they are almost impossible to remove post-production.
The polarizer makes architecture photography a breeze.
They will reduce or eliminate any unwanted reflections and glare.
Disadvantages, Challenges and Mistakes When Using Polarizing Filters
Polarizing filters are amazing, but they are not free of challenges.
Autofocus and Viewfinder Issues
A Linear polarizer filter can adversely affect autofocus and viewfinder visibility.
This can also happen when using a circular polarizing filter, but not often.
This happens because the filter changes how light reaches the camera’s sensor.
This confuses the camera and makes it hard for it to focus.
There are a couple of solutions to this. One solution is to use your camera on manual focus.
Another option is to autofocus on the object first and attach the filter afterwards.

Credit: Mark Harpu
Over-Polarization
One of the downsides to polarisers is that they can over-polarize images. This can result in unnatural-looking landscapes and objects.
This doesn’t always look good and can make your images look tacky. And that’s something you don’t want.
One way to stop over-polarization is to rotate the filter while it is on the lens.
Rotate the filter until you find the right balance of polarization.
When you rotate the filter, you change the way light enters the camera.
This alters the polarization effect and will reduce an over-dramatized polarization effect.
Light and the landscape change, and when they do, this affects the filter’s results.
Always pay attention to the filter’s effect in the viewfinder when you are out photographing.
This will reduce the likelihood that your images become over-polarized.
Wide Angle Lens
The results will not always be ideal when a wide-angle lens is paired with a polarizing lens.
This is because the polarizing effect is dependent on the angle of light.
Using a wide-angle lens, one part of the image will obtain a polarizing effect while areas won’t.
This will result in a gradient effect, vignetting or even a blob effect in certain situations.
This is most common when photographing the sky using a polarization filter.
Lower Light
One drawback of a polarizing filter is that it reduces the camera’s light intake.
A polarizing filter will cost you one to three stops of light.
If you have a high aperture or shoot in bright sunlight, this won’t be a massive problem.
However, it won’t be ideal when shooting in low light or with high shutter speeds.
You can compensate for lost light by using a tripod, increasing your ISO or using artificial lighting.
When There Is No Polarizing Effect
You might find that a polarizing filter will sometimes have no visible effect.
This is usually when the sun is directly in front or behind the camera.
Change your position to see if this remedies the situation.

Credit: David Brooke
Shooting Rainbows
Polarizing filters are amazing filters to use when shooting rainbows.
They create stunning visuals by increasing the rainbow’s natural vibrancy.
If you want to give it a shot, you’ll need to watch the viewfinder as you shoot.
The reason for this is that the polarization effect can eliminate the rainbow. It can completely vanish from view!
Keep the rainbow in your field of view as you shoot.
If the rainbow starts to disappear, rotate the filter. The rotation should bring the rainbow back into visibility.
Adjust the Polarization Effect
You might need to reposition the filter by rotating it to achieve the best results.
When you rotate the filter, you change the effect of the polarization.
This is because the filter blocks one direction of polarized light.
Light reflecting off horizontal surfaces is polarized in a horizontal direction.
When you twist it, the direction of polarized light it blocks will be changed.
Twist the filter, and you will change it to allow vertical light or to block vertical light.
This is why it is necessary to twist and rotate your filter when using it.
Caring for Your Polarizing Filter
Linear and circular polarizing filters are not cheap, so it is worth protecting them.
There are some simple ways to keep your filters clean and free from smudges and dust.
1. A lens cap will not fit on a polarizing filter, so use a pinch cap to protect your filter. This works much the same as a lens cap.
2. Keep polarizing filters in a protective case when you aren’t using them.
3. Handle the filter with caution when attaching and removing it. This will help avoid smudges and scratches.
4. Polarizing filters are susceptible to damage, even from gentle handling. When you notice dust, try removing it with a bulb blower.
5. To clean away smudges, use a dry microfibre cloth and lens cleaning solution – you can get both together in most lens cleaning kits.
You should also check out our guide to cleaning your camera lens.
 Best Camera Polarizer Lens Filter in 2023 for Outdoor Photography
 Essential Camera Lens Filters in 2023 (How to Choose & Use Them)
 Best ND Filters for Creative Photography & Video (Neutral Density)
 What is a CPL Filter and Why Should You Use One in 2023?
 Best UV Camera Lens Protection Filters in 2023 to Prevent Damages
 How to take a Picture of a Picture without Glare

Judyth is an experienced studio photographer and glass artist. When she isn’t Photoshopping comedians into the bellies of sharks, you can find her cooking delicious treats for her guests.

WELCOME TO SHOTKIT
Enter your email to be sent
today's Welcome Gift:
19 Photography Tools
🔥 Popular NOW:


Shotkit may earn a commission on affiliate links. Learn more.