


How to Do Home DIY Newborn Photography Safely & Affordably
Uncover 13 expert tips to capture adorable DIY newborn moments at home, making memories that last a lifetime without blowing your budget on a pro photoshoot.
If a professional photographer is out of your budget, or you would like to capture your baby as they grow over their first few weeks, a DIY newborn photography session is a great idea.
Being a professional photographer, I obviously value the importance of capturing these precious milestones with a baby photoshoot.
However, I also understand that you may not be able to engage a professional every other week to capture your baby as it rapidly grows and changes!
That’s why I’ve collated some of my top newborn photography tips below so you can capture your very own gorgeous DIY images of the newest addition to your family.
…and hopefully, not spend a dime while you’re at it!
Table of Contents
13 Tips for DIY Home Newborn Photography
1. Take your Time

Sleeping newborn baby
The best part about DIY newborn photography is that time is on your side as you are working with your own baby, so if you don’t get the newborn pictures you are after the first time, you can always come back and try again!
Although the first two weeks are the best time for a newborn photo session, as you are more likely to be dealing with a sleeping baby, it is still entirely possible to capture newborn-style photos for up to a month!!
Remember, you just had a baby!!!! So it is okay to take your time and try doing a variety of poses over a couple of days! This will also allow you to capture those subtle changes in the early days!
2. Lighting is SO important

Newborn baby, lit from the top down with soft, natural light
As a professional photographer or amateur photographer capturing your very own DIY newborn photos, you don’t have to have a specific studio setup to achieve beautiful images.
A successful newborn photoshoot can be achieved in your own home with natural light from large windows or doorways. Be sure to turn off your camera’s flash and any overhead lights before you start.
The key thing to remember is to light your baby from the top down. This is a natural way to view people and is ‘normal’ to our eyes (the sun shines from above us every day and lights us from the top down!).
Aim for a window/ doorway with soft light (no harsh shadow lines on your subject) and place your baby with the top of their head towards the light source, angled at a 45-degree angle to the light.
This lights your baby from the top down and allows the light to flow down their body, fading into gentle shadows.
If you start with this rule, you can change your angles during the photo shoot and move your baby further away and closer to the light source to see the difference this will make to your images.
As long as your baby is always lit from the top down, your DIY newborn photoshoot will end with some amazing photos!
3. Keep the baby safe

Sleeping baby captured on a soft surface
This seems like an obvious one, but I feel like I should mention it anyway.
For my own professional newborn photography, I try to keep things simple with more natural posing and simple homemade photography props.
Therefore, I can capture all of the images without any assistance and maintain the baby’s safety.
If you are trying to incorporate some more difficult poses or props into your DIY newborn photography, ensure that you have a spotter to help with the baby.
Remember that some of the more difficult poses that you see online are actually the result of composite images rather than one singular image.
4. Keep the baby happy!

Holding a newborn in your arms
There are a few DIY newborn photography tips that will help ensure that the baby is happy and ready to be captured!
The biggest one is to keep the room warm. This could be with general heating, or if you don’t have that option, use a space heater for the duration of your newborn photoshoot.
Using white noise is another great option to ensure a sleepy baby, and there are some great phone apps and tools out there designed specifically for this.
Ensure that your baby has a full belly and is settled before attempting any newborn shots.
I find that the best time for newborn photography is usually in the morning between breakfast and lunch, as that is when the baby (and mum!) are most relaxed!
5. Capture the tiny details

Capturing those tiny little details
Don’t forget to capture all of the adorable little details that make your baby special!
Cute little baby toes and fingers, rosebud lips, beautiful eyelashes, and baby’s face – these are all newborn shots you will want to capture to remember as they grow!
You could use a macro lens to capture these shots if you have one, although keep in mind you should close down your aperture a bit to f 5.6 or more to ensure that you capture enough of the image in focus as you will be shooting a lot closer to your subject!
Using manual focus can also help when shooting with a macro lens.
If you don’t have a macro lens, don’t worry – just get in as close as you can with your current lens and make sure to experiment with different angles. It is easiest to capture this part of the newborn pictures with a sleeping baby.
6. Incorporate cute outfits

A baby dressed in a matching beanie and outfit
Cute outfits could be as simple as a cute onesie or a matching beanie and outfit set.
These are readily available online via Etsy or baby shops, and the options are truly endless and obviously depend on exactly what you would like to capture!
7. Include some props!

Newborn in a basket with 2 throws/ blankets to add texture
Props can be used to add extra colour and texture to an image, but be sure to keep it simple so as not to detract from your beautiful baby.
The easiest props to incorporate into your DIY baby photography are wraps and throw blankets.
Stick to 2-3 throws or wraps with similar tones, try one patterned and one solid-coloured piece, and add neutrals to balance the image.
Matching beanies and wraps work well for newborn pictures and are readily available without spending too much money.
If you wish to add a basket to your setup, these can be incorporated with wraps and throws as above.
Ensure the basket is stable and well-cushioned inside to keep the baby comfortable.
8. Try a variety of poses

Baby in a cute outfit with a soft toy
There are a number of simple poses that can be used when photographing newborns, and you can get a great range of cute photos during your DIY newborn photoshoot, even if you only choose to do a few.
- Simple full-body pose – lying on his/her back in a cute outfit without a wrap
- Wrap around baby -be sure to start with the wrap under the baby so they don’t wriggle out (could be fully wrapped, feet out, arms out etc)
- Natural pose with soft baby toys – place baby under a tightly tucked-in blanket, or on top of a fitted sheet in a cute outfit with arms placed around or touching a soft toy
- Baby on back in a basket – it is easiest to wrap baby for this pose so that they fall asleep and are still while you capture them
The beauty of digital photography is that you can just shoot the images and decide later if they are exactly what you are after.
So with each set-up, be sure to capture the following whilst remembering to always change your perspective to increase the variety in your images:
- full body shots
- headshots
- close up detail shots
9. Include older children

Incorporate sibling photos into your newborn photoshoot
Some of my favourite newborn pictures are those with their older siblings.
Depending on their ages, older siblings may be able to hold their new baby brother or sister, or alternatively, laying down poses are perfect for younger children.
Try putting them on your bed if it is well-lit with natural light or on a blanket on the floor and get them interacting with each other. Be sure to capture different angles – from above, get down on their level, close up and further away.
Including siblings in your newborn photoshoot is a great way to make them feel involved and special and help to welcome your newest addition into the family!
10. Get outside

Outdoor Photo Session in a Sunflower Field
Most of my client sessions are captured in beautiful outdoor locations with a lifestyle approach, so I love conducting my professional newborn photography sessions in the great outdoors too!
Obviously, this is weather-dependent, but there is a huge variety of images that can be captured during a newborn session depending on the location and look you are after.
Let your creativity run wild and utilise some simple props in a beautiful location nearby, and be sure to capture a variety of poses and as many different angles as you can to give you a range of gorgeous shots.
11. Get in the picture

Incorporate the whole family into your DIY newborn photoshoot
I know how hard it is to get in front of the camera with a brand-new baby, but it is so important to capture at least a few of these priceless memories!
Hand the camera over to a friend, your husband or an older child and grab those gorgeous shots. Instead of aiming for picture-perfect shots, aim to capture the perfect little baby YOU managed to bring into the world and the love you have for that perfect little bundle!
12. Equipment

Baby’s head in parents hands
Newborn photography conducted indoors generally calls for wide-angle lenses to compensate for the small spaces for capturing the session in the best natural light.
This also allows you to be closer to the baby to ensure that they are always safe.
35mm to 50mm lenses with wide apertures (low f stop) are best, as this allows you to make the best use of the light available without having to push your iso too much.
35-50mm is also the best size as it allows you to get the whole scene in when you are operating in tight spaces without causing distortion to portrait photos which can happen with a lens wider than 35mm.
13. Print your Photos
You have gone to the effort of capturing all these amazing images during your newborn photography sessions. Please don’t leave them sitting on your hard drive!!!
There are so many amazing options for printing out these precious memories, from baby albums to framed individual wall prints to a complete wall display sharing all your favourite images.
This way, you can look at those beautiful images every day as you walk around your house!
FAQs About Taking DIY Newborn Photos
What is DIY Newborn Photography?
DIY newborn photography refers to the process of photographing your newborn baby yourself, at home, without hiring a professional photographer.
What Equipment Do I Need for DIY Newborn Photography?
The basic equipment you need includes a camera, a soft blanket or backdrop, good natural lighting, and possibly some props or outfits for the baby. If your camera allows for manual settings, a tripod can be helpful to ensure stability.
When is the Best Time to Photograph My Newborn?
The best time to photograph a newborn is typically within the first two weeks after birth, while they are still sleeping most of the time. This can make it easier to pose them and capture calm, peaceful photos.
How Can I Ensure My Newborn is Safe During the Photoshoot?
Safety should be your top priority. Make sure all surfaces are secure, don’t place your baby at dangerous heights, and always stay nearby. Avoid props with sharp edges or small parts that could be a choking hazard. If using a basket or container, make sure it’s sturdy and can’t tip over.
What Are Some Easy Newborn Poses?
Simple poses often work best. These could include the baby lying on their back, on their tummy with hands tucked under, or wrapped snugly in a blanket. Remember, comfort and safety should come first, and some poses should only be attempted with professional assistance.
What Should My Newborn Wear for the Photoshoot?
It’s best to keep it simple. Often, newborns are photographed in just a diaper, swaddled in a blanket, or wearing a simple onesie.
How Should I Light My DIY Newborn Photos?
Natural, soft light is best for newborn photography. Try to photograph during the day when natural light is plentiful, near a window if possible. Avoid harsh direct sunlight, as it can create hard shadows.
How Can I Calm My Baby During the Photoshoot?
Keeping the room warm, using white noise or soft lullabies, and ensuring your baby is well-fed and dry can help keep them calm. Remember, your baby may need breaks for feeding and comforting.
Can I Take Good Newborn Photos With My Phone?
Yes, you can take beautiful newborn photos with your phone. The key is good lighting and composition. There are many apps available that can help you edit your photos to improve the final result.
How Can I Edit My DIY Newborn Photos?
There are many photo editing software and apps available. Programs like Adobe Lightroom and apps like Snapseed can help you adjust exposure, contrast, and sharpness, as well as remove any unwanted objects or blemishes from the photo.
 17 Newborn Photography Tips For Creative Results in 2023
 15 Simple & Safe Newborn Poses for Cute Baby Photos
 24 Baby Photoshoot Tips & Picture Ideas
 Fresh 48 Photos: How to Do Hospital Newborn Photography
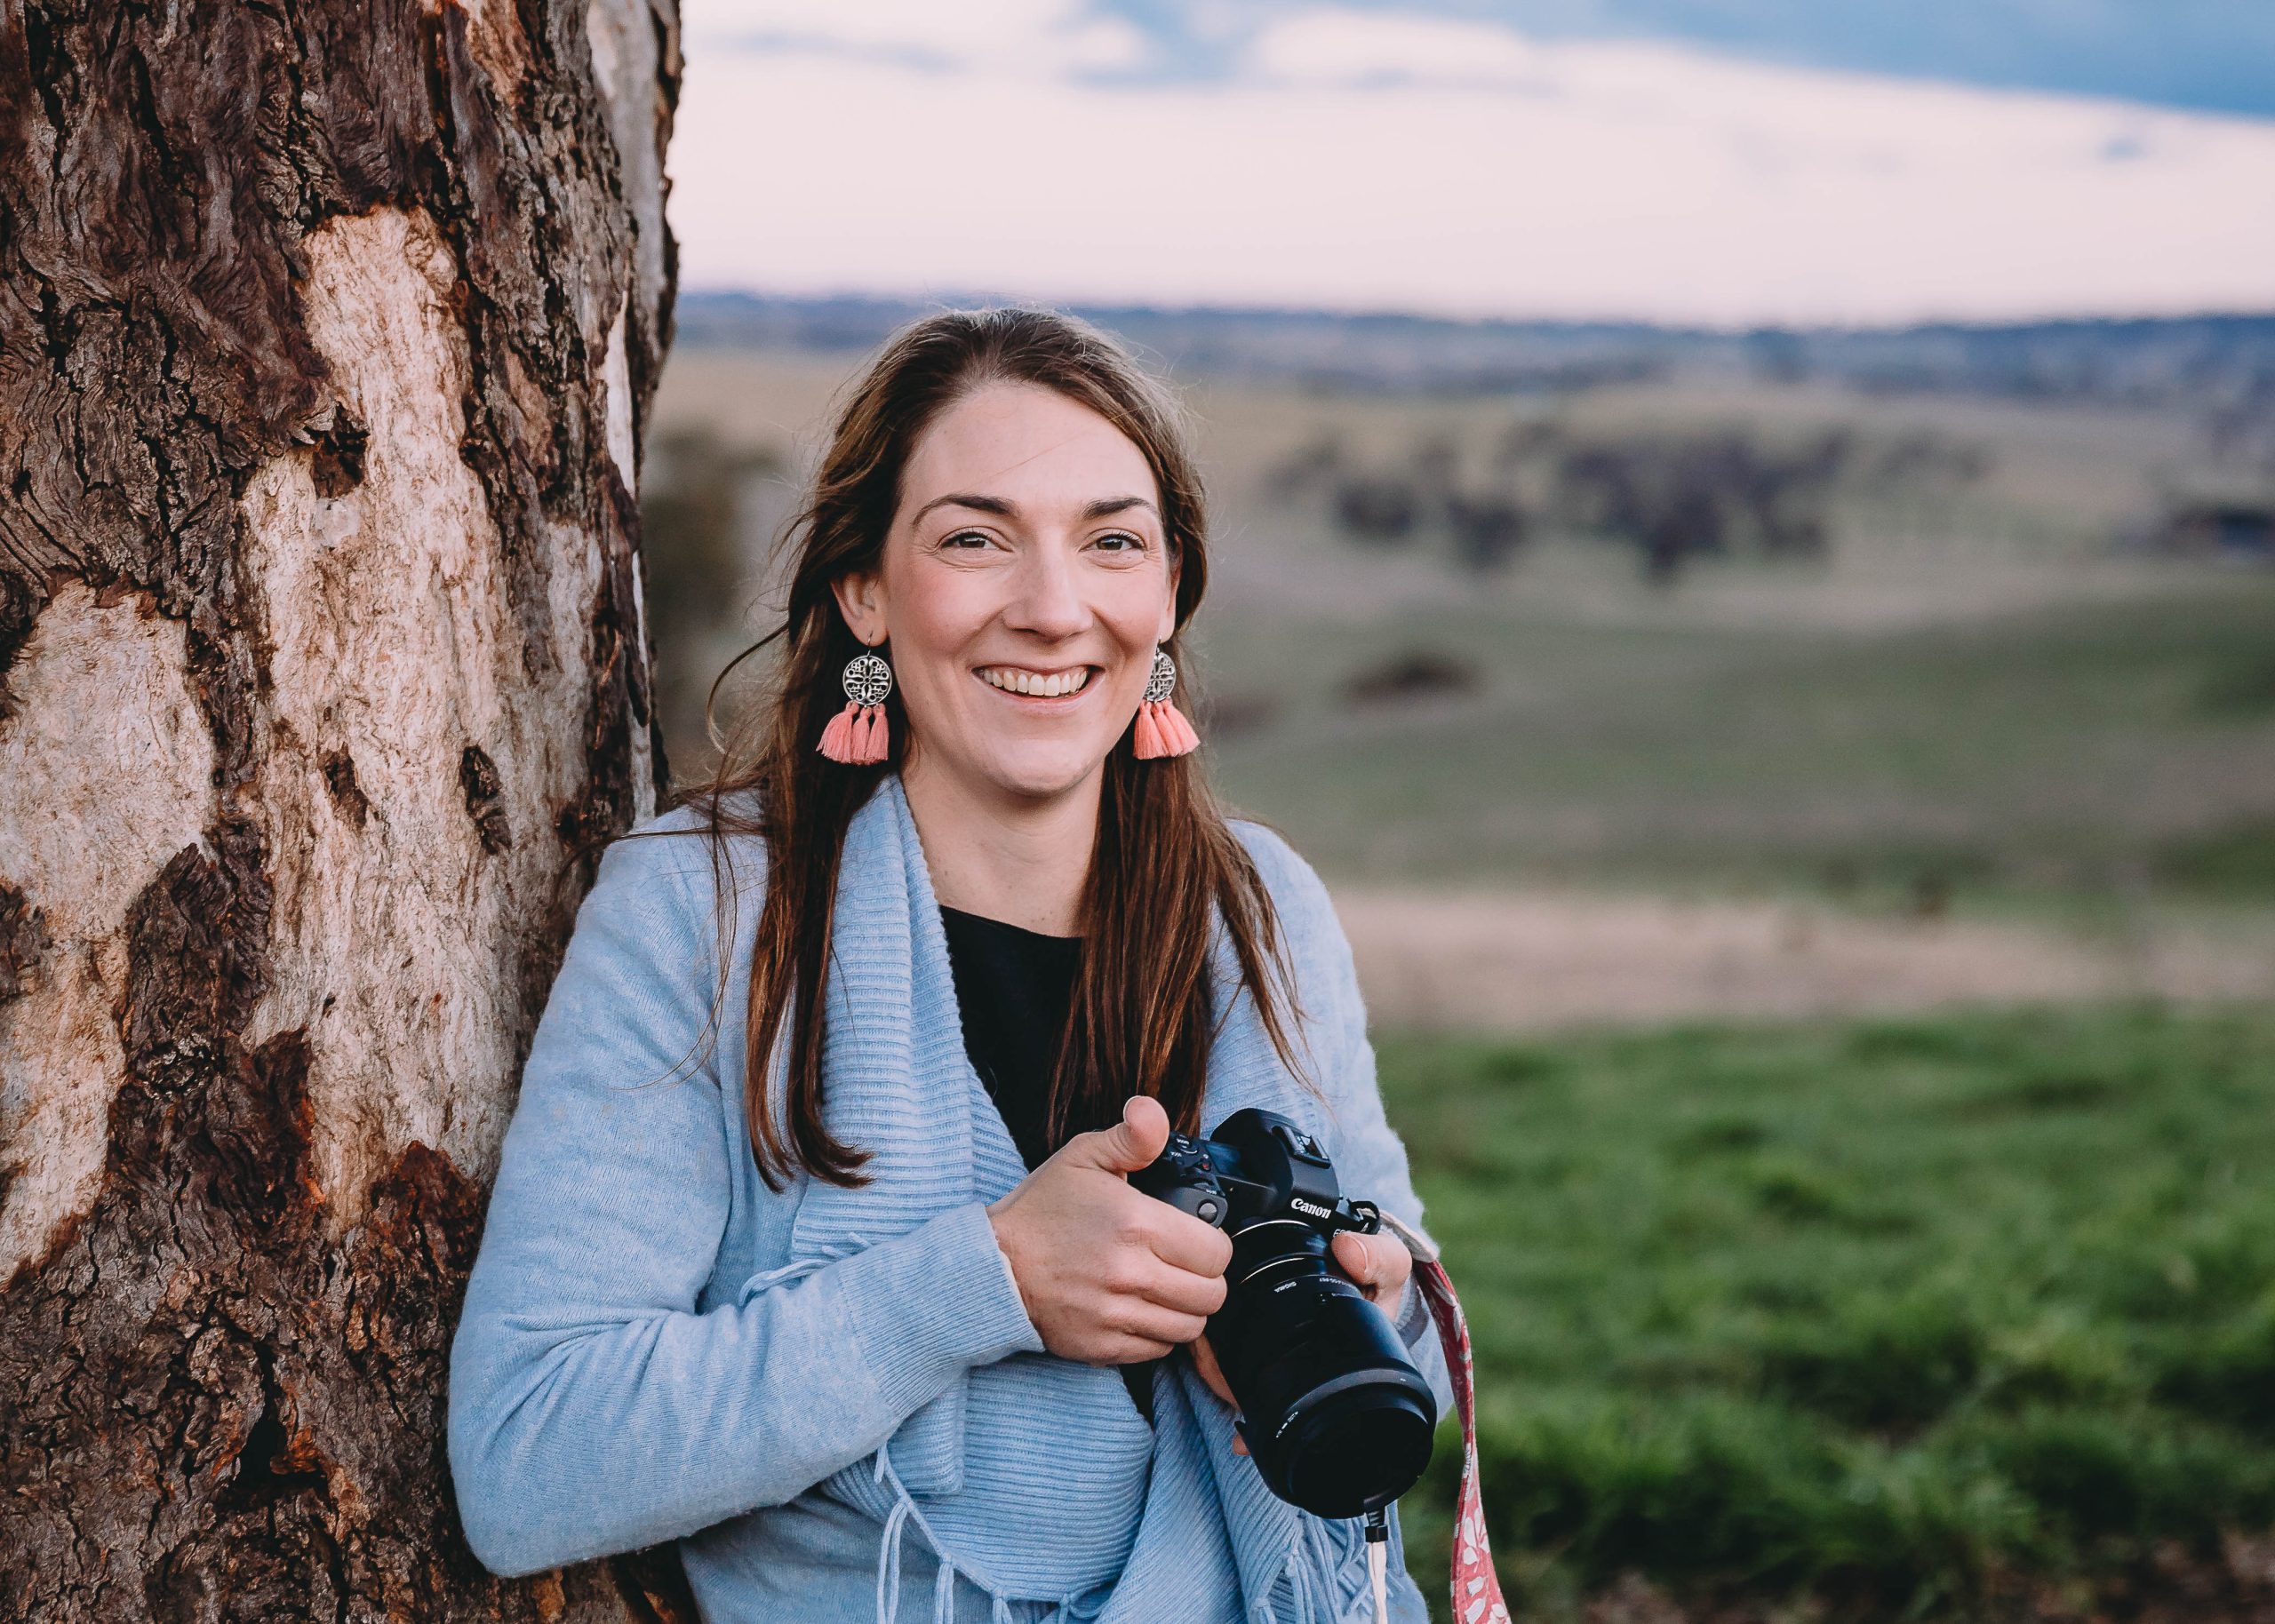
I am a family, couples and wedding photographer who captures candid connections in beautiful natural light in Central West NSW. I love the outdoors and especially love that I get to see a range of beautiful outdoor locations (particularly on their family farms) through my client’s, as well as meeting lots of beautiful families/ couples!

WELCOME TO SHOTKIT
Enter your email to be sent
today's Welcome Gift:
19 Photography Tools
🔥 Popular NOW:


Shotkit may earn a commission on affiliate links. Learn more.