


How to Create the Best Photography Workflow in 2023
Unveil the tried-and-tested steps to craft an efficient digital photography workflow, optimizing your process from shoot to post-production and image delivery.
Learn | By Ashley Darrow
Your photography workflow is one of the most impactful and underrated parts of being a professional photographer.
A well-planned workflow can do more than just save you time—it can help you become a better photographer!
I’m always working on my workflow—if you accept the pun!
Even after years of photography, I’m always finding things to improve, which saves me time once I’m on-site for the shoot.
Your digital photography workflow covers everything from packing your gear for a shoot to how you handle your image files when it comes time to edit.
This guide will cover everything you need to know to improve your photography workflow or start from scratch if you are new to this exciting world!
Table of Contents
What’s a Photography Workflow?

Image Credit: Liza Summer
A photography workflow is a roadmap that guides you through every step in taking pictures, from ensuring that your batteries are charged, to the day of the shoot, to invoicing.
Your photography workflow can be a practice-based guide, or it can even be a checklist that you work through before every shoot.
Why do professional photographers need a good workflow?
In short, a good photography workflow prevents costly mistakes.
If you’ve ever arrived to a shoot and realized you forgot extra batteries, memory cards, or even a backup camera, that’s all down to an incomplete photography workflow.
A good workflow also helps you take better pictures. The less you have to worry about whether or not you emailed those edits to a client, the more you can focus on your craft.
In this guide, I’m going to unpack a complete professional photography workflow.
This is the outline that takes me from the days leading up to a shoot right through editing and managing my photography catalog.
Pre-Production Digital Photography Workflow
A good digital photography workflow does more than just cover the day of the shoot.
It should give you all the guidance you need to get set up before you press the shutter button.
1. Plan Your Shoot

Image Credit: George Milton
Proper planning prevents… poor photography.
Before you even pick up the camera, think about your goals and what type of photography you’re going to be shooting.
Planning covers all of the necessary pre-production, production, and post-production steps.
This might sound intimidating, but it gets easier the more you do it.
My planning starts with talking with models, other photographers, or clients about their needs and expectations.
This is a great time to ask questions and make sure you have all the info you need.
Planning is necessarily an open-ended part of my workflow.
Here are a few of the standard questions I ask myself before a shoot:
- What gear should I bring to this shoot?
- Is there anything I don’t have that I need to purchase?
- Where is this location, and are there location-specific things I should plan for?
- Do I have the right clothes for the occasion—weddings require a different fit than outdoor shoots in the rain!
- Have I asked the people I will be working with about their needs and expectations?
- Are there any outstanding invoices or balances due?
2. Prepare Your Photography Gear
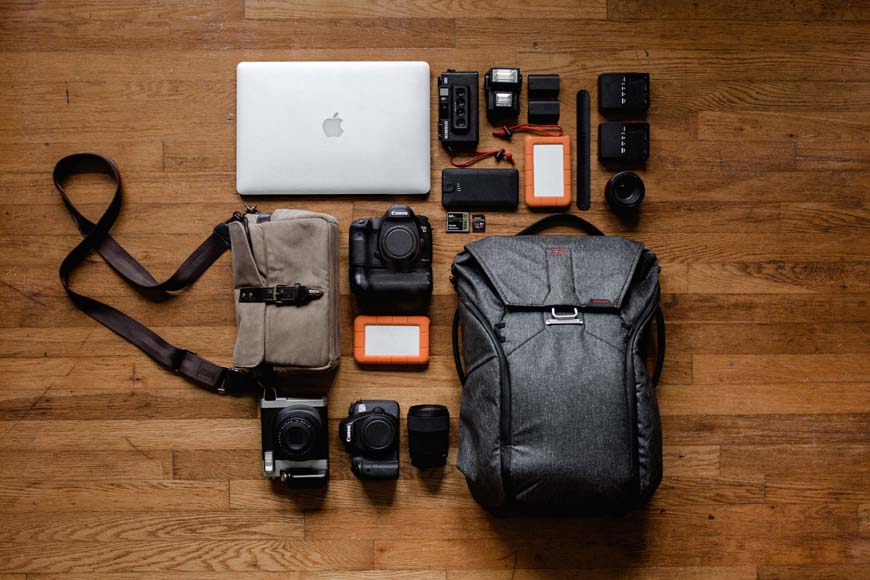
Image Credit: Andrew Neel
How’s your gear doing?
I’m asking you this now because nothing feels worse than having to say, “Oh, hang on” to a happy couple while you hastily clean a fingerprint off of your favorite lens.
Sure, it happens, but it can happen less with a good workflow!
Before any shoot, I always make sure that my camera is working, my batteries are charged, and my memory cards are empty and ready for a shoot.
I don’t do this for every shoot, but a few times a year, I will also give my tripods, bags, and other gear a once-over to make sure there are no unpleasant surprises when I’m on-site.
I go through my pre-shoot checklist and make sure all of my gear is packed up the day before a shoot.
That way, I’m not rushing around like a headless chicken, and I can focus on being a confident and calm photographer once I meet up with my clients!
3. Scout Your Location
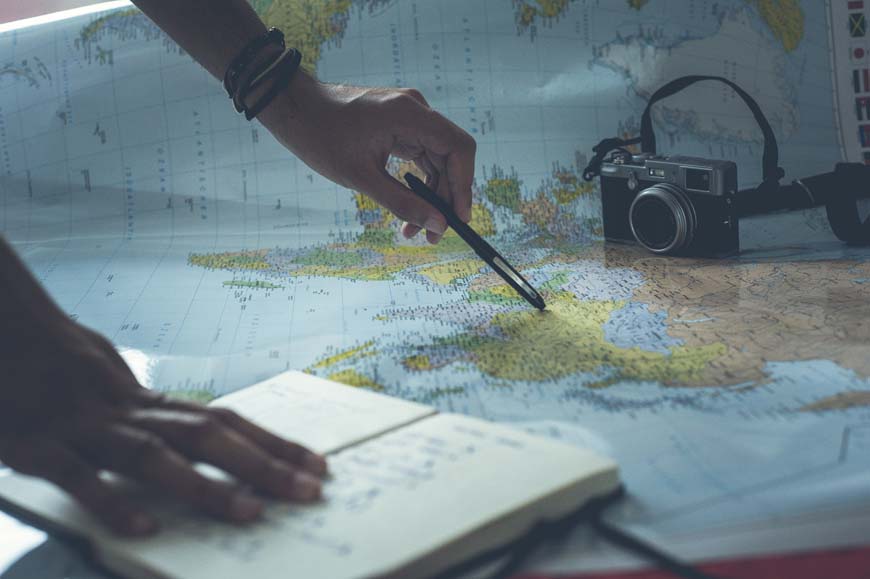
Image Credit: Glenn Carstens-Peters
This one isn’t always an option, but I try to scout locations before I shoot them whenever possible.
You can’t always get into a wedding venue the day beforehand, but I find that most locations have a way for photographers to check things out before you start shooting.
This is a great way to assess things like lighting and if you need a wide-angle lens.
When in doubt, ask your client if you can check out the location before the big day.
4. Check Your Camera Settings
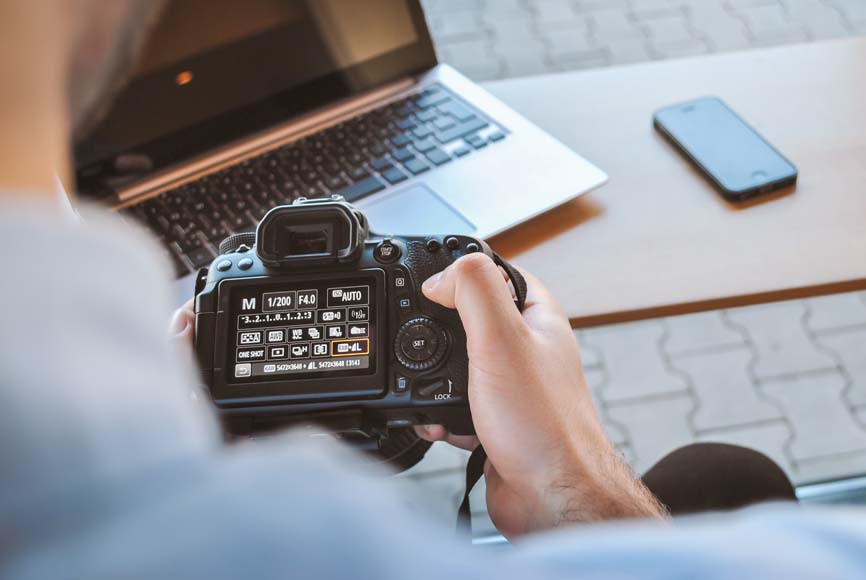
Image Credit: JESHOOTS.com
I’ve been shooting with my Sony A7s II for years now, but there are still sections of the menu that leave me scratching my head.
I know that pretty much every photographer reading this will have gotten hung up on some random menu setting during one of your shoots.
I make sure to double-check my camera settings before each shoot. That way, I’m not stuck trying to turn off some random preset while a client looks on expectantly.
5. Draw Up a Shot List

Image Credit: Julia M Cameron
The last step in my pre-production workflow is to write up a shot list.
My shot lists are essentially a combination of my “wish list” of the shots I can’t leave the shoot without and the client’s “mandatory” shots that they want or need the most.
Always leave some wiggle room in your shot list.
There should be enough in there to get you through a full shoot but also some room for adjustment, as new shots will always catch your eye when you’re out on site.
Make sure you talk with your clients while putting together your shot list, as they often have plenty of ideas about the kinds of pictures they are looking for.
On the other hand, some clients are a bit shy and need some coaching.
If your client isn’t too chatty about the types of pictures they want, try asking them questions about the types of pictures they want to get their creative juices flowing!
On-location Digital Photography Workflow
Your photography workflow has got you ready for the day of the shoot, but what happens when you get there?
Don’t worry. Your trusty workflow has you covered!
1. Arrive Early
There’s nothing worse for a working photographer than arriving late to a shoot.
I don’t mean to sound like that boss you had in high school, but early is on time when it comes to photography.
I always plan to show up about 30 minutes early to a shoot. This lets me get set up, take a last look at the site, and chat with my clients before things get going.
Whether it’s a wedding or an industrial shoot, the day will pass a photographer by.
After all, we’re here to freeze moments in time, not lose them.
2. Talk With Your Assistants or Colleagues
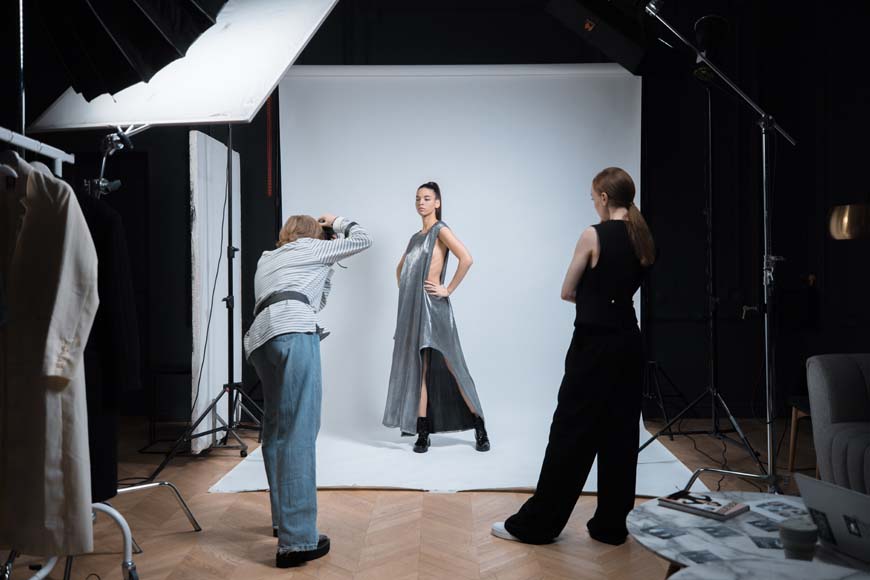
Image Credit: Ron Lach
I do most of my work solo, but I’ve been increasingly teaming up with other photographers.
This could be an assistant on a big shoot, someone working their way up the freelance photography ladder, or another photog working the same gig.
I always make sure to touch base even if we are not working directly together.
If we are working together, we can then plan how to make the most of our session.
You should cover basics like who’s taking which angles and good times when you can cover each other for breaks on a long shoot.
If you’re not working together, touching base will help you build connections in the industry.
Staying in touch during a shoot also helps you two from accidentally bumping into each other.
3. Working With Your Models—or Clients
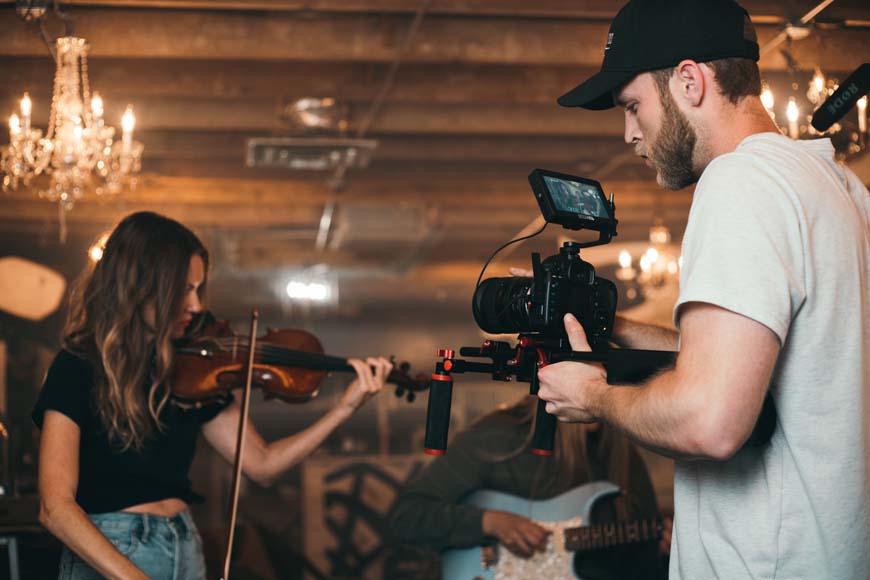
Image Credit: Kyle Loftus
I’m going to break this up into two sections to cover clients and working models.
You can generally expect clients to change things up on the day of the shoot, even if it’s just a few minor adjustments.
It pays to be flexible regardless of who you’re working with as a photographer.
There’s also going to be a lot of difference between the types of clients you’re working with. weddings, corporate portrait sessions, and industrial photography shoots all have different rules, regulations, and demands that affect how you work with your client.
Models, on the other hand, allow you to flex a lot more creativity.
Just keep in mind that the model is also a working professional with their own goals.
When I work with models, I try to bring our creativity together rather than juggling two competing sets of artistic goals.
Established models will likely know what they want and be ready to go, while novice models might need a little encouragement from behind the camera when it comes to posing and getting the best shots.
4. Consider Your Shooting Strategy
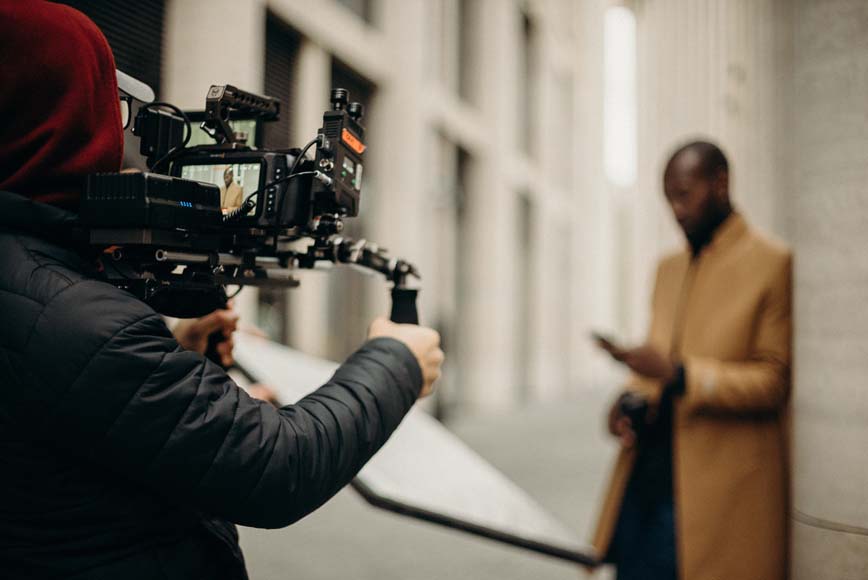
Image Credit: cottonbro studio
You should also keep your shooting strategy in mind. This is something that’s going to change depending on the shoot that you’re going to.
If you’re working with a professional model in a studio, your shooting strategy might be working behind a tripod in an environment that allows you to be very loud and communicate directly with the other artists you’re working with.
If you’re working a wedding, you should be ready to run and gun while keeping things stealthy so that you don’t disrupt the event.
5. Infield Data Backup, Charging, and Tech Management
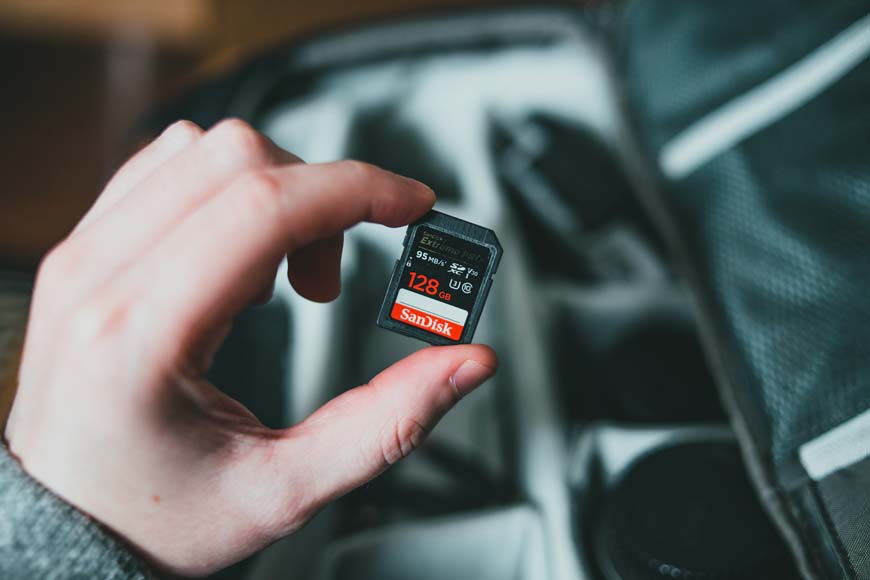
Image Credit: Erik Mclean
Backing up all the images while on site is something that is a bit of a personal preference.
I tend to backup once I get home, but I know plenty of photographers who will backup their shots while on site—especially if the client wants day-of edits for their socials.
This leads me to my next point: If your client is asking for day-of edits, make sure you have time for that planned into your workflow.
I typically charge a premium for day-of edits and set a tight limit on how many photos my client can expect to keep my workflow in check.
Charging your gear is another on-site issue you’re going to face.
Even if you charge up all your spare batteries the night before, there’s no telling when a camera battery will decide to reach the end of its life cycle!
It pays to know where the power outlets are located. You should also discuss opportunities for you to handle any charging, downtime, or day-of processing with your clients.
Lastly, where will you be storing your gear when not in use?
If you’re out on a long shoot like a wedding, it pays to find a lockable space where you can ditch your laptop and extra gear for the bulk of the shoot.
Post-Processing Digital Photography Workflow
All right, everyone, let’s take a deep breath and slowly exhale.
We’ve made it through the big day of the photography shoot, and now it’s time to process those hundreds, if not thousands, of photos we just took with the next step of your photography workflow.
1. Save Image Files and Backup
The very first thing I do after any photography shoot is to save and back up my images.
There is absolutely nothing worse than losing an entire session’s worth of photographs because a hard drive decided to die or I accidentally reformatted an SD card before backing up my pictures.
Not only is this defeating as an artist, but it can also be incredibly costly if you’re working with paying clients.
This is why I back things up the second I get home if I haven’t already started backing up in the field.
I back up my photos by saving all of them to a dedicated SSD card and also backing up my photos in cloud storage.
This way, I have at least two copies of every photograph in case something goes wrong.
I also repeat this step and back up everything after I finish editing.
2. Make Your Selects

Image Credit: Beyzanur K.
Now it’s time to look through all the photos you took during that last shoot and make your selects.
This involves culling the shots that didn’t quite turn out the way you hoped and marking the ones that you want to edit.
Since your photos were backed up and the previous step of your workflow, you can non-destructively edit your RAW files.
Even if you accidentally delete or destroy your image files, you have backups that you can start over with.
Once you’ve made your selects, it’s time to start editing.
3. Edit
I used to edit all of my photographs one by one. This was the most laborious, arduous part of being a photographer for me for the longest time.
Now, I do a lot of batch editing. I’ll make any crop, lens correction, and geometry adjustments to an individual photograph, but things like color correction can be done through batch editing.
This speeds up your workflow and allows you to process hundreds of photos in the time it would have taken you to edit 10 individually. Don’t forget to give yourself plenty of time to export images when you’re done.
If you’re working with another photographer, I suggest breaking up the editing job by theme or different stages of the shoot.
One of you can handle all of the shots taken outside of a building while the other works on photographs taken inside, for example.
4. Send Digital Images to Clients and Invoice
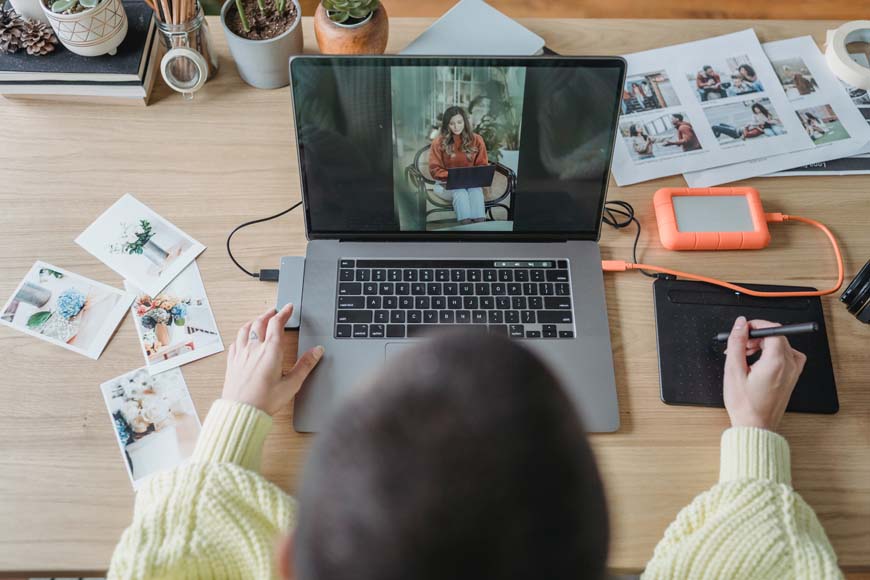
Image Credit: George Milton
You’ve got your edits made, and now it’s time to get your photographs to your client.
How you send your photographs to your client, all depends on your business model.
I still find myself sharing links to Google Drive folders with some clients while I’m uploading photographs to a CRM for others.
If you offer prints, now is the time to set up your print shop website and get that link to your client.
Also, send off any final invoices now that everything is wrapped up.
While I’m on the topic of business, now’s the point in my workflow where I also handle any other business aspects of being a photographer.
I’ll make sure to save any receipts that I need for my taxes, schedule any repairs for photography here that might have been damaged during the shoot, and double-check my schedule for an upcoming shoot.
5. Schedule Website Updates and Social Media Posts
The very last step in my digital workflow is to update my photography website and upload any pictures to social media.
I save this for the last step to make sure that everything client-facing is handled before I start working on my portfolios.
This isn’t to say that you shouldn’t take pictures to post on social media while you’re on-site, but it’s generally considered poor form for a client to see their pictures on your Instagram account before they can check them out for themselves.
What Software Should I Use for My Own Photography Workflow?
Digital photography depends on having the right software.
There are so many points in your workflow where you’ll be relying on apps and programs to help you complete your job.
Here are a few of the programs that you should consider for your workflow.
Photo Studio Management Software
Running a photography business is a lot of work, but a good studio management program can help you make handling clients a little bit easier.
- Studio Ninja—One of the highest-rated studio management apps, Studio Ninja is purpose-built for photographers that need a CRM system as well as plenty of automated features
- Iris Works—This app features an easy-to-use online booking calendar, an efficient client management system, and free migration if you are currently on another CRM
- Pixifi—Pixifi is great for photographers who want to really expand their offerings. You can create workshop sessions with this app, as an example, and manage your whole business from their IOS and Android apps
- Dubsado—Dubsado is very straightforward and perfect for the photographer who doesn’t want to get overwhelmed with too many niche marketing features. It covers all of the basics and is highly customizable.
- Sprout Studio—Sprout Studio has all of the features of most of the other apps on this list, but it also comes with some outstanding features that clients will love—including online proofs!
Photo Editing Software
It goes without saying that you’re going to need some software to edit those digital photographs. Here are a few programs that stand out in the increasingly crowded world of photography editing apps.
- Lightroom—Lightroom is arguably the most successful photography editing program. it comes with more features than any one photographer could ever master, as well as an incredibly powerful mobile app
- Photoshop—Photoshop is Adobe’s image manipulation program. Where Lightroom can help you fine-tune an image, Photoshop can help you completely transform something that is perfect for much more involved editing jobs
- Luminar—Other photo editing applications are just starting to experiment with AI editing software, but Luminar has been using AI for much longer. If you’re looking to use AI algorithms to streamline your editing, check out Luminar
- Capture One—Capture One is great for photographers who want to combine mobile and desktop editing. This app lets you start edits on an iPad or another mobile device and finish them on your desktop
- Darktable—I’ve always got to shout out Darktable. This is a free, open-source alternative to Lightroom that’s nearly as powerful, but it won’t cost you a dime
Photo Culling Software
I’ve already confessed to making more backups of my photographs than most photographers. This means I also have to make more use of photo-culling software.
This software will help you get rid of duplicate photographs and make managing your ever-growing catalog that much easier.
- xAftershoot—Aftershoot uses AI algorithms to nearly instantly cull through your photograph libraries. this software is able to adjust its culling based on your preferences and needs
- FilterPixel—Here’s a great culling app that works by taking out photos that are technically unacceptable. This program looks for out-of-focus shots, closed eyes, and any other compositions that really aren’t savable in editing
- Photo Mechanic—Photo Mechanic is arguably one of the most powerful photo-culling programs out there. Not only can this app cull your photographs, but it can also work from multiple memory cards at once, add metadata or keywords, and handle exporting images
Photo Gallery Software
Online photo galleries are essential for every photographer. This is just as true if you’re an amateur, an artist, or you’re putting together deliverables for paying clients.
- Shootproof—Shootproof is a very straightforward gallery that plenty of photographers swear by. This gallery not only makes it easy for clients to browse their photographs, but it also makes it easy for you to make money off of digital and physical prints
- Pixieset—Pixieset is arguably Shotproof’s biggest competitor. This gallery offers a modern, minimalistic alternative to the traditional online photo gallery while still giving you robust tools to track engagement with your photographs
- SmugMug—SmugMug is great for the photographer who has an eye towards marketing. SmugMug offers sleek galleries that are easy for users to engage with while also making it simple for photographers to sell prints
- Zenfolio—Zenfolio offers some expansive services, including email marketing and website templating. This is a great option for any photographer who deals with large volume clients who need bespoke galleries with quick turnarounds
Other Useful Workflow Tools
Photography is a business for many of us, and that means we need some digital business tools in our workflow. These are a few apps that I and photographers I know, have relied on to help streamline the business side of things.
- Calendly—Calendly is a business communication tool that allows you to schedule meetings, work with your team, and keep track of communications. This is ideal for photographers who have started to onboard regular assistance or who work as part of a larger team
- Google Drive or Dropbox—Sending images over Google Drive or Dropbox might be a little old school, but it’s still incredibly reliable and a great way to share images
- Buffer—Buffer is a social media management app that works across all of today’s biggest and even a few of the smaller up-and-coming social media apps. If you’re getting tired of uploading to Instagram, Facebook, and other sites separately, you might want to give Buffer a try
- Quickbooks—QuickBooks is an accounting software that allows you to keep track of your business expenses. As photography starts to make you more money, keeping track of all those transactions is going to become increasingly important and software like QuickBooks is very helpful
Final Tips on Maintaining & Customizing Your Workflow
Never treat your workflow like it’s set in stone. This is something that needs to change as you and your business start to change over the years.
I’m regularly updating my workflow as I learn new photography hacks and business tricks.
One quick hack is to start using keyboard shortcuts when you’re editing. Rather than clicking around through menus, most common editing tools are available with a simple keystroke which can save you hours in the long run.
I’ve also started to automate a lot of my client communication. This includes sending out invoices, and emails, and generally staying in touch with my clients.
Another important thing to consider is that you want to have a concise file naming convention. Most digital cameras allow you to set your file naming convention in the menu system.
My last workflow tip for you is to be ready to take a break. Photography is hard work, and burnout is very real.
If it’s starting to feel like even the best workflow can’t keep you afloat, maybe it’s time to step away from the camera for a minute and give yourself some much-needed TLC.
You now have all the tools, tips, and tricks you need to fine-tune your own photography workflow.
I would love to hear your workflow hacks down in the comments, and feel free to ask me any questions about any of the photography workflow tips I’ve talked about in this article.
 67 Best Photography Books of 2023 for All Levels
 How to Start a Photography Business in 2023
 Best Photography Workflow Software in 2023 (Studio Management)
 Comprehensive Guide to Wedding Photography in 2023
 How to Get Photography Clients (20 Proven Tips from a Pro)
 43 Tools to Run a Wedding Photography Business in 2023

Ashley is a photographer, writer, and film critic. When Ashley’s not writing essays on photography, cinema, and theory, he’s out taking pictures with retro film cameras.

WELCOME TO SHOTKIT
Enter your email to be sent
today's Welcome Gift:
19 Photography Tools
🔥 Popular NOW:


Shotkit may earn a commission on affiliate links. Learn more.