


Color Gel Photography: Lighting Techniques for Vibrant Photos
Master color gel photography with techniques that amplify portraits, adding depth, mood, and vibrant visual appeal to your photos and movies.
Learn Filmmaking | Learn | By Ana Mireles
Do you know that you can use color gels to make more vibrant photos?
This is known as color gel photography, and it’s normally used for lively and creative portraits.
In this article, I’ll explain what are color lighting gels and how they’re used in photography and filmmaking.
I’ll also show you some examples and tell you five basic setups with variations to get you started.
By the end, you’ll know all the basics to start experimenting with different lighting techniques and make your own color gel photographs.
Table of Contents
What Are Colored Gels?
Color gels are light modifiers made of polycarbonate or any heat-resisting material. You can find them in lots of different colors to use in photography and filmmaking.
You simply place the color gel in front of your flash, strobe, or continuous light to modify its color. You can use them to set the mood or on the main light, fill light, hair light, or rim light on your model.
It’s also possible to combine multiple colors within a lighting setup, or overlay gels of two colors on the same light to create a third color.
Color gels are used to correct the color temperature or as a creative tool.
Why are they called lighting gels?
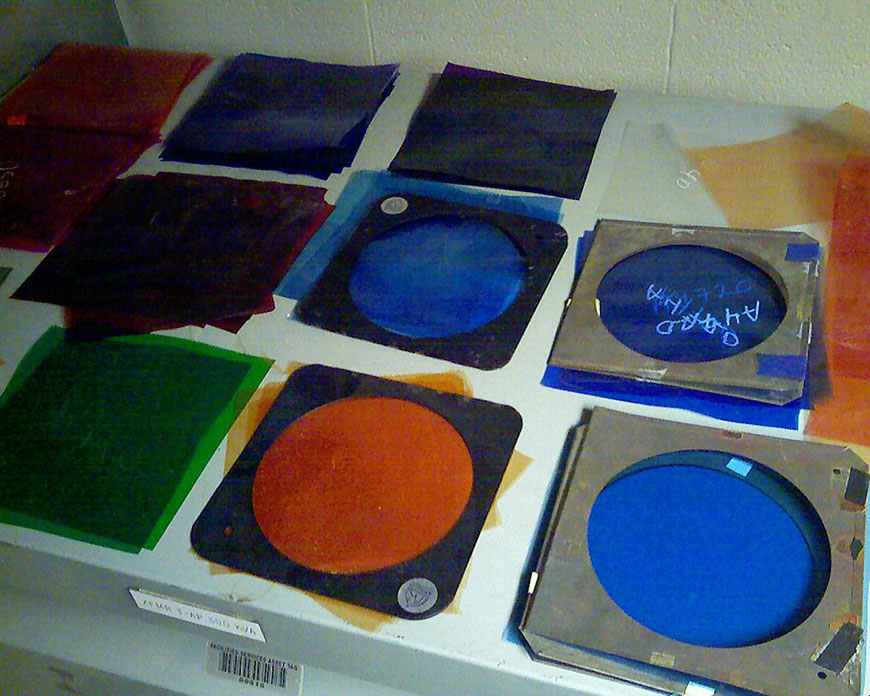
Credit: KeepOnTruckin, Attribution, via Wikimedia Commons
They are called lighting gels because they filter the white light coming from a lamp. Depending on the color of the gel, a specific color spectrum passes through.
Each manufacturer creates different color gels. Lee and Rosco are the leading brands. You can get a color swatch book to know the name and code number of each color gel available.
This is because even if they sometimes share the same name, they may filter the light differently from one brand to another.
Each color gel has a transmission value indicating how much of the original light is ‘transmitting’ or allowing through.
Color gels have a limited time life. Depending on the energy absorption, the color will start to fade, and you’ll need to replace it.
How Do Gels Work in Photography?

There are two ways to use color gels in photography. One is to correct the hues of the light sources; the other is to get a creative effect.
Corrective Gels
Each light source has its own temperature – as a result, different lights will have different colors. If you’re working with mixed lights, you can balance the temperature of your lights using color gels.
Let’s say you’re working indoors, and the ambient light is tungsten. The color cast is yellow-orange. You can fix this by setting the white balance of your camera to that light.
Now, if you make a portrait in that environment and use a flash to light the model’s face, she will look blue. This is because the camera is using blue to compensate for the yellow-orange of the tungsten.
Since the flash is calibrated to recreate sunlight which is supposed to be white, the blue doesn’t have anything to compensate, and it simply looks blue.
So, you can use yellow-orange corrective gels on your flash. This way, all your light sources have the same color temperature, and you can adjust the white balance properly.
Creative Gels
Coloured gels aren’t meant to simulate daylight – in fact, they don’t need to be realistic at all.
You can create all sorts of color combinations and work with different lighting setups to achieve creative portraits, product photography, etc.
I’ll go deeper into creative color gel photography in the following sections.
5 Examples of Colored Gel Photography

Two lights – One color gel. Credit: Brian Lawson

Complementary colors. Credit: Brian Lawson
Three lights with color gels and rim light – Brian Lawson
Single light. Credit: LML
Graded background. Credit: John D. CC BY-NC-ND 2.0 DEED, via Flickr
5 Lighting Setups for Using Colored Gels
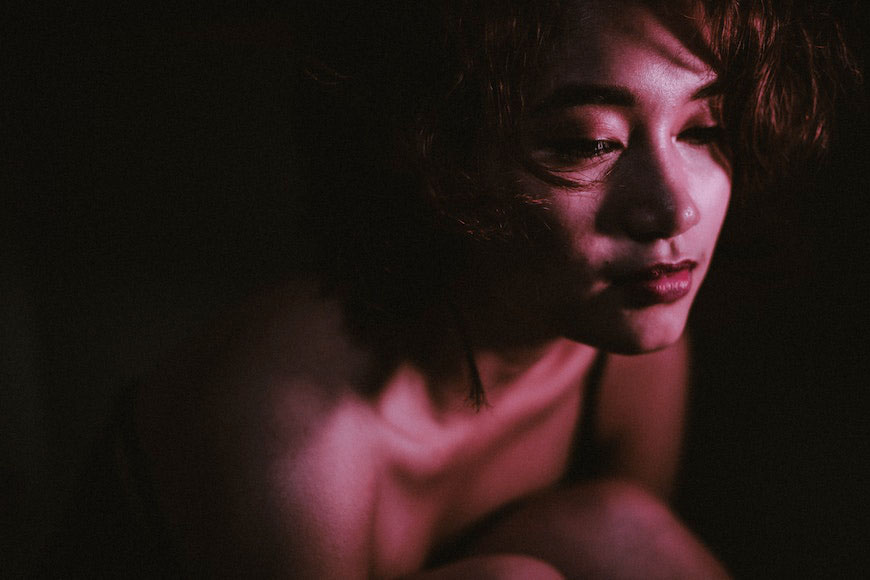
Setup 1 – Single light
You can experiment with color gels even with a single light source. A common lighting setup is to use a small light source on the side with a gel.
This way, you’ll have a concentrated coloured side light on you’re subject’s face and a black background. You can also send it a bit back so it becomes a colored rim light forming a silhouette.
Another choice is to use a wider light source. – for example, a strobe with an octabox. Then, the color will spill to the entire scene setting the mood. Also, your model will have a softer light, showing more of them.
Setup 2 – Two light setup with gel on the fill light
You can use two lights on your photo by keeping a white light on the main source and a gel on the fill light.
In this case, you’ll only be adding a touch of color on the side – it can be a subtle glow or a strong saturated color – that’s up to you.
You can also place the main light towards the front and use the colored one as a rim light coming from behind and to the side.
It’s also possible that you allow the fill light to spill into the background. This way, you’ll also paint the entire scene.
Check out these off-camera flash photography techniques to learn more.
Setup 3 – Two light setup with complementary colors
If you like to use color gels in a more decisive way, you can use both gelled lights on your setup. To understand which colors work well together, you can use the color wheel.
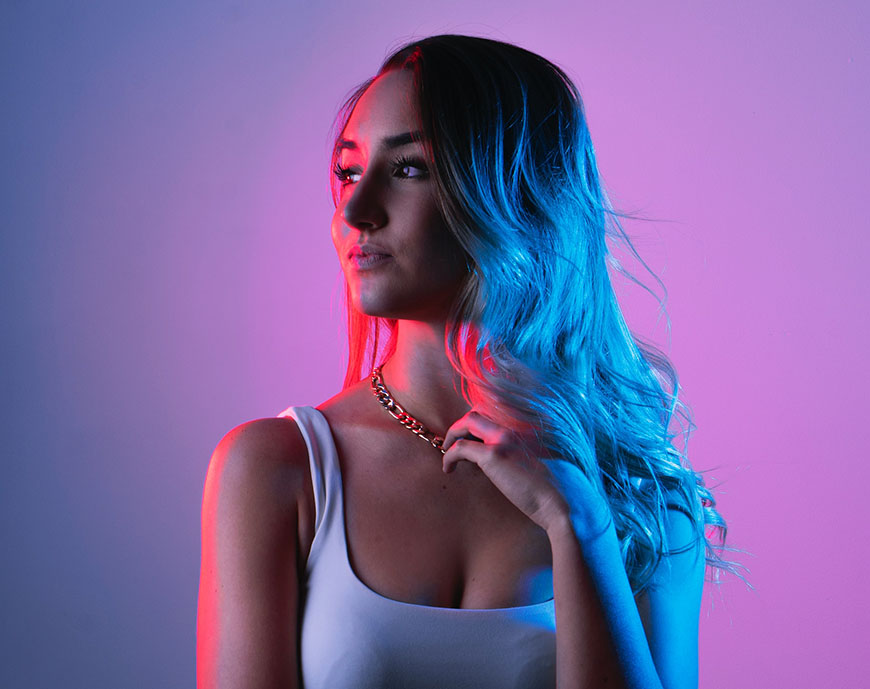
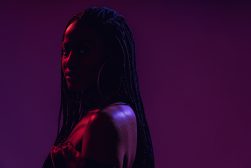
A complementary color palette is always a good idea – especially for portrait photography. A popular combination is to have a red color gel on one side and a blue gel on the other.
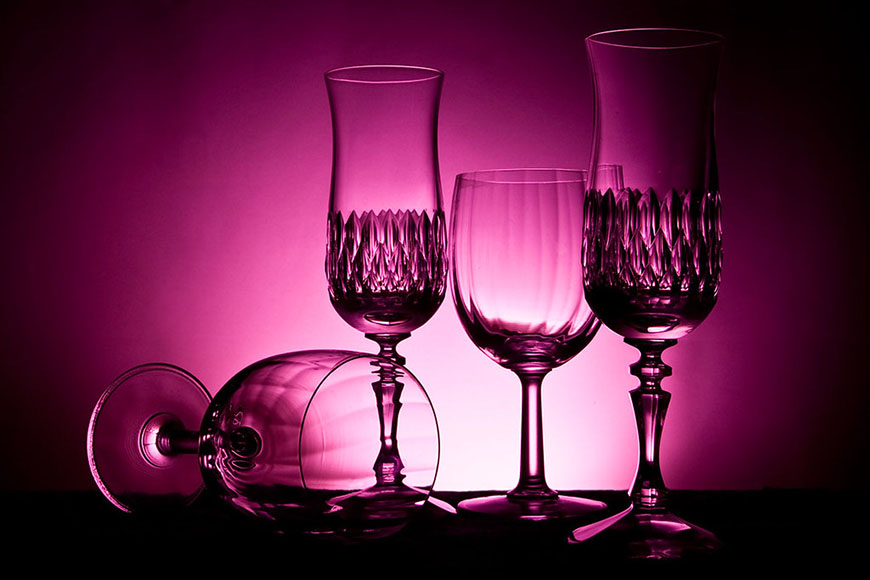
Setup 4 – Change the color of the background
Having a paper or fabric backdrop of every color you want to use can be expensive – and especially, it needs a lot of storage room.
Instead, you can use lighting gels on a white background to have more colors available for your photos.
You’ll need to place two strobes – one on each side, bounced towards the background. This will make the light even. Then, put the same gel color on each strobe. You can turn the power up or down to control how saturated or faded is the color.
Let’s say you’re using blue gels. If you overexpose them, you’ll have baby blue, while underexposing it, you can achieve navy blue.
It’s important that this background light doesn’t spill into your subject. In the same way, you’ll need to control the main light with barn doors, flags, or grids to prevent it from falling on your background.
You can also create a background gradient if you only use one flash.
Setup 5 – Three lights including rim light
Using three lights, you have even more possibilities for your portraits. You can use a white main light and add two colored rim lights to define the face.
You can also have two lights for an even background and one for the subject, or two on the subject and one to create a graduated background.
Aside from the setup, you can also get more creative with the colors. You can create an analogue color palette – for example, using a red gel as the main light, a pink one on the fill light and an orange one as a rim light.
If you want a more vibrant effect, then you can create a triad color scheme for your photos. The possibilities are endless.
7 Tips on Using Color Gels in Photography & Filmmaking
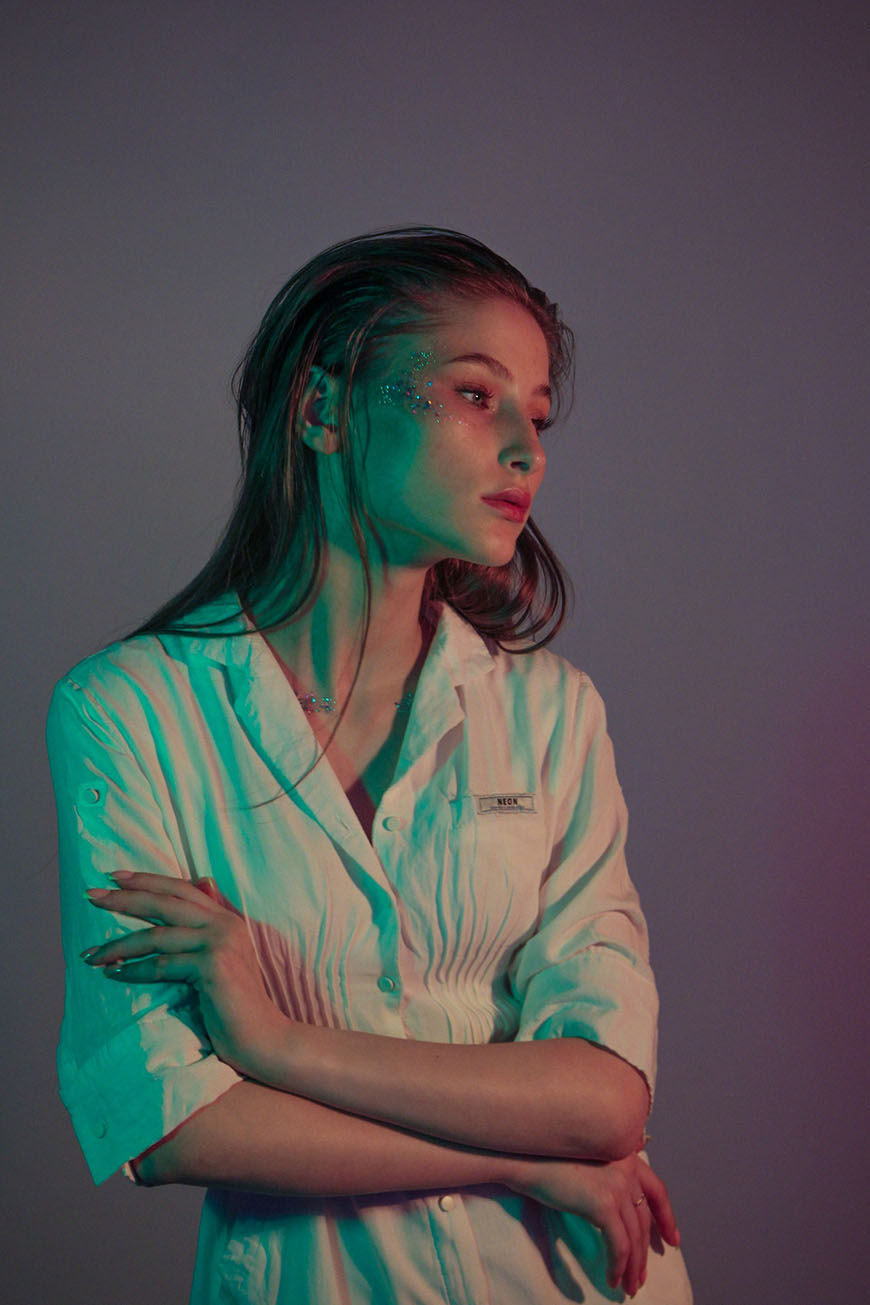
Credit: Mariamna Popova
- Think about the colors you want to use depending on the theme, atmosphere, wardrobe, etc.
- The distance between the lamp and the subject affects the intensity of the color. The closer it is, the more saturated it will be.
- You can layer different color gels to create a different color.
- Use the modeling lamps to see how the color looks. However, don’t keep the modeling lamp on too long if your gels are made of colored cellophane because it can melt. Professional gels should be able to withstand the heat – please check the maximum heat resistance before using to prevent accidents.
- If you use different color gels in your photo, you can easily adjust them separately when you’re editing. You can even change the hue and create a completely different color palette.
- You can always turn your images to black and white if you don’t like the effect you got with the color gels. The brightness of the photo is the same – therefore, the photo will remain perfectly exposed.
Where to Buy Color Gels for Lighting
Jesse LaPlante
You can buy color gels in any photography store – online or locally.
It’s also possible to get a limited selection on Amazon or Walmart.
Here are a few options – tap the links to be taken straight to the lighting gels pages.
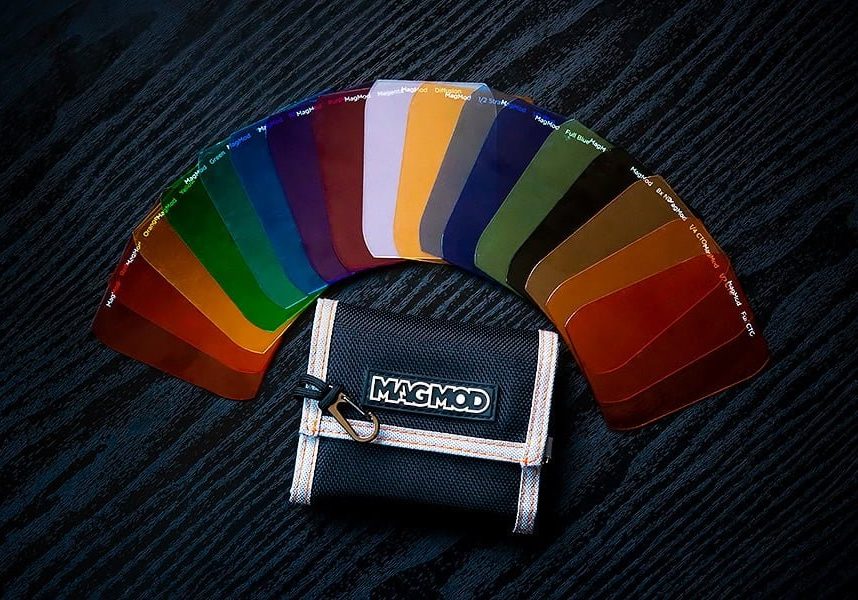
Also popular with portrait and wedding photographers, in particular, are MagMod MagGels (review).
These colored gels can be snapped onto the front of your speedlight via a unique magnetic housing, available here.
FAQs on Lighting Gels
What are CTO and CTB gels?
These are the two most commonly used color correction gels. CTB stands for color temperature blue, which makes tungsten light white. Instead, CTO stands for color temperature orange, and it’s the opposite of CTB.
Can you use gels on LED lights?
Yes, you can use gels on any type of light – including LEDs. Although, you may not need them if you can change the light temperature, which is often the case with LED lamps.
What color gel do you use to filter out green from fluorescent lights?
Since the opposite of green is magenta, you can use a magenta filter. If you need to balance a fluorescent light with white light from your flash, you can also add a green gel to the flash and set the white balance to fluorescent light.
Who are some of the best colored gel photography artists?
Jake Hicks is one of the most famous artists in color gel photography. Francesca Woodman is also known for experimenting with color gels.
Is Lee, Rosco, or Gam better for buying colored gels for lighting?
There’s always a debate when comparing products. In this case, I find that it’s mostly a matter of preference and budget.
Although, I’ve noticed that theater photographers prefer Rosco while concert photographers tend to use Lee more often. Gam is considered the most accessible.
How do you make light gels?
There are different ways to DIY color gels. The most traditional technique is to buy colored cellophane, build a cardboard frame for it, and place it in front of your light source.
 Rim Light Photography: 12 Best Techniques, Examples & Ideas
 Mastering Off Camera Flash: A Beginner’s Guide
 Expert Guide to On-Camera Flash (How, When & Why to Use)
 33 Most Famous Film Photographers in 2023
 33 Most Famous Architecture Photographers in 2023
 26 Famous Car Photographers to Follow in 2023

Ana Mireles is a Mexican researcher that specializes in photography and communications for the arts and culture sector.

WELCOME TO SHOTKIT
Enter your email to be sent
today's Welcome Gift:
19 Photography Tools
🔥 Popular NOW:


Shotkit may earn a commission on affiliate links. Learn more.