


How to Take Better Polaroid Pictures in 2024
Elevate your Polaroid photography skills with expert tips and techniques, ensuring each instant shot captures memories with clarity and character.
Learn | By India Mantle
Are you looking to capture memories through instant photos but can’t figure out how to take Polaroid pictures?
Polaroids have been a staple in preserving cherished moments, and the nostalgia they evoke is unmatched.
I grew up using Polaroid instant cameras and still have an Instax stashed in my drawer, ready for a fun night out.
Even for younger generations who don’t know what it means to “Shake it like a Polaroid picture”, capturing physical photos on the spot can be a lot of fun!

If you’re new to the instant photography world, mastering Polaroids can be challenging at first. Don’t worry, though.
In this article, I’ll walk you through a step-by-step process, helping you take the perfect instant images!
Table of Contents
How to Take Polaroid Pictures in 5 Simple Steps
Taking beautiful Polaroid pictures can be daunting at first. However, with the right technique, you can capture sharp images in no time!
All you need to do is choose the correct film, set your camera, know your positioning, and take the shot!
Handling the images carefully to avoid exposure damage is also crucial to capturing the best instant photos.
Here’s a detailed explanation of each step:
Step 1: Get Your Instant Camera Ready
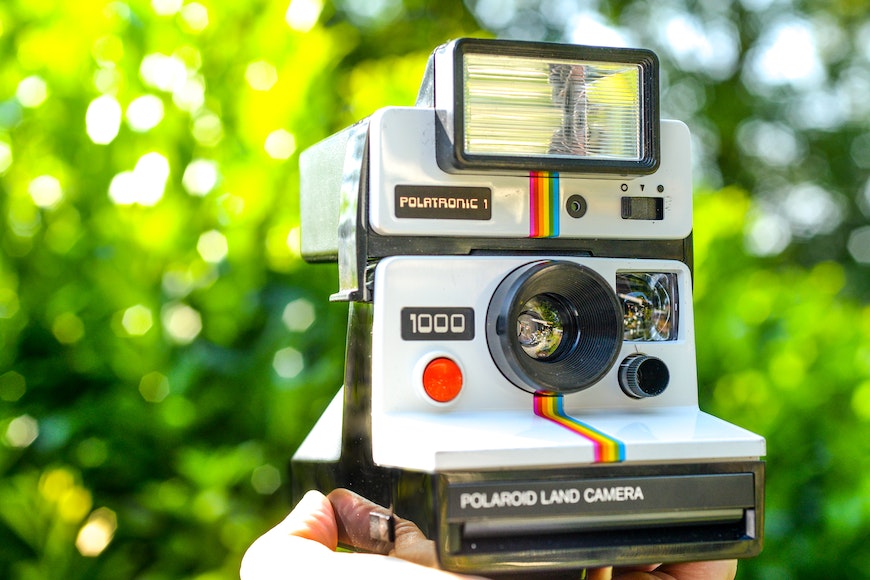
Credit: Skitterphoto
Before embarking on your Polaroid photography journey, make sure the camera is working. That’s especially true for vintage Polaroid models.
Check if your instant camera is in good condition. Make sure to clean the lens, viewfinder, built-in flash, and additional accessories. Use a soft, lint-free cloth and gently remove any dirt.
Additionally, check if the battery is charged. You can skip this step for older cameras since the batteries are in the film itself.
Once you know your camera is in good shape, it’s time to test it! Simply use an empty cartridge and take a few shots to see if the flash is working and other basic functions.
Step 2: Load the Film
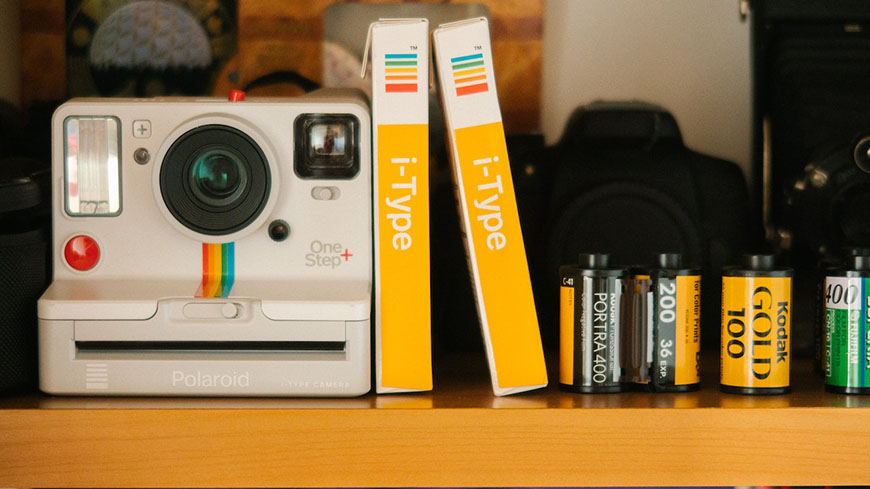
Credit: Athena
First things first, make sure to purchase the correct film type. For instance, the i-type film isn’t compatible with the older models. So, double-check the box before buying it.
Once you have the film cartridge on hand, all you have to do is load it.
Now, this may vary depending on the model you use; it’s best to check the manufacturer’s instructions to avoid damaging any components.
That said, generally, most instant cameras require the following steps to load the film:
- Turn the camera on.
- Pull the switch at the back of your camera to open the cover.
- Remove the old cartridge if present, and preserve it in a container away from any bright light.
- Insert the film pack. The dark side should face upward, while the metal portion faces downward.
- Put the cover back on.
- Wait for the dark slide to pop out before using the camera.
Step 3: Choose the Right Settings

Credit: Cottonbro Studio
When it comes to choosing the right settings for your instant camera, modern models can be a breeze.
That’s because such devices can automatically adjust the brightness depending on the surrounding light conditions. I recommend following these suggestions if you’re a beginner.
Once you get the gist of it, you can play around with the brightness or the shooting mode.
You can also change the lens depending on your desired shot. For instance, if you want to capture close-up photos, install the close-up lens to avoid any unwanted blurriness.
Step 4: Position Yourself

Credit: Fauxels
Now that your instant camera is prepared for action, the next step is to master your positioning.
For starters, make sure you’re at least 2-4 feet away from your subject to capture sharp photos. That’s especially crucial if your model doesn’t have autofocus.
Aside from the distance, always use a flash. It doesn’t matter if you’re under the sun’s rays; make sure to switch on the flash mode or use an external box.
That’s because instant cameras can be contrasty. If your subject is darker than the background, it won’t be visible.
In contrast, harsh lighting can highlight skin imperfections—not the most flattering results, right?
Flashlights can help you overcome all these issues. Just ensure what you’re photographing is within the flash range.
Aside from that, try to fill the frame since you can’t crop unwanted backgrounds.
Step 5: Take the Shot and Handle the Photos Gently

Credit: Lisa Fotios
After following the above steps, all you need to do is take the shot. Push down the button and let the magic happen!
However, that’s not the tricky part. Handling the images after you capture them is what matters.
That’s to avoid damaged photos. You see, Polaroid pictures are sensitive to light. Exposing images to UV radiation can stop proper processing of the input light, preventing sharper details.
Not only that, but UV can also cause the colors to fade during a process known as photodegradation.
To avoid throwing all your hard work in vain, cover the Polaroids immediately with paper as soon as they pop out. Then, place them face-down in a light-safe container.
Wait around 10-30 minutes before viewing the pictures. That’s especially necessary for color film.
How to Take Polaroid Pictures on an iPhone
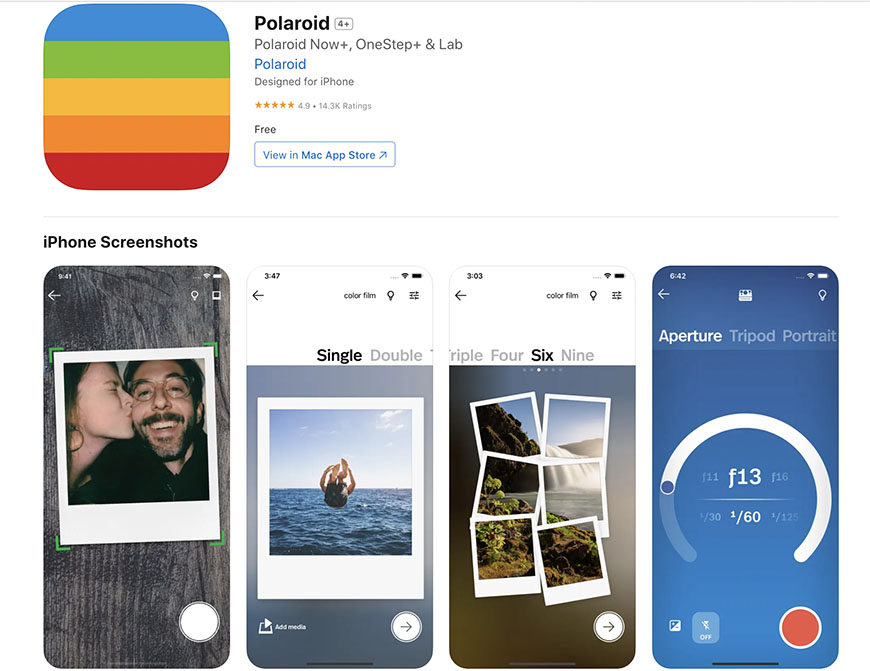
Credit: App Store
If you don’t have a Polaroid, you can still achieve the instant film look using your iPhone! Sure, it may not match the charm of the physical camera, but the outcome is still aesthetically pleasing!
Here’s how to take Polaroid pictures on an iPhone:
- Go to the App Store and download the Polaroid app.
- Select the mode you want in the app.
- Snap the picture, and you’re done!
- Alternatively, upload a digital photo and use the Polaroid Lab to edit it.
Tips for Capturing Sharp Images on a Polaroid

Credit: Pixabay
Creating visually appealing images with your Polaroid camera doesn’t require professional expertise.
Here are some tips to help the average person capture flattering pictures with instant cameras:
- Use fresh film: Expired films produce foggy, unusable images, especially for colored photos. Make sure to check the shelf life of your film before using it.
- Monitor the temperature: Keep your film out of the heat, as temperatures above 82ºF can produce photos with an orange tint.
- Shoot with the sun: Make sure to shoot with the sun behind you to make use of the natural light. This ensures your subject has sufficient lighting.
- Use a flat surface: To avoid blurry photos and stabilize the camera, place it on a flat surface or use a tripod.
FAQs
Do you still have some questions about taking the perfect Polaroid? Check out these common inquiries:
Q. How do you take Polaroid pictures at night?
To capture sharp Polaroid pictures at night, do the following:
- Use a tripod to stabilize your camera, as the slow shutter speed makes it sensitive to movements.
- Adjust the brightness to the highest setting.
- Rely on artificial light, such as lampposts, to illuminate your subject.
- Use flash accessories, such as flashbars, to improve the quality of photos taken at nighttime.
Q. Can I take Polaroid selfies?
Yes, you can take Polaroid selfies in two different ways. You can install the close-up lens and switch the flash on.
Hold the camera at arm’s length. Use a mirror to see if you’re in the frame, and take the photo!
Alternatively, you can snap a regular selfie using your smartphone and edit it to get that vintage look.
Q. Can I turn digital pictures into Polaroid?
Yes, you can turn digital pictures into Polaroid for free. Simply download one of the many apps that handle this task, upload your images, choose your desired filter and template, and you’re done.
To convert them to physical prints, you can use this digital-to-analog photo printer and create your Polaroid photo album.
You can also convert negatives into digital pictures relatively easily, too.


As the Content Manager of Shotkit, India Mantle brings with her a lifelong love for photography that she developed during her childhood, watching her father document their family moments with his Nikon EM. In her free time, you find her enjoying the awe-inspiring natural beauty of her home, Northern Rivers, Australia.

WELCOME TO SHOTKIT
Enter your email to be sent
today's Welcome Gift:
19 Photography Tools
🔥 Popular NOW:


Shotkit may earn a commission on affiliate links. Learn more.