


Real Estate Drone Photography Tips for Professionals
Discover the value of using drones for real estate photography, including flying tips, legalities, potential earnings, pricing strategies and client acquisition.
Learn | By Ana Mireles
If you want to improve your real estate drone photography, this article can be of help.
Whether you’re a real estate photographer looking to add drone photos to their services or a drone pilot wanting to tap into the real estate business – you’ll find valuable information here.
I’ll start by talking about the benefits of real estate drone photography. Then, I’ll brush over the starting points – from the legal requirements to finding clients.
Of course, I’ll also talk about pricing and what type of salary you can expect.
I’ll also recommend the best drones for real estate photography – both for pros and for beginners on a budget.
Last but not least, I’ll give you some tips to improve your real estate drone photography and answer some FAQs.
Let’s take off!
Table of Contents
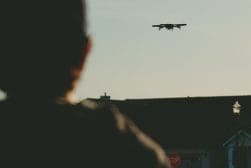
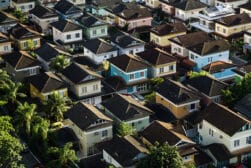
Reasons to Use a Drone for Real Estate Photography
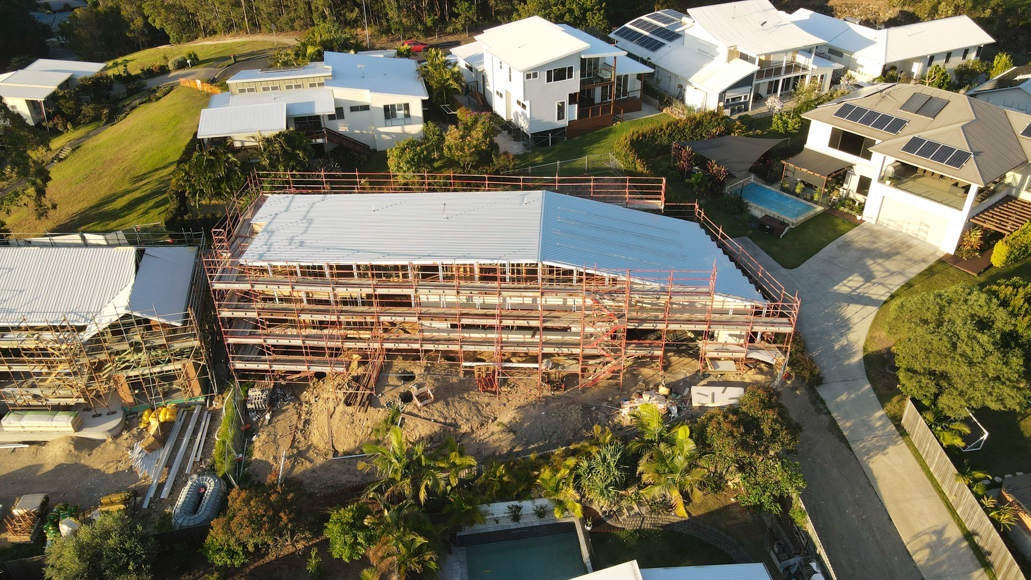
Drones are also helpful for photographing properties being built | Mavic Pro Classic 3
More and more clients are asking their real estate agents to capture aerial images of their properties.
Aerial photography offers many advantages. It provides a bird’s eye view that you won’t get with traditional photography. This allows the prospective buyers to see the property in a bigger context.
Drone images give a better sense of how big the property actually is, as you can see it in proportion with its surroundings.
They also allow you to see part of the neighbourhood. You can showcase how much green there is around the property or how close is the public transport.
A high point of view also allows you to showcase features that would otherwise be unnoticed. For example, if the house has solar panels installed on the roof or if there is a roof garden.
Is Real Estate Drone Photography Worth It?
In the US, property listings with aerial shots have a 68% more chance of selling. This makes real estate drone photography services highly appreciated by real estate agents – especially those who handle commercial properties.
Aerial videos are also quite important. You can use them to show the proximity between the property and public transportation or a landmark. It also allows you to zoom into high-regarded details in the property – putting them in context in a way that drone images can’t give.
So, yes – real estate drone photography and videography are both worth it.
How to Get Started with Real Estate Aerial Photography
Now that you know the benefits of real estate aerial photography, you might want to include this service during the photo shoot.
If so, you’ll first need to research the local laws for drone usage. You’ll also need to consider the federal law in this regard.
Now that you’re familiar with the regulations, you can start learning how to fly a drone and get quality photos and videos.
Once you’ve learned and are ready to upgrade from recreational to commercial use, you’ll need to get a drone license. Now, you can open a drone business or add drone photography to your services.
Real Estate Drone Photography Salary
Being a drone pilot is an incredible job. However, you’ll usually work independently – which means that your salary depends on much more than your talent.
The Bureau of Labor Statistics has yet to start collecting information about this career path. Most related websites only report an average as a drone pilot without focusing specifically on real estate drone photography.
So, it’s difficult to find enough information. However, the website Drone U reports an average salary in real estate drone photography of USD $ 77,247.
Instead, the Drone Blog estimates an income ranging from USD$50,000 to USD$150,000.
This, of course, may be different depending on where you work. It will also depend on your level of expertise and your client base.
How Much to Charge a Real Estate Agent for Drone Real Estate Photography
Drone pilots usually charge by the hour something between USD$30 and USD$200 – sometimes even more.
However, real estate professional drone pilots often charge by photo shoot a different fee depending on the square footage of the property.
You can base your prices depending on where you’re located, your experience, the number of shots, and the type of client.
As a starting point, you can consider Drone Blog’s pricing structure, which starts at USD $ 149 for a property that’s under 200 square feet. Then, a USD$50 increase every 1000 square meters. So, for a 5000 sq. ft. property – you would charge USD$299.
However, I encourage you to do your own market research in your area.
How to Find Clients
Many photographers don’t have the knowledge, the gear, or the license to offer aerial photographs as part of their real estate photo shoots.
They can become your clients as combining services could maximise the sales for both of you. You can also offer your drone photography services directly to real estate agents.
Either way, you must have a good portfolio and build a website where your potential clients can appreciate your skills and style.
Your website should be optimized so that it’s easier for people to find you when they’re looking for real estate photography.
Client referral is another great way to reach new clients. You can offer incentives to encourage word of mouth.
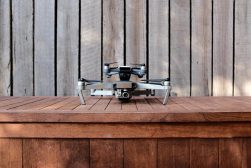
What Is the Best Drone for Real Estate Photos?
Drone technology is always improving. If you want to work in real estate drone photography and be competitive, you need a good drone.
One of the important things to consider is that it has a professional-grade camera. I suggest a minimum resolution of 4K for videos and 12 MP for the photographs.
It’s not just the maximum resolution but also the sensor size. It should also give you manual control of the exposure settings, and you can shoot in raw format.
As with any other camera, the lenses are key for aerial photos. Also, consider if it has intelligent flight modes, battery life during flight time, and other important features.
Here’s a list of the best real estate photography drones to choose from.
DJI Air 3 – This drone has a 48MP sensor and two cameras – one is a 24mm f/1.7, and the other is a 70mm f/2.8. This makes it great for low-light conditions, but you might need a neutral-density filter for daytime photo shoots. It records 4K video and flies for up to 46 min with a single charge.
DJI Mavic 3 Pro – This drone has a main camera with a 24mm f/2.8 to f/11 lens with a Hasselblad sensor. Then, you have a 70mm telephoto and a 7x zoom lens equivalent to 166mm. It records 5K video, and the flight time is 43 min.
DJI Mini 3 Pro – This is a great budget drone that’s compact and quiet. It records 4K video and supports vertical shooting. It has a dual-case battery – so you’ll be able to fly for a long. It’s not great in windy situations, though.
DJI Mini 2 SE – This drone is one of the best options if you’re just starting and you don’t have a big budget. The battery life will give you up to 31 minutes of fly time. You can record 2.7K videos, and it has a 12MP photo resolution.
If you want to learn more about the equipment needed to take photos and videos of properties, check out our guides:
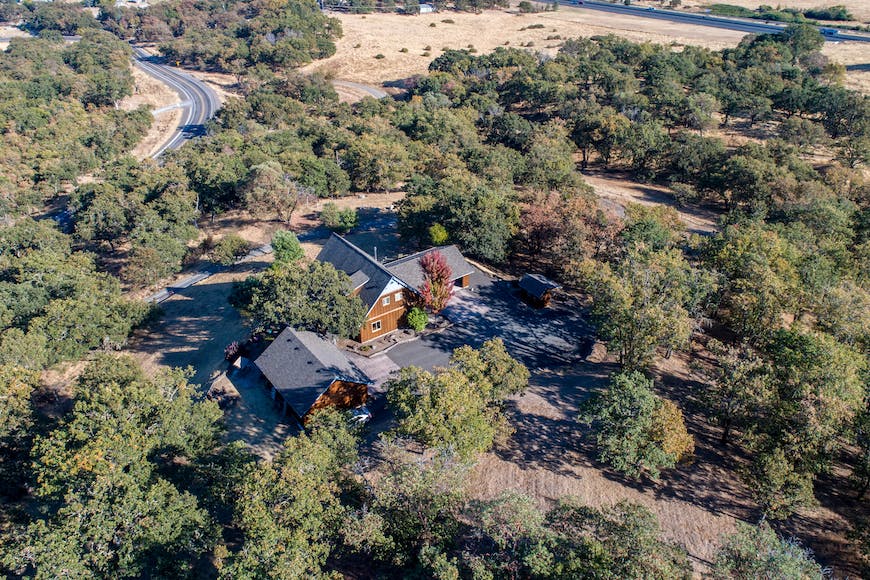
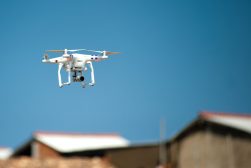
Drone Real Estate Photography: Legal Requirements
Alan Levine from Strawberry, United States, CC BY 2.0, via Wikimedia Commons
The first thing you need to do is to get an FAA license. Once certified, you must get training to renew it every 24 months.
You also need to register your drone if it weighs more than 0.55 pounds (250 grams) – this applies for recreational use as well.
Keep a flight and a maintenance log. In the flight log, you can register when and where you were working, the weather, the altitude, if there were no-flight zones nearby, etc.
As for the maintenance log, you can write if you replaced parts of it, checked if it functioned properly – especially if you haven’t used it in a while, etc.
Get a Low Altitude Authorization and Notification Capability (LAANC) if needed.
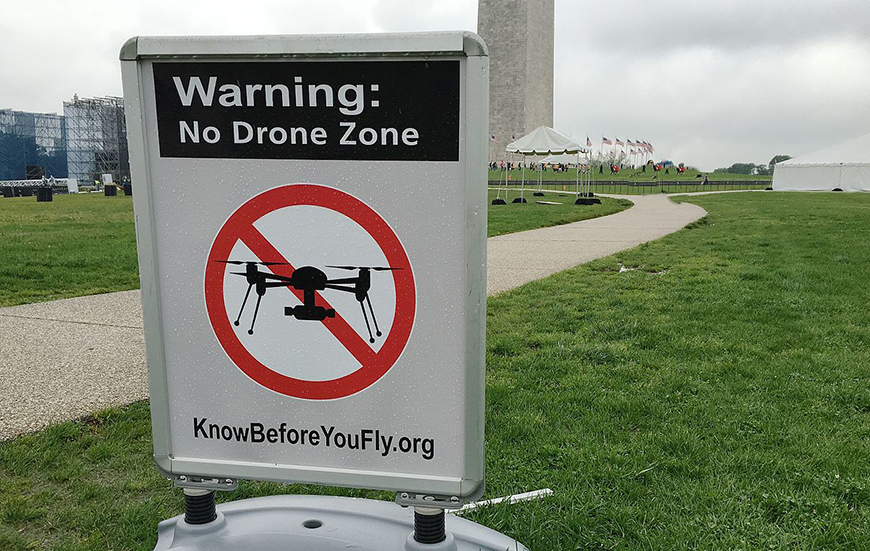
Regarding local and federal regulations. This means flying below 4oo feet, not taking off or landing on private property without permission, not flying over traffic or crowds, etc. You need to get informed and stay updated about these regularly.
Also, get drone liability insurance even if it’s not required by law. This will protect you and your business in case of property damage and other risks.
Real Estate Drone Photography Tips

Credit: Curtis Adams
Real estate drone photography has a learning curve. So, practice is very important. Also, stay updated on new developments and trends.
Here are three real estate drone photography tips to improve your photos.
Tip 1: Choose the right time of day
Early morning and late afternoon are great for minimizing shadows because of soft light. Also, it allows you to combine natural light with the house lights turned on and make a beautiful shot.
Otherwise, shoot at noon with full sun because the harsh shadows will be shorter. This way, they will be less distracting.
Tip 2: Make a shot list
Before the photo shoot, make sure you make a shot list including all the important angles. Take multiple shots to have a good selection to deliver to your client.
These are some of the photos you can include for a residential property photoshoot – feel free to add to the list according to your style and needs.
Each type of property will be different. It’s not the same to shoot a farm with lots of harvesting land as a luxury villa with a pool and a guest house.
- The high-angle wide shot shows the bigger context.
- The medium-high shot shows the house with its immediate surroundings.
- A close-up of the house on a medium-high angle.
- Top-down.
- A medium-height shot from the back.
- Detail shots.
Tip 3: Understand the property’s highlight features
Each property has unique selling points—whether it’s an elegant outdoor pool, a sprawling garden, or a charming wraparound porch.
It’s essential to communicate with your client beforehand to understand these highlights.
Once you know what features to accentuate, use your drone to capture them from angles that ground photography can’t match.
A circling shot can elegantly emphasize a water feature, while a gradual ascent can unveil the grandeur of a large estate piece by piece.
Tip 4: Respect privacy and follow regulations
As a drone photographer, you’re also a pilot, and with that comes the responsibility to abide by local aviation rules.
Make sure you’re aware of and comply with all FAA regulations—or your country’s equivalent—concerning drone flights, especially in residential areas.
Be mindful of neighbours’ privacy, avoid flying over private property without permission, and maintain the required distances from people and structures.
Tip 4: Pay attention to composition and framing
In photography, composition is everything. With drone photography, you have the unique ability to create compositions not possible from the ground.
Use the rule of thirds to position the property interestingly within the frame.
Ensure that the horizon is straight and the property is well-positioned to lead the viewer’s eye through the picture.
Don’t forget to use natural lines – like driveways, fences, or even rows of hedges – to guide the viewer’s attention towards the main subject, the property.
Tip 5: Utilize bracketing for the best exposure
Exposure bracketing is a technique where you take multiple shots of the same scene at different exposure levels (usually one at the recommended exposure level, one underexposed, and one overexposed).
Later, during post-processing, you can merge these images for a photo with balanced highlights and shadows, which is particularly useful for high-contrast scenes.
Most advanced drones come with an auto exposure bracketing (AEB) feature, so take advantage of it to ensure you capture the full dynamic range of the property.
Tip 6: Use lens filters on your drone
When you’re flying your drone on a bright sunny day, the intense light can easily lead to overexposed images and glare, which can obscure important details of the property you’re trying to showcase.
This is where ND (Neutral Density filters) and polarizing filters become invaluable.
Tip 7: Leverage flight planning modes for consistent shots
Modern drones are equipped with advanced flight planning software that allows for pre-programmed flight paths.
By utilizing these modes, you can plan your shots before you even arrive at the location, ensuring a smooth, consistent flight pattern that will cover all the angles you need.
- Waypoint Navigation: Set GPS coordinates for your drone to follow. This can be particularly useful for creating a consistent path around the property that can be repeated, ensuring you capture the same angles during different lighting conditions or on separate days.
- Point of Interest (POI) Flight Modes: This automated flight mode enables your drone to circle around a predefined point – often the house or a particular feature like a large tree or fountain – while keeping the camera trained on it. This is excellent for creating dynamic shots that showcase the property in relation to its surroundings.
- Course Lock: By setting a straight flight path regardless of where the nose of the drone is pointing, you can capture smooth, straight tracking shots. This can be used to create revealing shots of the property from different angles as you fly past.
- Tripod Mode: When detailed precision is needed for close-up shots or intricate maneuvers around a property, Tripod Mode slows down the drone’s movements for a more controlled flight. This can help capture high-quality stills and videos without blur, especially in tight spaces where precision is key.
Tip 7: Edit your photos
Shooting raw files will give you further flexibility when editing your real estate drone photography. So, make sure your drone gives you this possibility.
Then, use the editing software of your choice – I like to use Adobe Lightroom and Photoshop. However, there are many other options on the market – see our recommended editing software for real estate photography.
You can use Lightroom to fix the white balance and make adjustments in light and exposure. It’s also a great program to ensure you have a consistent look on all your images.
Then, you can use Photoshop for more complex editing, such as HDR images or panoramas, when necessary.
Regardless of the editing program you use, make sure to do a lens correction and straighten the horizon. You can also erase anything distracting, like trash on the driveway or a patch of dry grass in the garden.
However, you should never retouch a real estate photograph so that it’s misleading to the potential buyer. You only want to enhance the picture so the property looks its best.
FAQs on Real Estate Drone Photography
Credit: Clay Elliot
How much can you make with real estate drone photography?
Drone pilots working in real estate marketing can make something between USD$50,000 to USD$150,000 per year. The difference in income depends on how much you charge and how many clients you get.
Can I use my drone for real estate photography?
The short answer is yes. Real estate aerial photography is one of the fastest-growing markets. Of course, some drones work better than others for professional work.
Depending on where you live, you should check if you need to register as a commercial drone pilot and any other regulations before you start offering this service.
What are the legal requirements for real estate drone photography in the United States?
When you fly drones for real estate listings, you’re doing so for commercial purposes – this means that you need to obtain a remote pilot certificate.
Also, if the drone is heavier than 0.55 pounds – you need to register it with the FAA (Federal Aviation Administration). As of September 2023, you also need to consider the Remote Identification Rule.
 Best Drone for Real Estate Photography in 2023
 How Much Does a Drone Cost in 2023? Comprehensive Price Guide
 How Can I Prevent Drones Flying Over My House?
 19 Drone Photography Tips to Improve Your Aerial Shots in 2023
 Best FPV Drone for Immersive Flying and Racing in 2023
 Guide to Real Estate Photography in 2023 (18 PRO Tips!)

Ana Mireles is a Mexican researcher that specializes in photography and communications for the arts and culture sector.

WELCOME TO SHOTKIT
Enter your email to be sent
today's Welcome Gift:
19 Photography Tools
🔥 Popular NOW:


Shotkit may earn a commission on affiliate links. Learn more.