


How to Stabilize Video in Premiere Pro
Learn how to stabilize shaky footage using the Warp Stabilizer effect in Adobe Premiere Pro. Plus, tips for shooting smoother handheld video!
Premiere Pro | Software | By Ashley Darrow
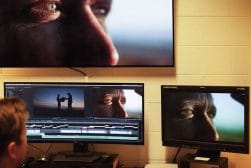
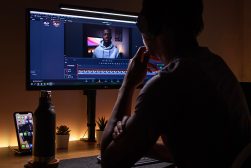
Shooting handheld often means shaky video, but it doesn’t have to be that way. Today, I’m going to show you how to stabilize video in Premiere Pro.
Lately, I’ve been trying to post more short-form videos to social media, but my shots aren’t as steady as I need them to be.
Luckily, Premiere Pro’s Warp Stabilizer effect can smooth out shaky footage with pretty much a one-click edit.
Download the latest version of Adobe Premiere Pro to follow along with this simple tutorial.
Start a free 7-day trial today
This guide will walk you through using Warp Stabilizer and adjusting the effect. Plus, I’ll give you a few tips for smoother footage!
Table of Contents
How to Stabilize Video in Premiere Pro
All handheld footage winds up being a little shaky, but sometimes you need to do more than apply a light crop to your footage to get rid of any noticeable shake.
Today, I’m going to show you how to use the Warp Stabilizer effect in Premiere Pro to fix your shaky footage.
Prepare yourself to go to warp. Engage.
Get Your Footage Ready
Simple projects are easier to stabilize, but if you have complicated workflows, then I recommend stabilizing early in the process.
The first thing that you want to do is to get your footage ready.
It’s much easier to apply Warp Stabilizer before your composition gets complicated.
The project I’m working on is just a short form video for Instagram, but if you have a larger project in mind, you might want to stabilize your footage before you start adding in other effects, audio, and additional footage.
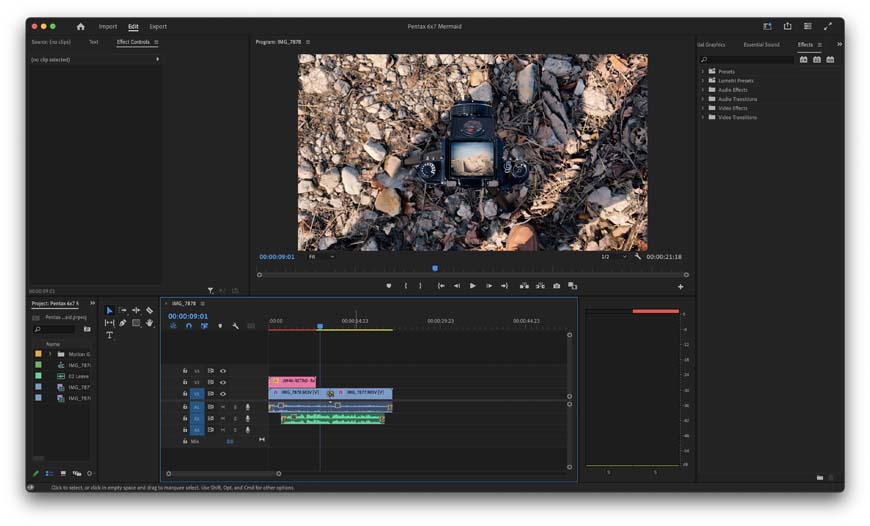
Split Your Clips
The Warp Stabilizer works faster on smaller clips.
Warp Stabilizer is resource intensive for your computer. It’s going to be using up a lot of power behind the scenes to correct camera shake.
Warp Stabilizer works faster and more efficiently on smaller clips. If only a section of your footage is shaky, the best thing to do is to split that clip and only apply Warp Stabilizer to the problem sections.
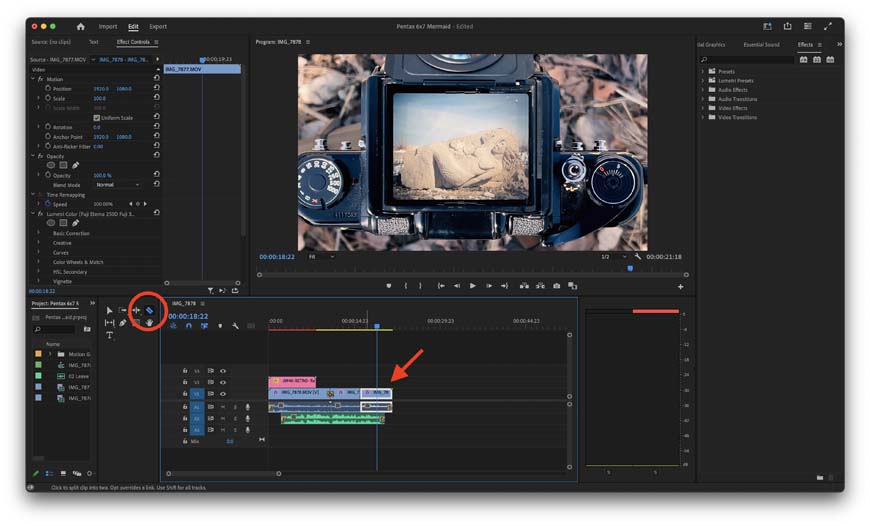
There are two ways to quickly split clips in Premiere Pro.
My personal favorite is to drag the playhead to the exact frame I want to create the split at and then hit Command+K on Mac or Control+K on PC.
You can also use the razor tool to cut a split into your clip wherever you’d like.
Use the Warp Stabilizer Effect

It’s time to fire up our warp engines! (You can also just search for Warp Stabilizer in the search field above the effects menu.)
You’ll find the Warp Stabilizer effect under Effects > Distortion > Warp Stabilizer.
If the Effects menu isn’t visible, you can enable it in the Window menu at the top of Premiere Pro.
Simply drag and drop Warp Stabilizer onto your clip and it will begin working.
Tips for Adjusting Stabilized Footage
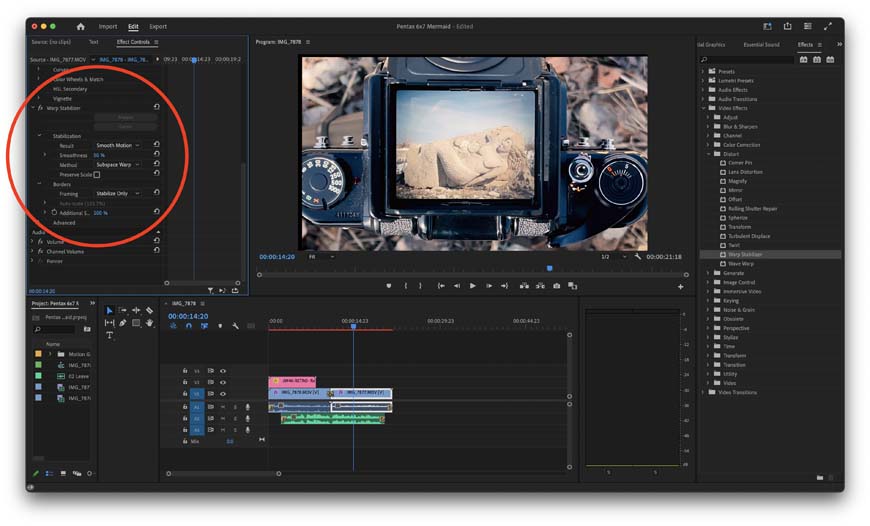
You’ve got plenty of options for adjusting this effect to reduce artifacts and distortion while fine-tuning the stability of your video.
As with everything in photography and video, you’re going to want to do some fine-tuning to any effects you apply to get the look you’re after.
Here’s a rundown of a few of the settings that you’re going to encounter when making some adjustments to the Warp Stabilizer effect.
- Smoothness: Warp Stabilizer automatically adds a smoothing effect to your video, but this can create wobbly looking footage. Scale it back to reduce any wobbly artifacts.
- Cropping: Warp Stabilizer crops your footage by default, so use this to adjust the amount of crop.
- Smooth Motion: Keeps your original camera movement as shot, but smooths it out to make it less jittery.
- No Motion: Attempts to eliminate all motion and create a “tripod” style shot, but will create distortion, especially in shots with lots of camera movement.
- Position: Most basic stabilization – try this out if other options are creating too much change to your footage.
- Position, Scale, Rotation: Uses position, scale, and rotational data to determine how to automatically stabilize your footage.
- Perspective: Corner pins the entire frame.
- Subspace Warp: It’s not just for The Enterprise; Subspace Warp makes small adjustments throughout the frame for a fine-tuned stability, but it requires the most information to work.
How to Stabilize Shaky Footage in Premiere Pro Without Warp
Warp Stabilizer is an incredibly powerful tool, but it does have its limitations.
Footage shot with a high depth of field is much harder for Warp Stabilizer to process. That can lead to footage that looks wobbly, woozy, and not very pleasant to watch.
Warp Stabilizer can also struggle with more complicated movements, like an incredibly shaky video camera paired with a subject that is moving inconsistently.
So, what’s the alternative? Adobe After Effects!
Don’t worry; it’s not as intense as it might seem.
I’m going to run through a very quick guide on exporting your footage from Premiere Pro to After Effects and then using AE to stabilize what the Warp Stabilizer can’t handle.
- Right-click your clip and select “Replace With After Effects Composition”.
- Your clip should open in After Effects as a new composition. The rest of these edits happen in After Effects.
- Move the playhead to the start of your clip.
- Select “Track Motion” from the Tracker menu.
- A target box will appear in the center of your footage. The smaller inner box is the object AE will track and the larger outer box is the area AE will search for this object.
- Hit the play button in the Tracker menu to track the motion of your selected object.
- Once that’s done, create a new null object.
- In the Tracker menu, select a new target for your motion tracker and select the null object.
- Create a new camera and parent it to your null object.
- Enable the 3D option on your footage and the null object. You’ve now got motion-tracked footage!
- Motion tracking also creates a minor crop to your clip. Scale your footage accordingly to get rid of any visible crop.
Null objects, Parenting cameras, and replacing footage? Oh, my! After Effects can definitely get intimidating. However, it’s not actually as scary as it seems.
Let me know in the comments if you want a detailed walkthrough of creating motion tracking in Premiere after effects.
Tips for Shooting Smooth Motion Video
I wanted to close out this guide with a few quick tips on how you can shoot smoother video.
Shooting with a gimbal is going to be the best way to stabilize your footage, but these are four things that you can start doing today without having to purchase any new gear.
Shoot Wide
Wide-angle shots hide subtle shakes. Shooting wide can also help you when you’re editing video in post by giving you more footage to work with.
The Warp Stabilizer works by partially cropping your image, and starting with a wider shot than you intend on ending with will go a long way to stabilizing your video.
Always Use Two Hands
You also always want to keep two hands on your camera.
I typically have one hand supporting the weight of the lens and the other hand supporting the camera body.
Shoot With Three Points of Contact
It’s hard to stabilize even the lightest camera if you’re holding it away from your body with your arms fully extended.
Always try to create a third point of contact with the camera when shooting video. This could be a camera strap, holding the camera against your chest, or even keeping the viewfinder next to your eye.
That third point of contact is going to add a lot of additional stability to your shots. It’s also going to lower the temptation to mess with settings while shooting, which leads to some of the hardest-to-remove camera shake.
Use Camera Motion
This might sound a little paradoxical, but camera motion can hide camera shake.
There’s a principle in sleight of hand magic that’s at work here. Magicians like to say that the “big movement conceals the small movement.”
This works when you’re making playing cards appear out of thin air, but it also works when you’re hiding camera shake during a larger camera movement.
Bigger camera movements like panning and tilting make the smaller movement of camera shake seem much less apparent – or it can even completely hide it!
Wrapping Up Stabilizing Shaky Footage in Premiere
Now you’ve got the skills to get rid of shaky video footage in Adobe Premiere Pro by using the Warp Stabilizer.
Let me know in the comments if you have any questions about the Warp Stabilizer, Premiere Pro or getting more out of your video editing.
 Best Video Editing Software Tools for Movie Making
 Final Cut Pro vs Adobe Premiere in 2023: Which Video Editor?
 How to Buy Adobe Premiere Pro in 2023 (Options for all Budgets)
 10 Best Video Editing Software Programs for Youtube
 11 Best Video Editing Software Programs for Mac

Ashley is a photographer, writer, and film critic. When Ashley’s not writing essays on photography, cinema, and theory, he’s out taking pictures with retro film cameras.

WELCOME TO SHOTKIT
Enter your email to be sent
today's Welcome Gift:
19 Photography Tools
🔥 Popular NOW:


Shotkit may earn a commission on affiliate links. Learn more.