


How to Draw a Curved Arrow in Photoshop (And Save as a Preset)
In this guide, you will learn how to create a curved arrow and save as a custom shape in Adobe Photoshop presets for future use.
Photoshop | Software | By Judyth Satyn
You need to use a curved arrow in Photoshop but you can’t find a custom shape to use, so why not make one?
There might not be an option to automatically make a curved arrow in Photoshop, but follow these easy steps to create one.

Download a free copy of Adobe Photoshop to follow along with this simple tutorial.
Curved arrows are useful when making tutorials and guides they add a fun flair to an otherwise plain document.
Plus in this guide, you will learn how to save the curved arrow as a custom shape in Adobe Photoshop’s presets for future use.
Let’s dive in and begin.
Table of Contents
How to Draw a Curved Arrow in Photoshop in 7 Steps
The magic of Adobe Photoshop is that there is more than one way to complete a task, and this is also true for creating custom shapes.
This is one method you can use to create a custom shape, such as a curved arrow, and save it to shape presets for future use.
Step 1: Open a Canvas
Open a new Photoshop document, navigate to the top menu bar, and select File > New.
Alternatively, for a keyboard shortcut hit Ctrl plus N (for Windows) or Command plus N (for Macs).
If you have an image to which you wish to add the curved arrow, locate and open the image in Photoshop.
Step 2: Create a New Layer
Create a new layer in which to create the curved arrow.
Click the add layer icon at the bottom of the Layer Panel, a square with a plus symbol inside.
![]()
Alternatively, head to the top menu bar and select Layer > New > Layer.

Name the layer Curved Arrow by clicking the text beside the layer in the layers panel.
Step 3: Create the Circle Shape
To create the circle of the curved arrow we will select the Elliptical Marquee tool from the toolbar.
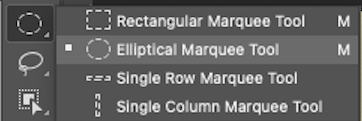
Using the Elliptical Marquee tool create a circle in the canvas workspace.
If you do not want the shape to be oblong but want a perfect circle with an equal radius, hold the shift key as you drag your cursor across the canvas.
Release the cursor and the shift key and you will have a row of marching ants creating a perfect circle.
Now fill the circle shape with color by selecting the Paint Bucket tool from the toolbar.
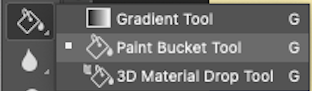
Select your preferred color from the color palette and click the Paint Bucket icon inside the circle.
Your circle will now be filled with your selected color.
To deactivate the circle path selection, select the Marquee tool and click anywhere in your canvas.
If you need you can change the size of the circle using the Free Transform tool.
Select Edit > Free Transform, or click Ctrl plus T (for Windows) or Command plus T (for Macs) for the keyboard shortcut.
Step 4: Add a Layer Mask
With the curved arrow layer active create a Layer Mask.
Hit the Layer Mask icon at the bottom of the Layers Panel, a square with a circle inside.
![]()
Alternatively, head to the top menu bar and select Layer > Layer Mask > Reveal All.

The layer mask will appear in the layers panel.
Step 5: Select the Brush Tool
With the curved arrow Layer Mask active head to the toolbar to the left of your canvas workspace and select the Brush tool.
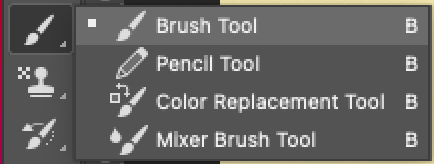
You will be given two color options black or white, black will reveal the mask, and black will hide the mask.
The Layer Mask is set as Reveal All so set the Brush tool to black so it will hide or mask the unneed areas of the shape.
Step 6 – Mask Areas of the Circle
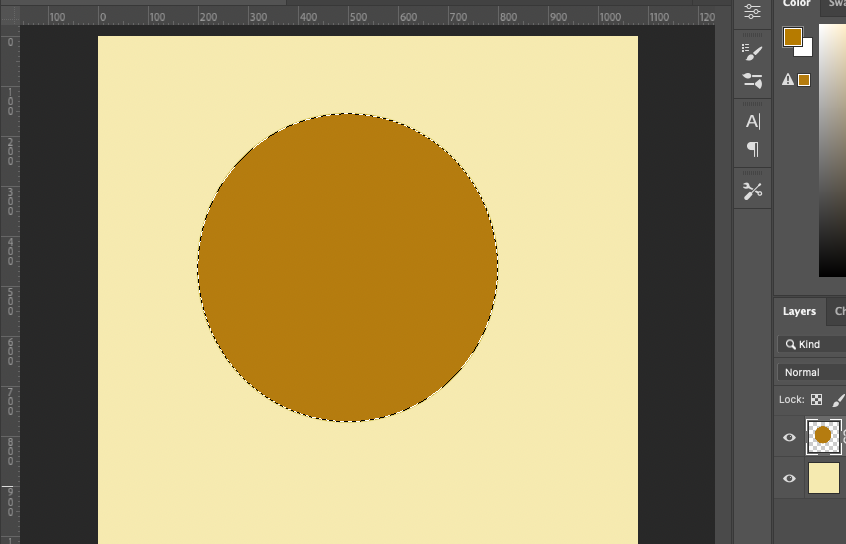
Mask the areas of the circle that you will not need for the curved arrow shape.
You can do this by painting over the areas with the Brush tool.
As you paint you will see the painted areas of the circle disappear.
![]()
Using the mask you are creating non-destructive edits, so do not worry if you make a mistake as any area you remove can be revived.
Simply change the Brush tool color to white and with the Mask Layer active paint on the areas of the circle you wish to recover.
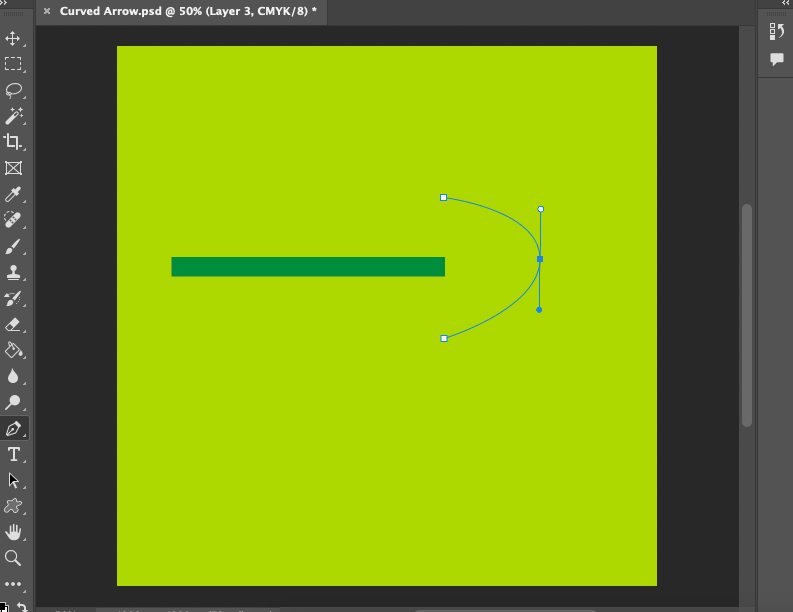
Step 7: Create the Head of the Arrow
When you have created the curved end of the arrow shape, you can start to create the arrowhead.
Select the Pen tool from the toolbar or hit P for the keyboard shortcut.
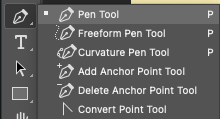
Activate the layer and using the Pen tool add the points of the arrowhead onto the curved shape.

If you make a mistake you can retract the last edit by hitting Ctrl plus Z (for Windows) or Command plus Z (for Macs).
Alternatively, use the History Panel and skip back to any edit you wish.
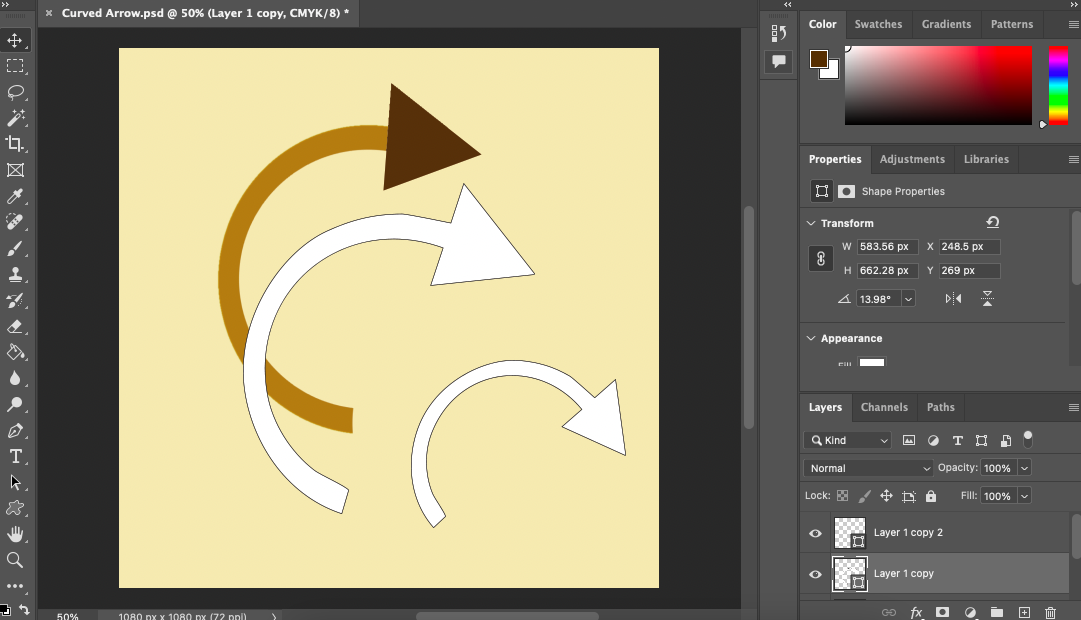
When the arrowhead shape is completed you can fill the shape in a few different ways, this is the quickest method
Head to the Paths panel.
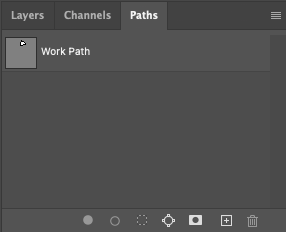
At the bottom of the Paths Panel hit the dotted circle icon – load path as selection.
The arrowhead path will now be a triangle selection of marching ants.
Select the Paint Bucket tool from the toolbar and fill the active arrowhead selection with your preferred choice of color.
Once filled select the Marquee tool and click on the canvas to deactivate the selection.
![]()
You now have created your very own personalized curved arrow.
Save the Curved Arrow as a Custom Shape Preset
Now you can do one of two things merge the curved arrow and use it as a one-off or save it as a preset to use in the future.
If you only want to use the curved arrow once, you can merge the layers.
Navigate to the top menu bar and select Layers > Merge Visible.
Now all the layers including the background will be merged together.
Alternatively, you can save the arrow as a shape preset.
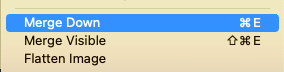
To do this first merge the layers and navigate to Layer > Merge Down.
From the toolbar select the Magic Wand tool.
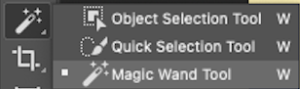
Click on the curved arrow to make a selection.
When the curved arrow shape is active head to the Paths Panel and make sure there is an active path of the curved arrow shape.

Without an active path, the next step will not work.
To save the path as a custom shape navigate to Edit > Define Custom Shape.
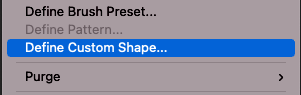
A pop-up window will appear giving you the option to enter a name for the custom shape.
When you click Define Custome Shape your shape will be saved in the Custom Shapes presets.
Let’s try out the new custom curved arrow shape.
Head to the toolbar and select the Custom Shape tool from the drop-down menu beside the Rectangle Shape tool.

When the Custom Shape tool is activated head to the tool’s option bar and open the Shape presets.
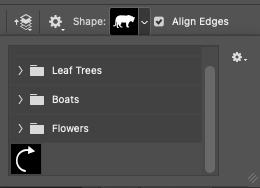
At the bottom of the drop-down menu you will find your curved arrow custom shape saved as a preset.
Select the curved arrow and give it a test run.
You can transfer this method to use to create any other custom shape in Photoshop.
Custom shapes can be saved to Photoshop’s custom presets which is useful as you will have them conveniently on hand whenever you need to access them.
How do I make a rounded arrow in Photoshop?
So you know how to make a curved arrow in Photoshop but now you want to know how to make the arrow head rounded.
Follow these steps to make a rounded arrowhead.
Step 1. Open a new document
Step 2. Using the Line tool create a line for the body of the arrow.
Step 3. Activate the Pen tool you will use this to create the rounded arrowhead.
Step 4: Create three anchor points using the pen tool, these will be the point of the arrow.
Step 5: Round the point by holding down Alt while using the Pen tool will open up the option to bend the path.
When you have achieved the shape you want close the path selection.
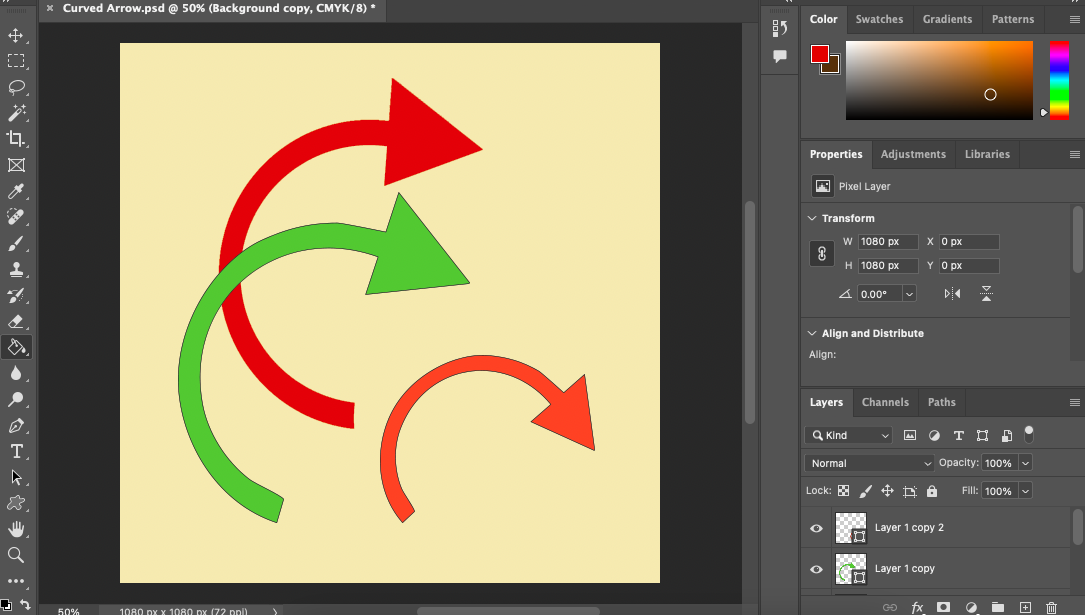
Step 6: Head to the Path Panel and click the dotted circle icon to create an active selection of the shape.
Step 7: Using the Bucket Paint tool fill the selection with your preferred color.
![]()
You have created an arrow with a rounded arrowhead, if you wish you can follow the steps above to save the shape as a custom preset.
Step 8: Merge down the documents layers Layer > Merge Visible and save.
How do I draw an Arrow in Photoshop?
Making a standard arrow in Photoshop is fairly simple,
Create a line for the arrow using the Line tool, which you will find in the drop-down menu beside the Rectangle tool.
From the same dropdown menu now select the Triangle tool and use this to create the head of the arrow.
Merge the two layers together and you will have an arrow shape.
You can experiment with different-sized shapes and colors to create arrows with different characteristics.


Judyth is an experienced studio photographer and glass artist. When she isn’t Photoshopping comedians into the bellies of sharks, you can find her cooking delicious treats for her guests.

WELCOME TO SHOTKIT
Enter your email to be sent
today's Welcome Gift:
19 Photography Tools
🔥 Popular NOW:


Shotkit may earn a commission on affiliate links. Learn more.