


How to Smooth Edges in Photoshop (Two Methods)
Create polished images by learning how to smooth edges in Photoshop. Refine your designs by eliminating jagged lines for seamlessly blended compositions.
Photoshop | Software | By Judyth Satyn
In this guide, you will learn how to smooth edges in Photoshop to create a hyper-realistic finish to your work.
Using Photoshop to copy and paste complex images is incredibly quick and easy.

Download a free copy of Adobe Photoshop to follow along with this simple tutorial.
But we all know that sometimes the edges aren’t smooth but look rough and do not merge with their new background.
We have the solution dive-in to learn how to smooth edges in Photoshop so they fit absolutely perfectly.
Learn which Photoshop plan to subscribe to here.
Table of Contents
How to Smooth Edges in Photoshop – Two Ways
Photoshop is a powerful editing tool. Using Photoshop’s magic subject selection tools the cut-and-paste action has become easier than slicing bread.
However, Adbobe Phtooshop’s cut-and-paste action is not always perfect.
You will inevitably have a rough line on your selection if the photo of the subject is not clearly defined or it has colors similar to its background.
The object’s edges will not always be cut in a clean smooth line instead the edges will be rough, jagged, and uneven.
When the cutout object is pasted into a new photo it will become clearly evident that it does not belong there.
Not a good look and definitely not how you want the final image to look, so what do you do?
One quick trick is to use the Blur tool. Yes, it is possible with a few simple tweaks using the Blur tool in tandem with your favorite selection tool – see our article on how to blur edges in Photoshop.
The other option is to smooth rough lines using a Layer Mask. Let’s get started and take a look at both methods.
Option 1 – Smooth Edges using a Layer Mask
In this method, we will use the Layer Mask and Properties panel to create a feathering effect along all of the cutout’s edges.
The edges of an object are feathered to create a soft semi-transparent edge and smooth rough lines.
This feathering action will aid in blending the background image and the pasted object.
Step 1: Create a Selection and Remove Background
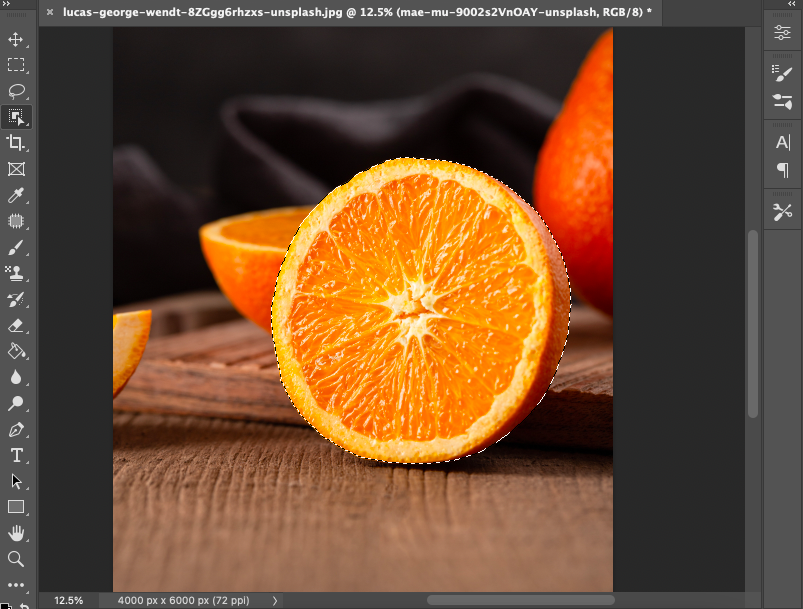
Open the subject image in the canvas workspace.
Now we will create a selection of the subject to remove the background.
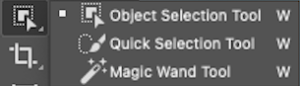
Use the selection tool of your choice, such as the Magic Wand tool, Pen tool, or Object Selection tool.
For this tutorial, I will use the Object Selection tool. Head to the toolbar and select the Object Selection tool.
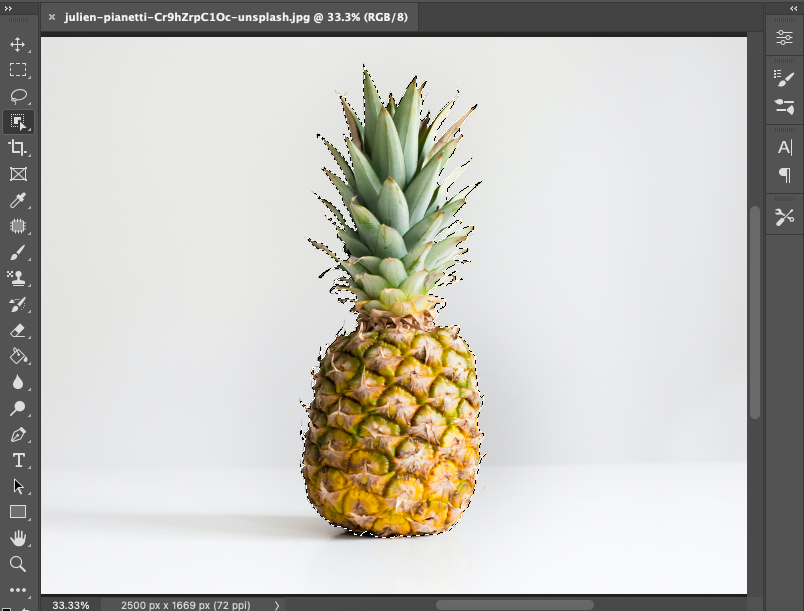
When you have activated the Object Selection tool use your cursor to drag a box around the object.
The defining box will help the Object Selection tool select the correct object from a complex background.
The Object Selection tool will automatically detect and create a selection of the subject. In this case, the object is a pineapple.
To add more areas to the selection hold down Shift and drag over the areas you wish to add.
Try to get the selection as close to perfect as possible. You don’t have to be too particular when using this method as areas can be added back later on if needed.
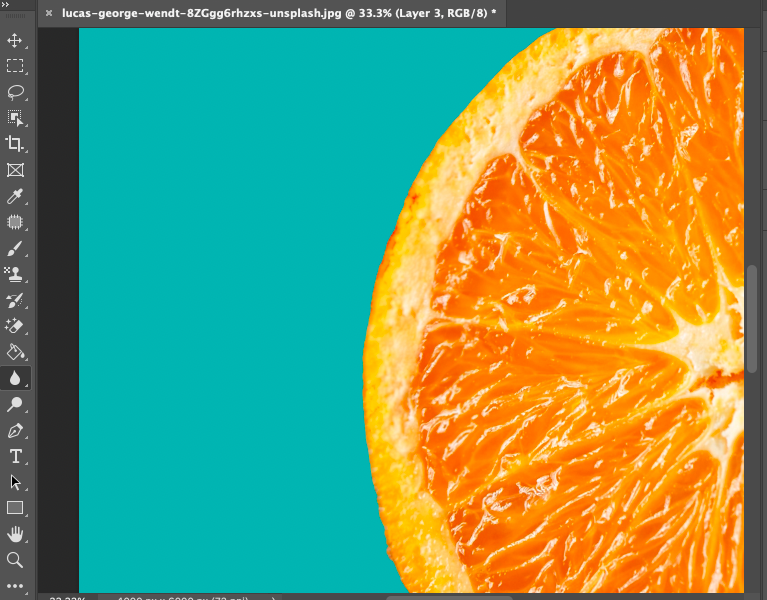
Step 2: Create a Layer Mask
Now that you have an almost-perfect (or completely perfect selection for those perfectionists) we will add a Layer Mask to remove the background.
Head to the bottom of the Layers Panel and click the Layer Mask icon, the square with a circle inside.
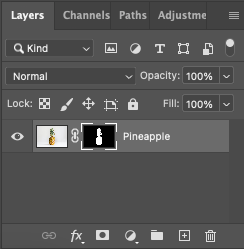
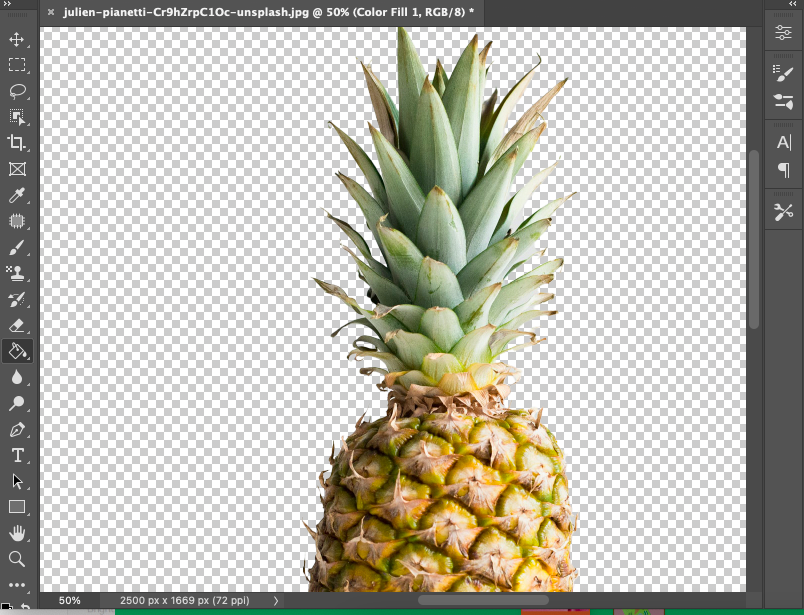
Once the icon is clicked a Layer Mask will automatically be added in the Layers Panel and the image’s background will be hidden from the workspace.
Your object will stand isolated on a checkered background. Until you take a closer look the edges lines may look deceivingly smooth on the new background.
I will use a rich red color for the pineapple’s background. The jaggedness of the edges will become evident when the object is placed on a contrasting color.
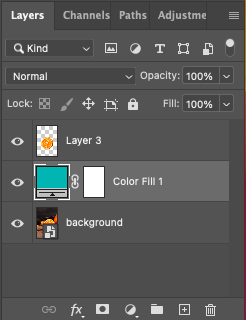
Step 3: Create a Background Layer
To add a background layer head to the bottom of the Layers Panel and click the Add Layer icon, a square with a plus symbol inside.
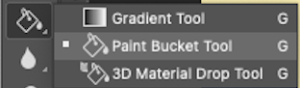
From the toolbar select the Paint Bucket tool and fill the background with the color of your choice.
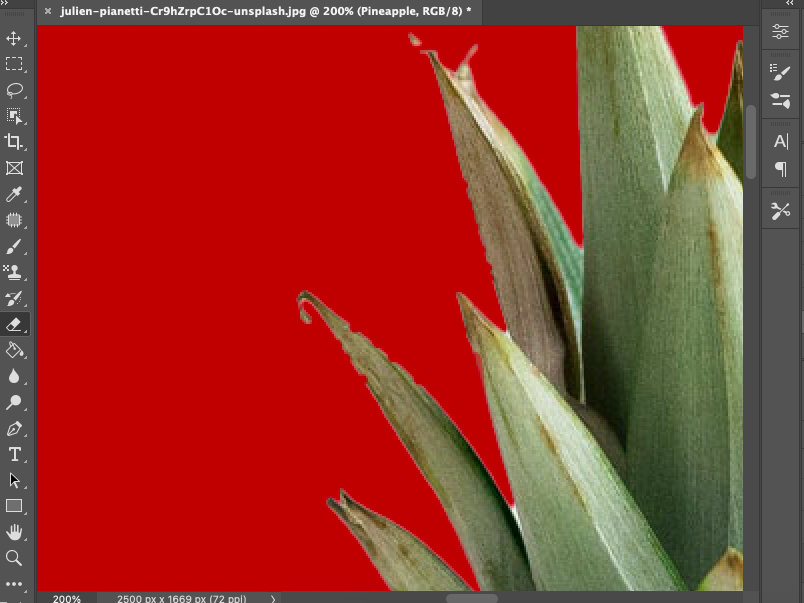
Use the Zoom tool or Ctrl plus + (for Windows) or Command plus + (for Macs) to zoom in on the object.
When Zoomed in it will become noticeable that the object was not photographed on this background.
When examining photographs you will notice that the background’s color blends with the edges of the subjects.
Step 4: Smooth the Edges
We will use the Feather slider in the Properties panel to smooth the rough edges of the object.
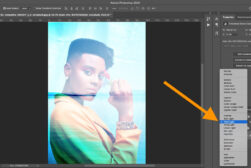
To open the Properties panel head to Windows > Properties or click the Properties panel icon, two arrows in the top right corner of your canvas.
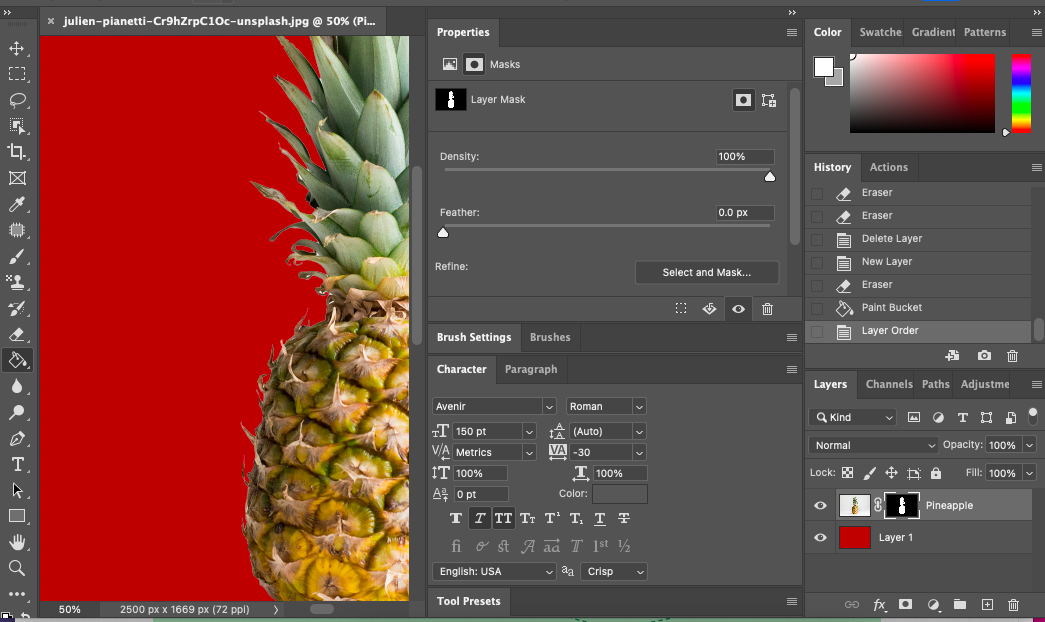
Activate the objects Masked Layer in the Layers Panel and click the Mask icon at the top of the Properties panel.
Locate and click the Select and Mask button.
Once clicked a new workspace will open.
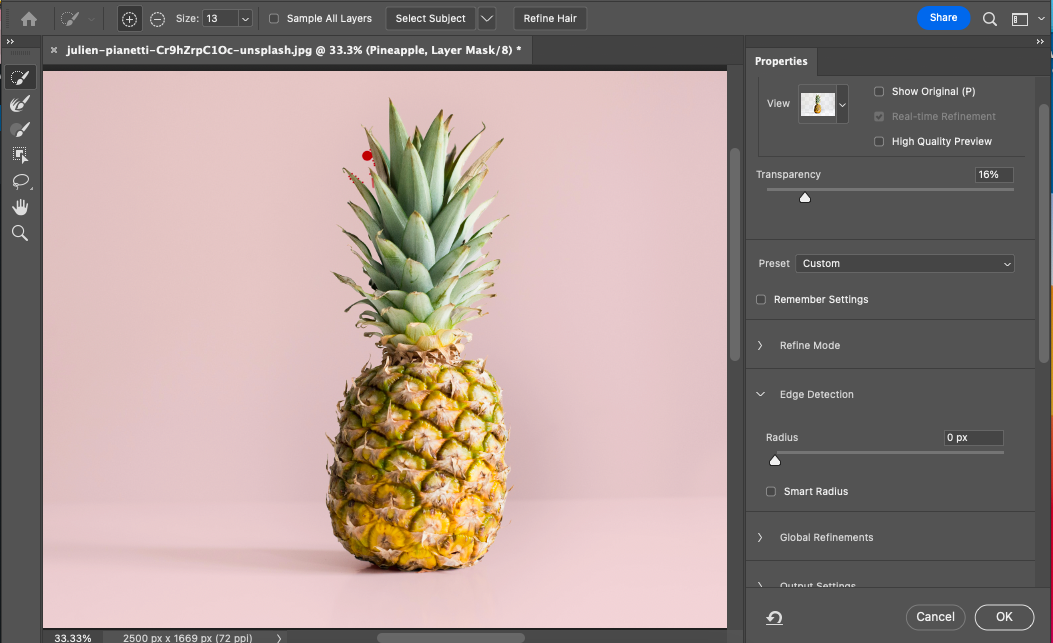
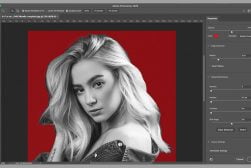
It is a good idea to set the background to a contrasting color before you smooth the edges. This will give you a clear view of your edits.
At the top of the Properties panel you will find the View option. Open the drop-down menu beside View and select a contrasting background.
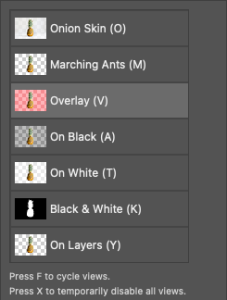
It can be wise to edit on top of the background you will use for the final image.
Step 5: Make Adjust to Smooth Edges
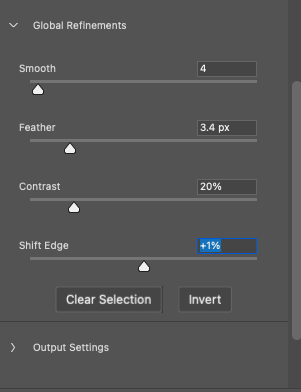
In the Properties panel locate and open the Global Refinements box.
The Global Refinements dialog box has four refining tools, Smooth, Feather Contrast, and Shift Edges.
Adjust the sliders of each tool and check the effect in the preview window.
Use the Zoom tool or Ctrl plus + (for Windows) or Command plus + (for Macs) to zoom in on the subject.
The Smooth tool will reduce bumps along the edges.
The Feather tool will create a feathering effect along the edges. The same as if a soft feathered eraser tool has been swept along all of the edges.
The Contrast tool will increase the contrast between the subject and the background.
The ratio at which you need to increase the slider depends on your image. Try experimenting to see how the adjustments affect the smoothness of your edges.
The final slider in the Global Refinement box is the Shift Edge slider.
When you slide the Shift Edge slider to the right or left you will reposition the position of your edge.
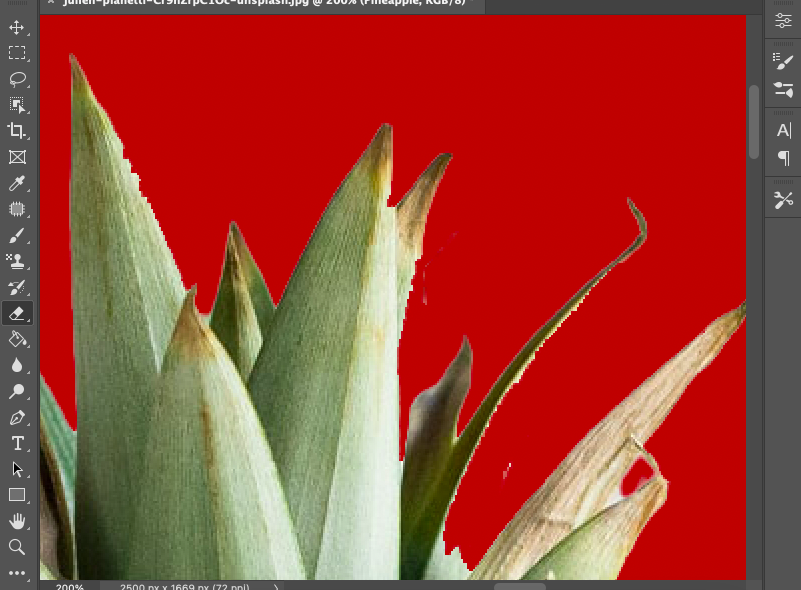
Below is an image of the pineapple leaves with rough edges before the Global Refinement adjustments.
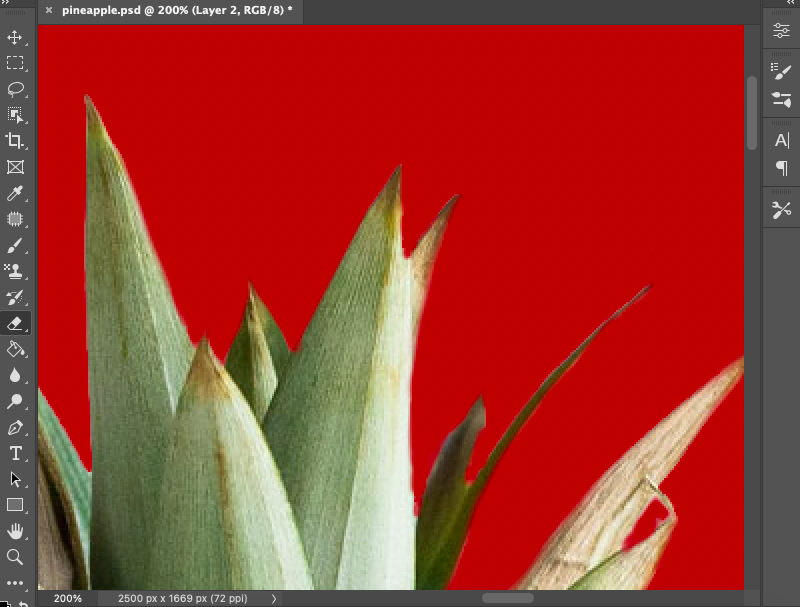
And here is an image of the pineapple leaves with smooth edges after the Globel Refinement Adjustments.
The image below is almost perfect. With just a few more editing tweaks and final adjustments the final result will be absolutely flawless.
When you are happy with the smoothness of the edge’s lines, hit the OK at the bottom of the Properties panel.
To further refine and make extra adjustments use the Layer Mask with the Brush tool to recover or hide areas.
Option 2 – Quick Fix Smooth Edges
If you are looking for a quick-fix option to smooth edges because you don’t have oodles of time and detail isn’t too important, try this option.
Step 1: Create a Selection of the Object
Using your favorite Selection tool create a selection of the object.
To use the Object Selection Tool to make a selection, select the Object Selection tool from the toolbar and drag a defining box around the object.
The Object Selection tool will work its magic and automatically create a selection of your object.
Step 2: Copy and Paste
To copy and paste the selection into a new layer head to Edit > Copy and then to paste use Edit >Paste.
Or for the keyboard shortcut hit Ctrl plus C to copy and Ctrl plus V to paste (for Windows) or Command plus C to copy and Command plus V to paste (for Macs)
When you have pasted the cutout selection it will create a new layer in the layers panel.
Step 3: Create a new Background Layer
Click the new Adjustment Layer the half-filled circle icon, at the bottom of the Layers Panel to create a background layer.
Once clicked a drop-down menu will appear select the first option Solid Color and select the color of your choice as a background.
Drag the Layer below the objects layer in the Layers Panel.
Step 3: Select the Blur Tool
Activate the object layer in the Layers Panel and head to the toolbar to select the Blur tool.
In the Blur tool options bar change the Mode to Darken, untick the Sample All Layers box, and set the Strength value to 100%.
Adjust the size of the Blur tool’s brush to suit your image’s size and check it is not feathered.
![]()
Brush over the rough edges of your object with the Blur tool.
Below is an image of the edges before the Blur tool was applied.

And here is the smooth edge created when the Blur tool was applied. Perfect and fast!
You are now equipped with everything you need to edit rough edges to make perfectly smooth edges. Enjoy!
FAQs About Smoothing Edges in Photoshop
How do you define edges in Photoshop?
To define edges in Adobe Photoshop use the Define Edge tool.
To do this make an initial selection of an object, then create a Selection and Mask Layer.
Now select the Refine Edge tool from the toolbar or by pressing Ctrl plus R (for Windows) or Command plus R (for Macs).
Using the Refine Edge Brush tool over the edges which need defining.
What is the best way to sharpen edges in Photoshop?
One of the best ways to sharpen edges using Adobe Photoshop is to use the Sharpen Filter.
Head to Filters > Sharpen and select a Sharpen Filter from the drop-down menu.
The best filter to use when sharpening edges is the Sharpen Edges filter.
How do I fix rough edges in Photoshop?
You can use the Blur tool to fix rough edges using Adobe Photoshop.
Select the Blur tool from the toolbar to the left of your workspace and run it over the rough edges to smooth.
 How to Use the Clipping Mask in Photoshop (Complete Guide)
 How to Blur Edges in Photoshop (Quick & Easy Methods)
 How to Use Photoshop Smart Objects in 2023: Create, Edit & Fix
 How to Merge / Blend Two Images in Photoshop
 How to Use the Refine Edge Tool in Photoshop

Judyth is an experienced studio photographer and glass artist. When she isn’t Photoshopping comedians into the bellies of sharks, you can find her cooking delicious treats for her guests.

WELCOME TO SHOTKIT
Enter your email to be sent
today's Welcome Gift:
19 Photography Tools
🔥 Popular NOW:


Shotkit may earn a commission on affiliate links. Learn more.