


How to Photoshop Nudes Photos (Tips and Examples)
Learn the art of tastefully editing nude photos in Photoshop. Enhance aesthetics and maintain respect with these expert tips and illustrative examples.
Photoshop | Software | By Judyth Satyn
This guide will show you how to Photoshop nude photos to reduce flaws, enhance beauty and hone the composition.
When your nude photoshoots are finished and the final results aren’t up to scratch don’t fret!
Using the magic of Photoshop retouching, you can turn your nude photos into elegant masterpieces.

Download a free copy of Adobe Photoshop to follow along with this simple tutorial.
There are many reasons to shoot nude that don’t include glamour or boudoir themes.
Some people shoot nude photography as a means to record the stages of pregnancy or to capture one’s youthful grace and strength.
Nude photos can be artistic, empowering, beautifying, and a celebration of the body.
They can capture an intimate connection between mother and child, husband and wife.
Dive in with me to learn useful tips on how to Photoshop nude photos.
Table of Contents
How to Photoshop Nude Photos Naturally
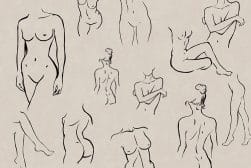
Join me on this nude photo edit to learn some tips and tricks on using Photoshop for natural results.
Step 1 – Adjust White Balance
Everything about the image is perfect. The model looks stunning the setting is ideal.
The pose is graceful, but something is wrong. The overall tone of the image is flat, too dark, or too rich.
This can happen when photographs are shot in the wrong light or the camera’s settings were not correct.
Using Adobe Photoshop you can resurrect and liven a flat image or tone down rich tones using the Curve tool.
You can also use Camera Raw Filter to improve color temperature.
Activate the Curve tool by clicking the Create new fill or adjustment layer icon at the bottom of the Layers Panel, the two-toned circle.
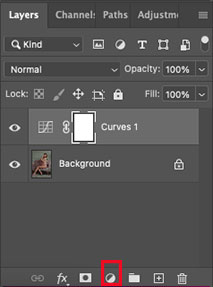
Select Curves from the drop-down menu.
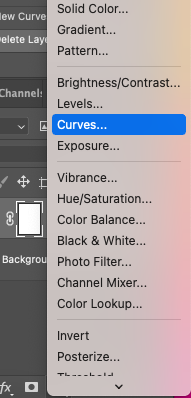
When Clicked a curves layer will appear in the Layers Panel and the Curves Properties panel will open.
Adjust the tone of the image by moving the Curve’s control points
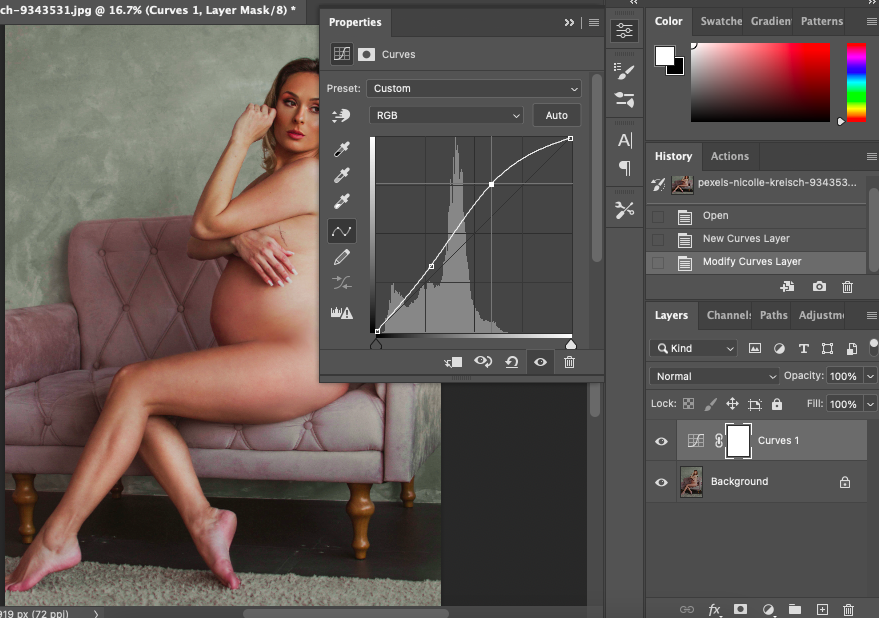
You will be able to see a live preview of your image in the workspace as you adjust the curve.
When you are happy with the results close the Curves Properties panel.
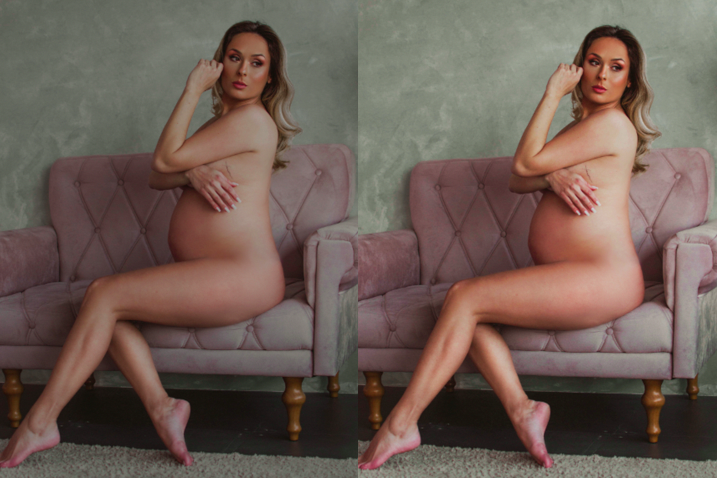
Here below you can view a before and after shot of the applied Curve adjustment.
Step 2 – Crop and Compose
The model might be too distant set deep in a wildlife scene. The result is a lost model and the background becomes the center of attention.
Using the Crop tool you can concentrate the viewer’s attention and focus their eyes on key elements of the image.
Be careful not to cut off too much of the model or she might end up looking distorted and strange.
Here’s how to crop an image using Photoshop.
Open your image in Photoshop.
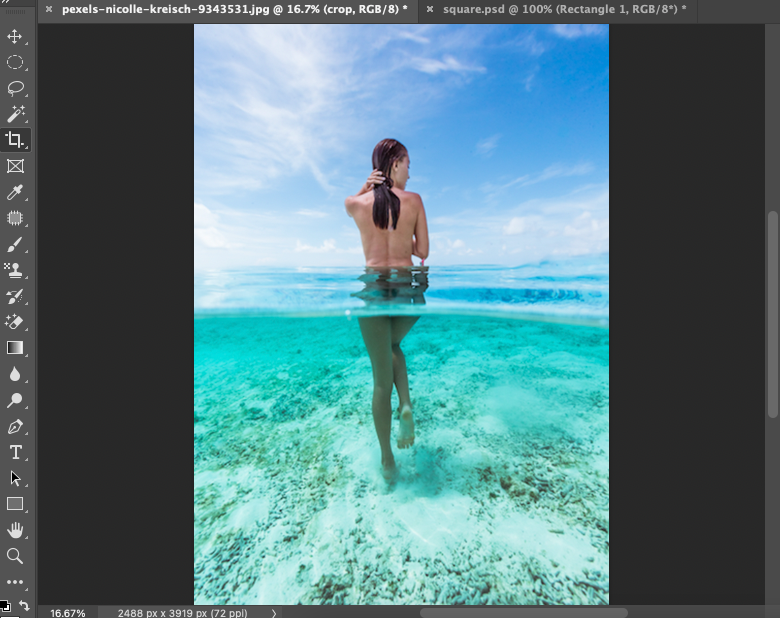
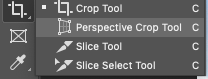
Access the Crop tool from the toolbar or press C for the keyboard shortcut.
Once the Crop tool is activated the image will be surrounded by the Crop tool’s bounding box.
Using your cursor to drag the edges of the bounding box into the position for the crop.
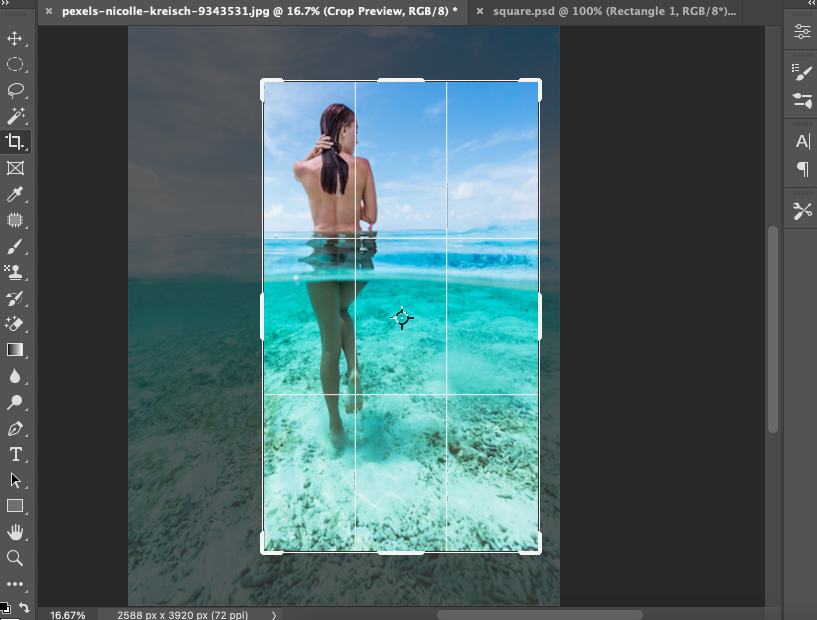
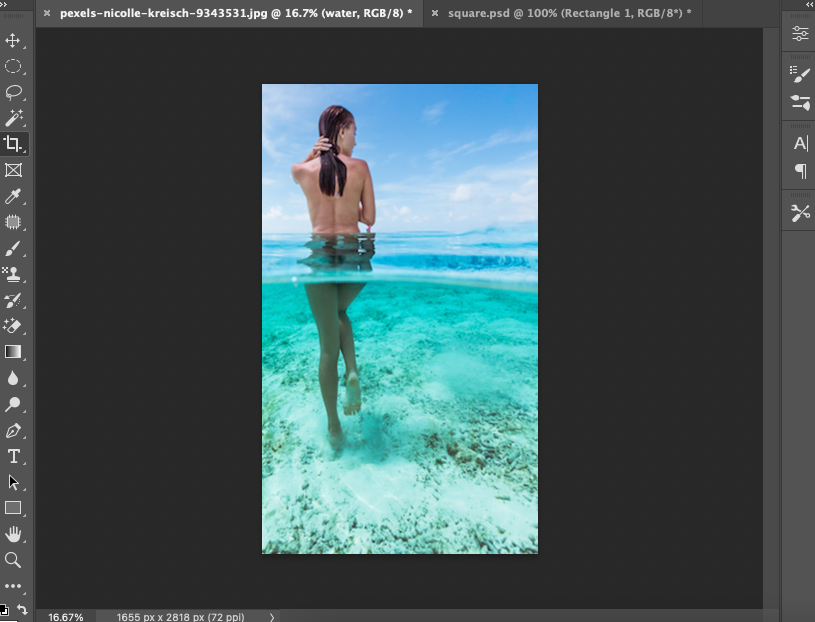
When you are happy with the result hit Enter on your keyboard.
The image and canvas will now be cropped to the new size and the viewer’s focus range will be altered.
If you would like to learn more about cropping images, check out this tutorial on how to crop images in Photoshop.
Step 3 – Remove Unwanted Objects
Unwanted objects tend to creep into the image without the photographer realizing it.
They will stick out like a red flag in a bulls fight. A distracting element will disrupt the balance of a perfectly composed scene.
Luckily Photoshop has many powerful editing tools to help you remove unwanted objects.
The tools available to remove a distracting background object are the Clone stamp, Patch tool, or Content-Aware tool.
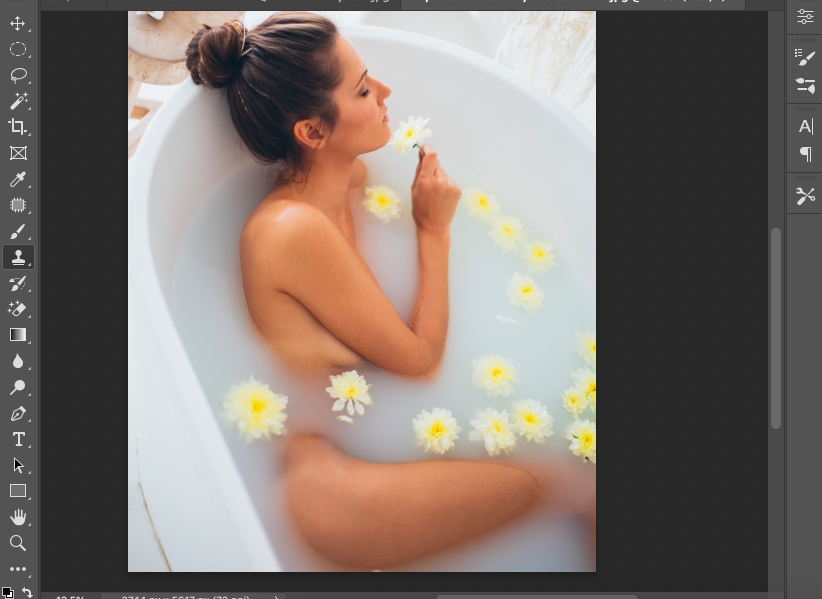
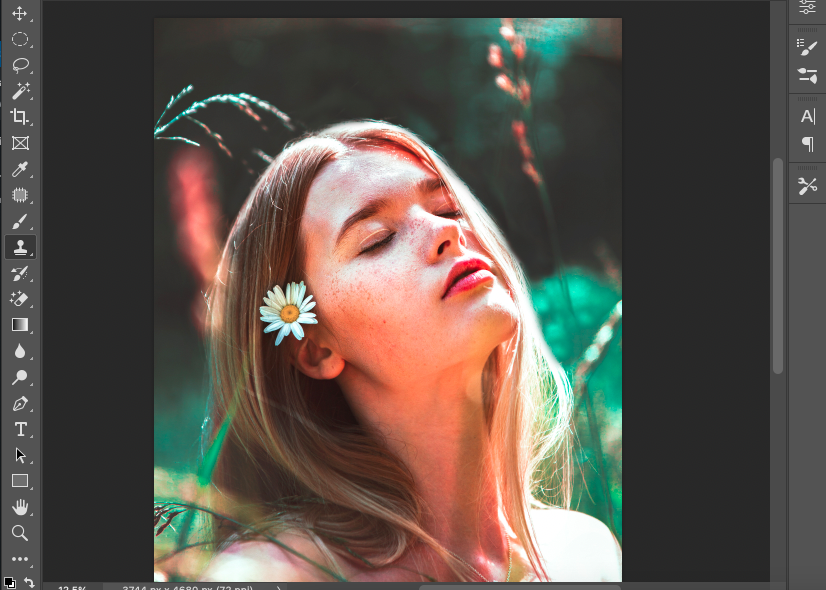
For this example, we will use the Clone Stamp tool to remove some of the distracting flowers from the bath.
Open your image in Photoshop.
From the toolbar select the Clone Stamp tool or hit C for the keyboard shortcut.
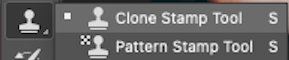
When the Clone Stamp is active the tool’s options bar will open above the canvas workspace.
Adjust the settings of the Clone Stamp tool to suit your editing purposes. Adjust the feathering and size of the brush and set the Opacity value to 100%.
![]()
Select the sample area of the image you wish to use to clone over the unwanted object.
To select click your cursor onto the sample area while holding down the Option key on your keyboard.
Release the Option key and move your cursor to the area you wish to add the Clone to.
Draw over the unwanted objects using the Clone Stamp tool. As you draw the area will be covered with a clone of the sample area.
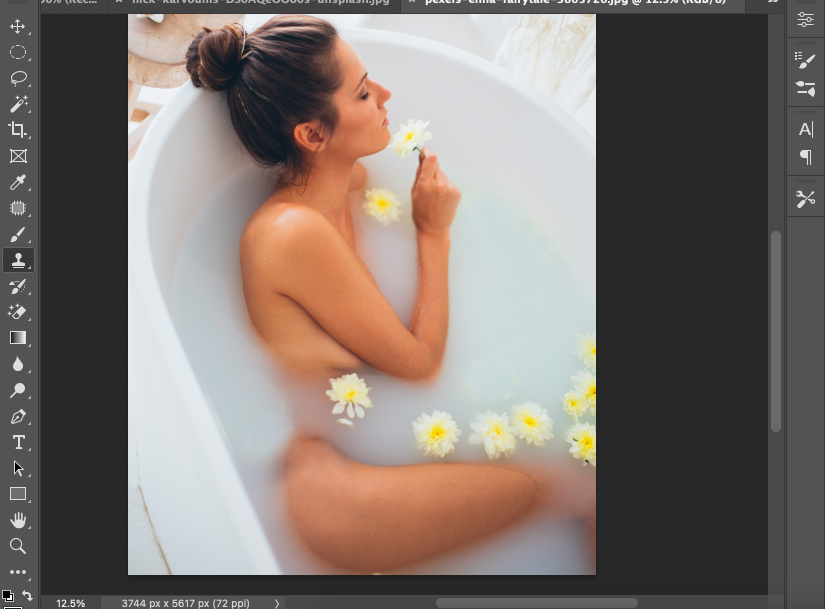
In the example below the sample area selected to cover the unwanted flowers was the bath water.
Step 4 – Match Skin Tones
Organizing a nude photography shoot shortly after a holiday sunbathing on the beach might not be the best idea but inevitably it happens.
Skin exposed to the sun will be darker toned and skin hidden under a bikini will be lighter toned. The different tan levels will be apparent.
Even when the model hasn’t spent the previous weeks lying in the summer sunshine you will usually have to match skin tones.
Studio lighting and makeup can also play a part in mismatched skin tones.
The technique you use to match skin tones using Photoshop will depend on the intensity of the contrast.
For this image, we will use a combination of adjustment layers. Levels, Exposure, and Color Balance.
Open your image in Photoshop and click the New fill or adjustment layers icon at the bottom of the Layers Panel, a divided circle.
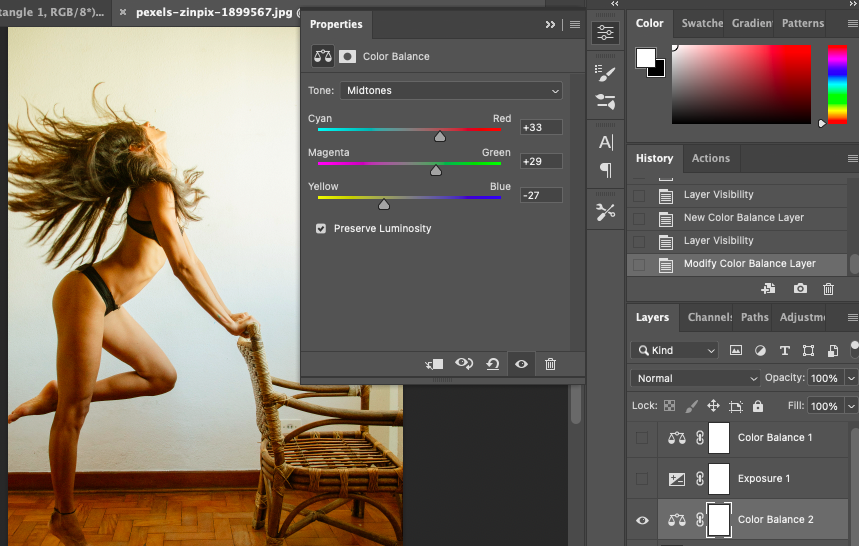
From the drop-down menu that appears select the Color Balance Adjustment Layer.
Once clicked the adjustment layer will be added to the image layer in the Layers Panel and the Adjustment Layer’s Properties panel will appear.
Slide the adjustment sliders to the left or right to adjust the color of the model’s skin.
A live preview of the adjustments you make will be displayed in the canvas workspace.
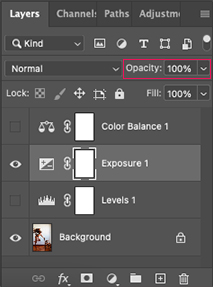
Adjust the Opacity of the adjustment layer to reduce its effect by activating the adjustment layers in the Layers Panel and changing the layer’s Opacity value.
Below is an example of the Levels Adjustment Layer.
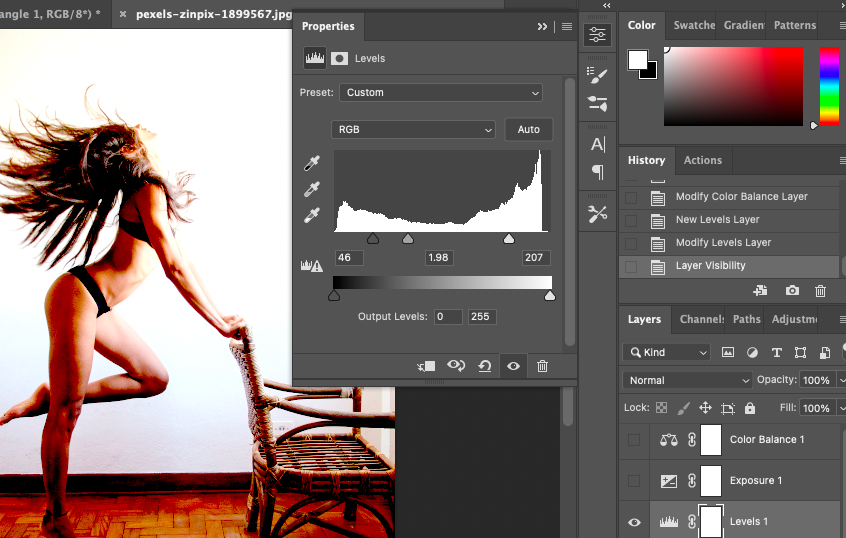
Add as many Adjustment layers as are needed to achieve the correct skin tone.
Check out this tutorial to learn more about how to change skin tone in Photoshop.
Step 5 – Remove Blemishes and Smooth Skin
The beauty of the nude model is most likely the central theme of the photography piece. When someone poses for nude photos they want to look one hundred and ten per cent.
As a photo retoucher, you will be in charge of adding on the extra ten per cent to ramp up the beauty gauge.
One foolproof method is to smooth out any imperfections in their skin using Photoshop.
To do this you can use a professional retouching method – the Frequency Separation technique.
Learn how to use Frequency Separation to remove blemishes and smooth skin in Photoshop.
Step 6 – Retouch Hair
The model’s nude body is reminiscent of the goddess Venus breaking forth from the scallop shell.
But something is not quite right she looks bedraggled. Hair plays a crucial role in how people perceive you.
To create a perfect and professional photo retouch the model needs to have a sleek and shining mane.
Using Photoshop we can tame the flyaway hairs and smooth the bedraggled fizz.
If you want to get extra nifty and brush up on Photoshop editing tricks you can learn how to increase hair volume.
We will concentrate on using Photoshop to smooth hair and remove flyaway hairs. Ok, let’s tame that wild hair.
The Patch tool can also be used to remove hairs that have fallen over a model’s face or body.
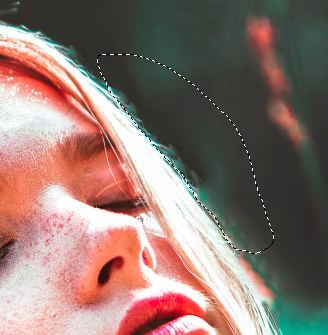
Below is an example of the model’s flyaway hair.
Access the Patch tool from the toolbar or for a keyboard shortcut hit J.
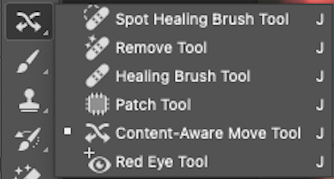
In the Patch tool’s options bar select the first square icon and select Content-Aware from the Patch box drop-down menu.
![]()
The Patch tool works by drawing in colors from the surrounding areas.
Using your cursor trace a selection around the hairs. Include a section of the image area to replace the hair.
Hold down your cursor on the area inside the selection and move it.
As the selection area is moved the flyaway hair will disappear replaced by the surrounding area.
You can also use the Patch tool to straighten hair into sleek lines.
You will have more control over the results when you use the Patch tool in smaller sections.
Below is the image after the Patch tool has been used to fix the model’s flyaway hair.
You can use the Clone Stamp tool to fill in any gaps in the hair or to increase hair volume.
And remember hair doesn’t need to be too perfect. If it is a noticeable overly glamorous feature it can be distracting.
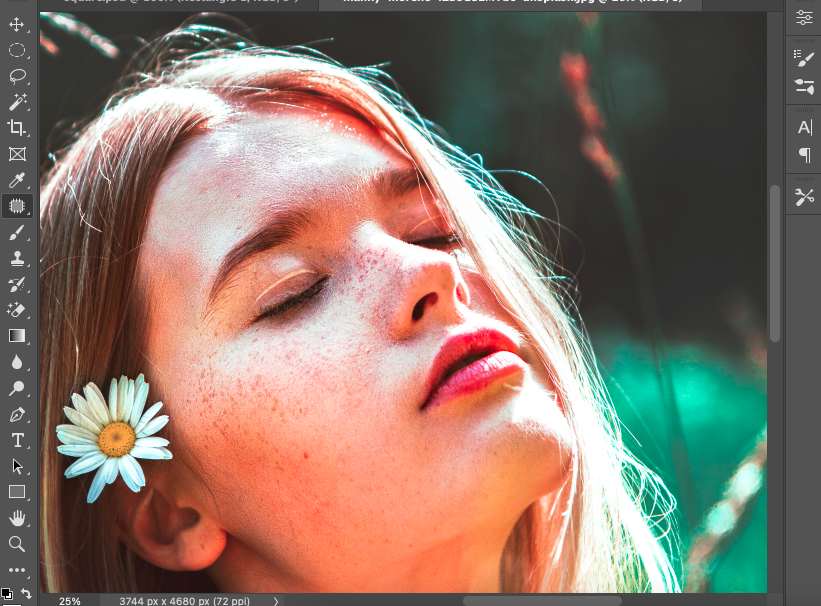
Step 7 – Enhance Lips
Enhancing the lips will give the image a rich splash of color adding lush sensuality.
Increasing the color hue of the lips is excellent for lifting a flat expressionless face.
There are many ways to enhance the lips from increasing their size to changing their shape and contour.
In this example, we will focus on changing the color of the model’s lips to a richer red.
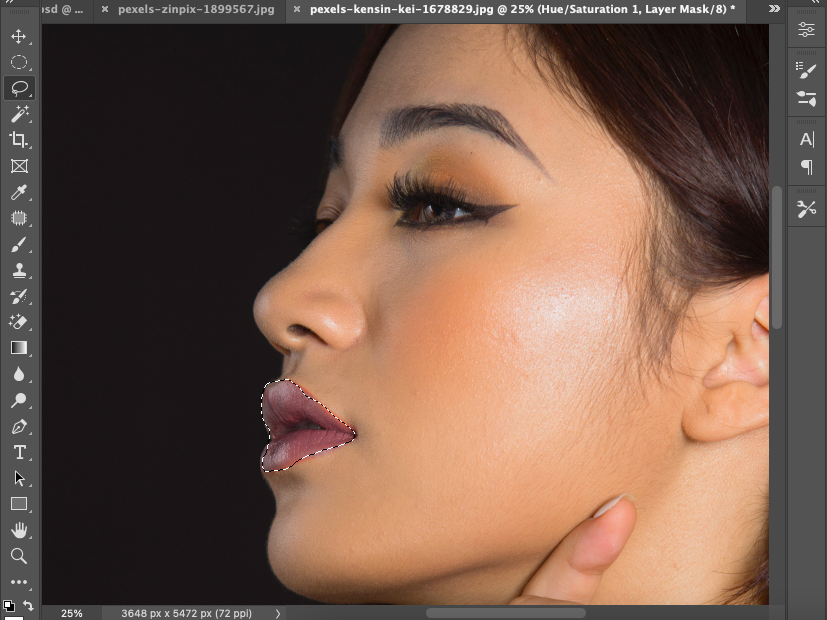
From the toolbar select the Lasso tool or hit L for the keyboard shortcut.
Draw a selection path around the lips. Be careful to not include any skin or background.
When you have created a selection head to the bottom of the Layers Panel and click the Create New Fill or Adjustment Layer icon, the divided circle.
A drop-down menu will appear, select the Selective Color Adjustment layer.
An adjustment layer will appear in the Layers Panel and the Selective Color Properties panel will open.
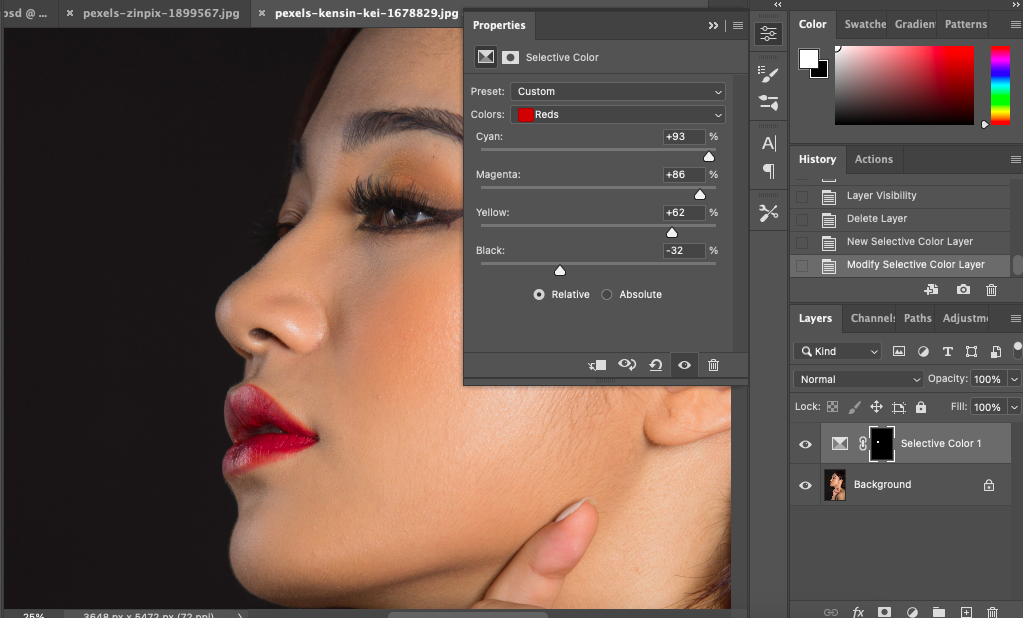
Set the Preset to Custom and select Red in the box beside Colors. Tick the Relative box at the bottom of the panel.
Slide the color sliders to the left or right to adjust the color of the lips.
A live preview will be displayed of the changes you make.
When you have achieved a striking rich red color close the Selective Color’s Properties panel.
The Selective Color Adjustment Layer is created as a separate layer. Therefore it can be edited or deleted at any time without affecting the original image of the model.
Step 7 – Whiten Teeth
White teeth are integral for projecting a sparkling radiant smile. If the teeth are rotten or even just yellow it will have a huge impact on how the model is perceived.
Most likely it will not be favorable and the unkept teeth will distract from the beauty of the model.
If your nude model’s teeth aren’t up to polished white enamel scratch check out this tutorial to learn how to whiten teeth in Photoshop.
Using the tutorials, tip you will quickly enhance the model’s teeth to be as bright as freshly fallen snow.
Step 8 – Enhance Eyes
When retouching black and white photos a striking editing trick is to add a vibrant color for the model’s eyes.
Eyes are the ultimate eye candy. The windows to the soul add a personal touch to any genre of portrait.
To retouch a color or black and white nude photo to enhance the model’s eyes either use the model’s original eye color or add an entirely unique color.
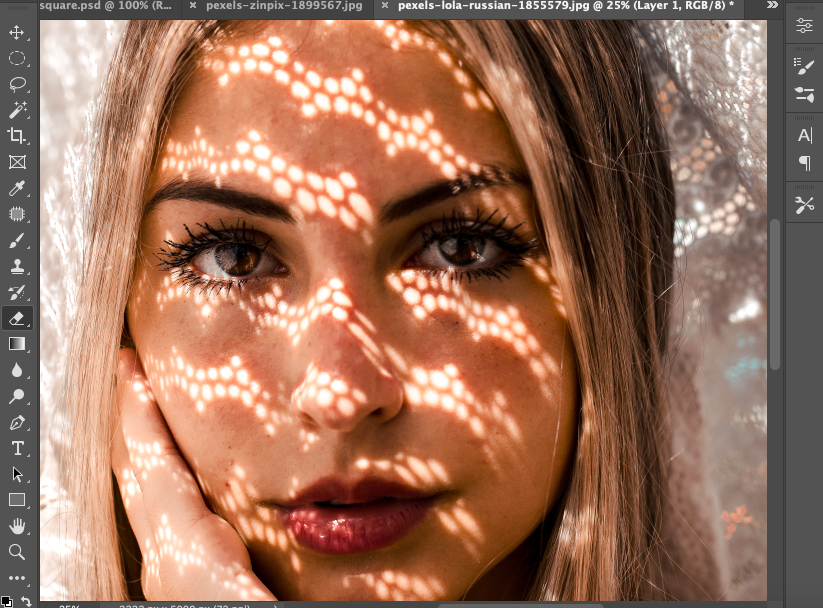
For this example, we will change the color of the model’s eyes from brown to green. Just to show you that the sky is the limit.
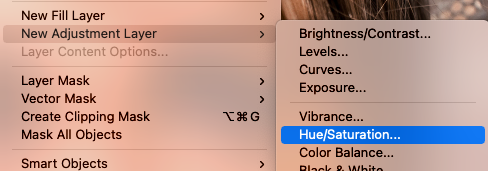
First, duplicate the image. Head to the top menu bar and select Layer > Duplicate Layer.
Add a Layer Mask to the new layer by clicking the Layer Mask icon at the bottom of the Layers Panel.
From the toolbar select the Brush tool and adjust the Brush tool size in the tools option bar.
Hide all of the new layer except the model’s eyes using the black Brush tool and painting on the layer while the Layer Mask is active.
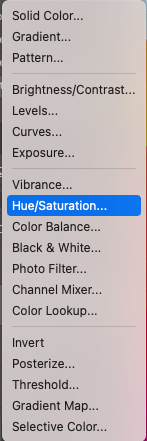
Add Hue & Saturation Adjustment layer to the masked layer by clicking the Layer > New Adjustment Layer > Hue/Saturation.
Once clicked an adjustment layer will appear in the Layers panel and the Hue and Adjustment Properties panel will open.
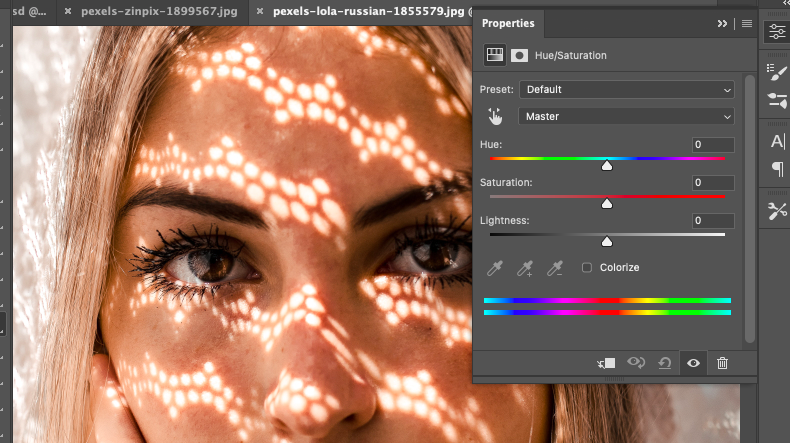
Slide the Hue slider and watch the live preview in your canvas window.
When the eye color is changed to green close the Properties panel.
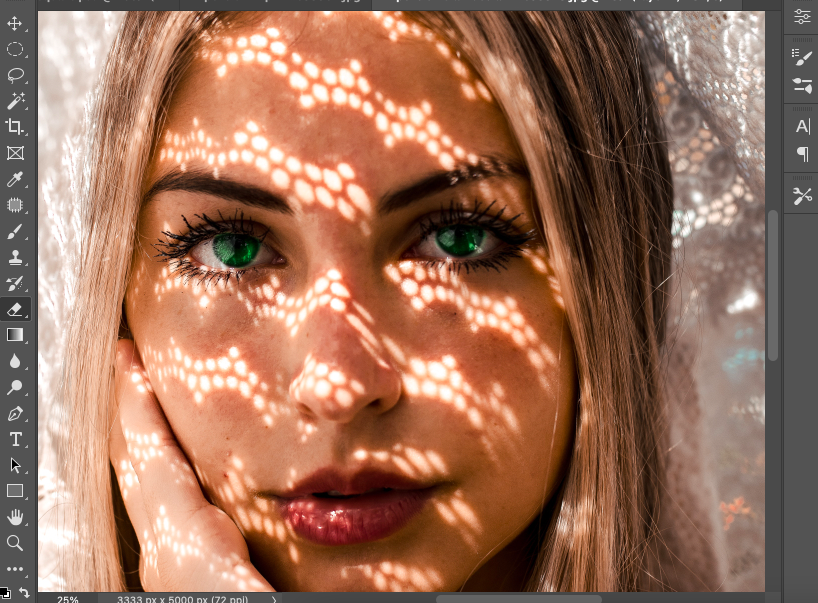
The resulting eye gives the model an incredibly striking expression.
If you are editing a black-and-white nude photo the Hue and Saturation Adjustment Layer will not work.
To give the model green eyes select the Brush tool from the toolbar.
Set the Brush tools color to green and paint over the model’s eyes.
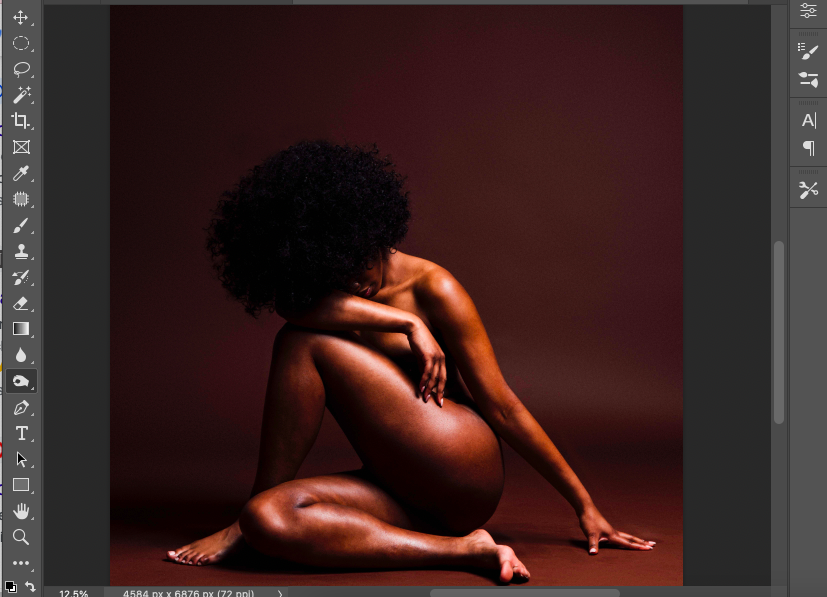
Step 9 – Sculpt the Body
Dramatically or subtly change and sculpt the model’s nude body using the Dodge and Burn tool.
Using the Dodge and Burn tool you can emphasize areas of the model’s body. It is akin to using a sweeping Michelangelo brush stroke.
In effect, the Dodge and Burn tool works like an exposure tool. It will lighten or darken areas of the model’s body.
For this example, we will use the Dodge tool to lighten select areas of the model’s body. This will increase the definition of the image.
Access the Dodge and Burn tool from the toolbar or click O for the keyboard shortcut.
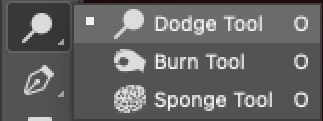
In the tool’s option bar set your choice of brush tip and size.
![]()
From the drop-down box beside Range select either Midtones, Shadows, or Highlights.
Midtones will change the middle range of grays. Shadows will alter the darker areas and Highlights will edit the light areas
Tick the box beside Protect Tones to protect shadows and highlights.
Set a value to specify the exposure for the Dodge tool or the Burn tool.
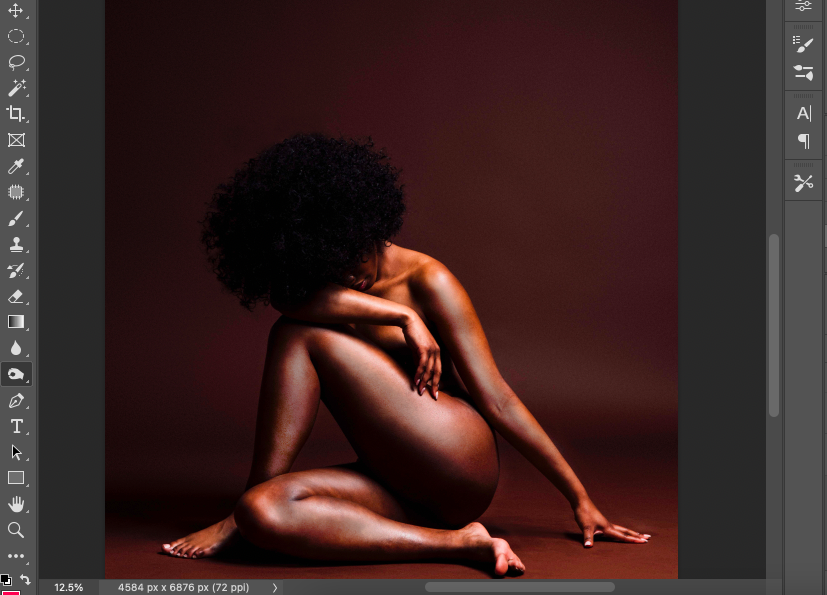
When finished sweep the Dodge tool over the areas of the body you wish to lighten. For the areas you wish to darken use the Burn tool.
Below is the final result after using the Doge tool to lighten areas of the nude model to achieve more definition.
And more…
And don’t stop there – you can add objects to the nude photo, create an entirely new background or enhance colors.
If you aspire to be a professional nude Photoshop retoucher congratulations you are halfway there.
You now have the tools to edit your photos and blitz them with some super stylish retouching tricks.
And remember, nude models will have priceless memories to look back on when in their 80’s. Never will they have to forget their essence, strength, and grace.
So it’s worth investing the time to edit the photos to perfection.
Nude Photo Editing FAQs
How do you edit photos to make them look professional?
Using image editing software such as Photoshop you can edit photos to make them look professional.
Some editing steps to consider are – cropping the image to create a professional-looking composition. Correct the image’s white balance and exposure.
Sharpen the image if it is blurry and increase or decrease its vibrancy.
How do I edit photos like a professional for free?
Free image editing software is available online, such as GIMP, Pixlr X, and Photos Pos Pro.
You can also try Adobe Photoshop for free on a trial.
What app can I use to make my photos look professional?
Many powerful image editing apps are available to download onto your phone to make your photos look professional.
Adobe Photoshop Express is one of the best apps for all-around image editing.
Adobe Lightroom is one of the best for photo editing.


Judyth is an experienced studio photographer and glass artist. When she isn’t Photoshopping comedians into the bellies of sharks, you can find her cooking delicious treats for her guests.

WELCOME TO SHOTKIT
Enter your email to be sent
today's Welcome Gift:
19 Photography Tools
🔥 Popular NOW:


Shotkit may earn a commission on affiliate links. Learn more.