


How to Blur Edges in Photoshop (Quick & Easy Methods)
Master the art of softening edges with our guide on three swift techniques to achieve seamless edge blurring in Photoshop.
Photoshop | Software | By Judyth Satyn
Learn how to blur edges in Photoshop three simple ways in this tutorial.
Even if you are a beginner to Photoshop. you can quickly learn these three blurring methods to fix, soften or frame an image.
Let’s get started and equip you with all need to know how to blur edges in Photoshop.

Download a free copy of Adobe Photoshop to follow along with this simple tutorial.
Table of Contents
How to Blur Edges in Photoshop in 3 Ways
To focus the viewer’s eye on a specific subject photo editors will use a blurred edge. This adds an interesting framed effect to the image.
There are a variety of techniques you can use to complete this editing task. We’ll guide you through three.
Option 1 – Cut Subject and Blur Edge to Fix Harsh Edges
Photo editors use this option to remove a distracting background from an image.
The subjects are cut from the background while the harsh edges around them are blurred to soften the transition from subjects to the border.
Step 1: Open your Image
Select File > Open and locate your image from your computer.
Or drag your image from your desktop onto Photoshop’s empty workspace.
Step 2: Create a Selection
Decide what shape you want the final border of the image to be.
You can create any shape you wish, such as a star, car, or bottle shape. To achieve a complex border shape, use one of the Lasso tools.
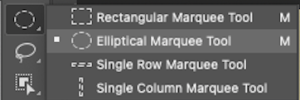
To create a rectangle shape, use the Rectangular Marquee tool.
Using the Elliptical Marquee tool we will create a selection around the couple.
Head to the toolbar and select the Elliptical Marquee tool.
Enter a value in the box beside Feather. The higher the value, the greater the feathering effect will be.
This means the blurring of the edges from the subject to the background will be softer. Reducing-edge harshness.
For a slight feathering, enter 30. For a more intense feathering, enter 100.
![]()
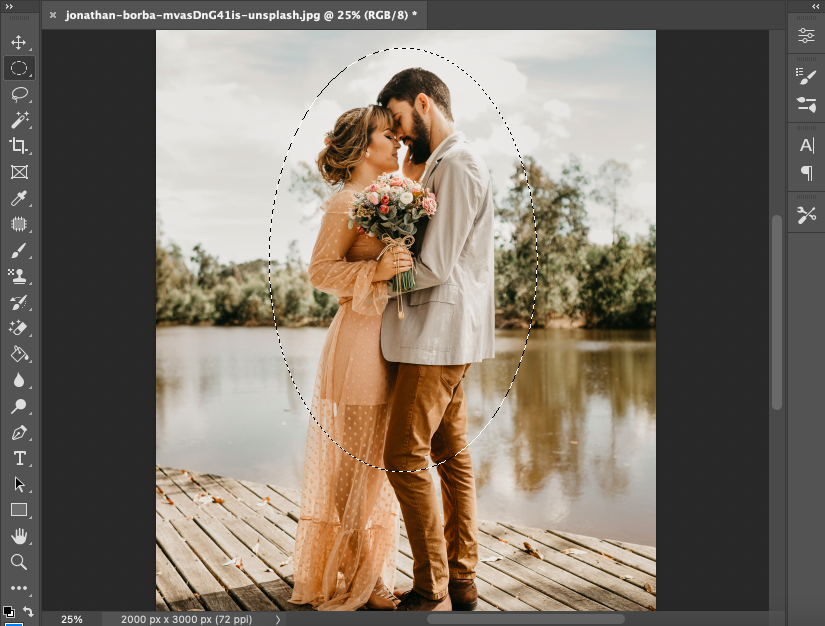
Place a selection around the couple. Click on the workspace and drag the elliptical selection into place.
If you wish to create a perfect circle shape, hold down the Shift key as you drag.
When you release the cursor the couple will be surrounded by the selection. Depicted by a line of marching ants.
Step 3: Preview Feathering Effect
Try experimenting with different Feather values. This will help you see which Feather value works best with your design.
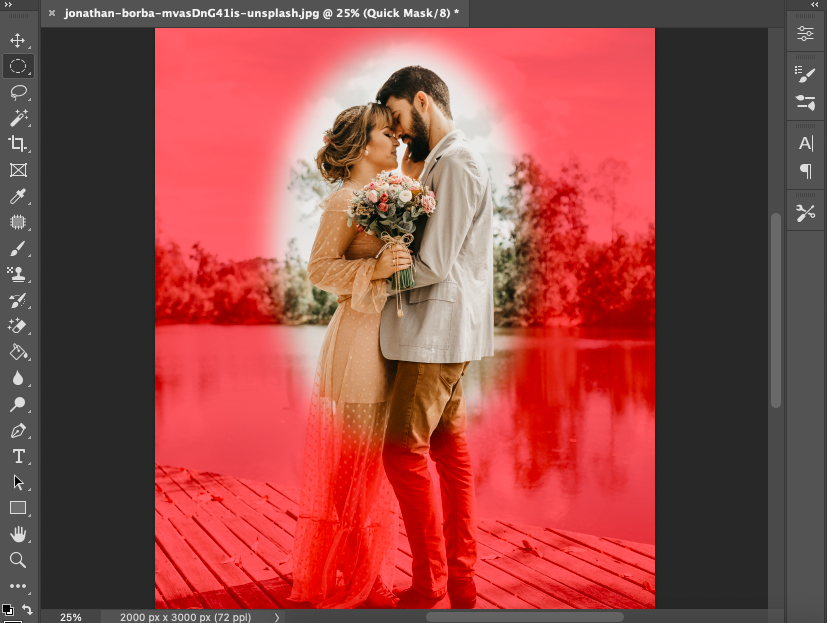
Press Q on your keyboard to access a preview.
Remember that you must enter the Feather value before creating the selection. You can not change the Feather value after you have created the selection.
Check the preview example below. The value of 40 entered into the Feather value box has created a beautiful soft edge.
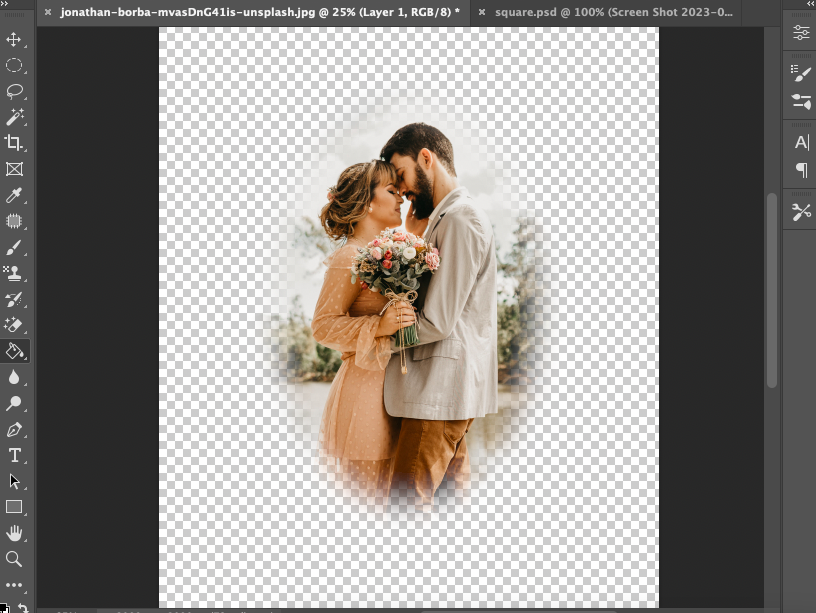
Step 4: Add a Layer Mask
When you are happy with the size and quality of the feathering effect attach the effect on the image.
To complete the edit, we will add a Layer Mask.
At the bottom of the Layers Panel, hit the Layer Mask icon, the rectangle with a circle inside.
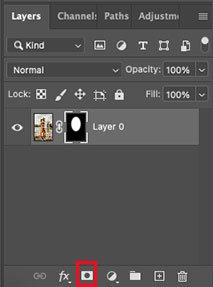
A Layer Mask will be added to the layer.
The image will be cut and the feathering will be applied.
Now, you can choose a color for your background or add a new complementary background image.
Step 5: Add Background Image
We will add a block of color for the background.
Head to the top menu bar and select Layer > New Fill Layer > Solid Color.
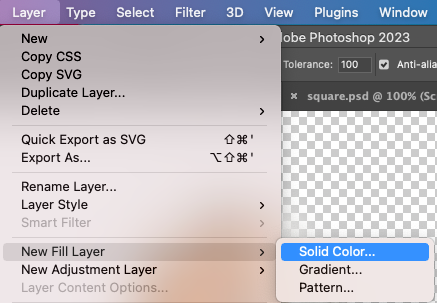
Once clicked, a pop-up box will appear. Name the new layer, then click OK.
The Color Picker dialog box will appear from here; use the eye dropper to select a color for your background.
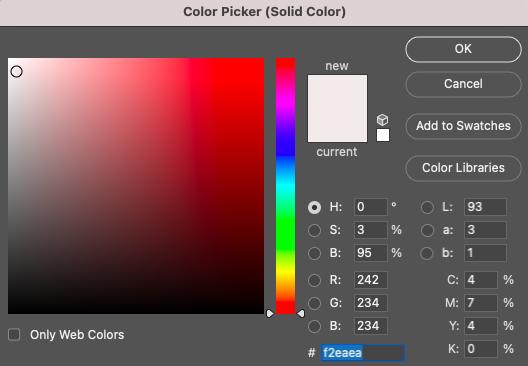
When you have selected a color, click OK.
The background layer will appear in the Layers Panel. Your image will have a new block-colored background.
Below is an example of the selection with no feathering effect applied.
You will notice that the edge looks hard and harsh without the blurred feathering effect.
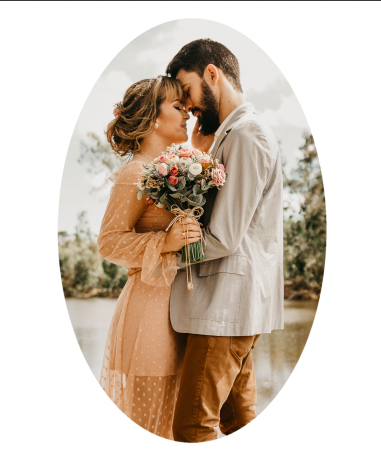
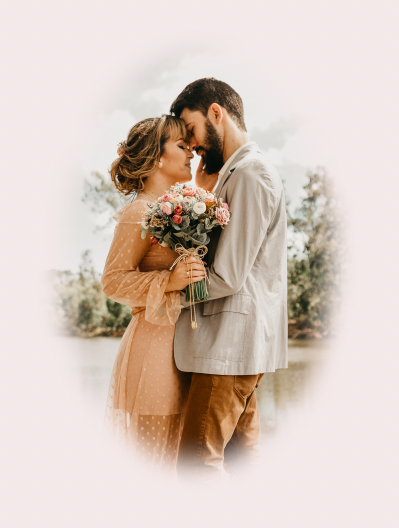
Here below is the final image with blurred edges.
The use of blurred edges creates a soft, loving atmosphere. This compliments the theme of the photo.
Now that you have this technique have fun trying it out when editing family photos.
Want to add a new background? Try this Photoshop tutorial – How to use AI Generative Fill.
Option 2 – Blur Entire Image Background
Photo editors use this method to keep a stunning atmospheric background. While reducing its distracting qualities.
Isolate the subject from its background and use the blur effect to blur the area around.
This method is valuable for images with an impressive but overly detailed landscape.
Step 1: Open your Image
Open your image in Photoshop. Select File > Open, and locate the image on your computer.
Step 2: Convert to Smart Object
We will first convert the image to a smart object before we apply the blur.
Head to the top menu bar and select Layer >Smart Objects > Convert to Smart Objects.

For undestructive edits, we convert images to smart objects. This keeps the Blur filter effect separate from the original image.
Step 3: Add the Gaussian Filter
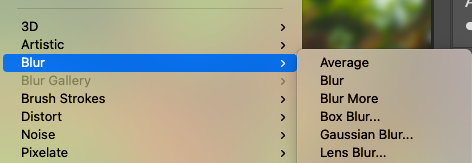
Head to the menu bar and click Filter. From the drop-down menu select Blur > Gaussian Blur.
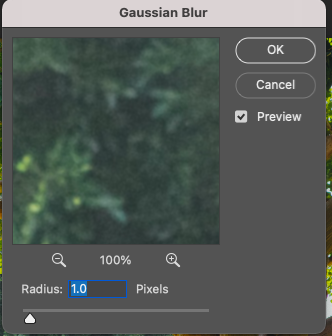
When Gaussian Blur is selected, the Gaussian dialog box will appear.
Slide the Gaussian blu slider to pick the radius of the Gaussian Blur effect. As you slide to the right, the blur factor will increase.
You can preview the blur effect in the Gaussian Blur’s preview box.
Zoom in or out of the canvas space by pressing the zoom option beneath the preview window.
When you are happy with the Gaussian Blur effect, hit OK in the top right corner of the box.
In the example below, the Gaussian Blur Radius is set to a value of 1.0.
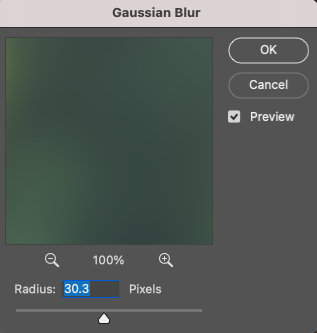
In the example below, the Gaussian Blur Radius is increased to 30.3. The background blur is noticeably increased.
We are using the Gaussian Blur filter for this tutorial. Feel free to select your preferred blur filter.
Or try experimenting using different filters.
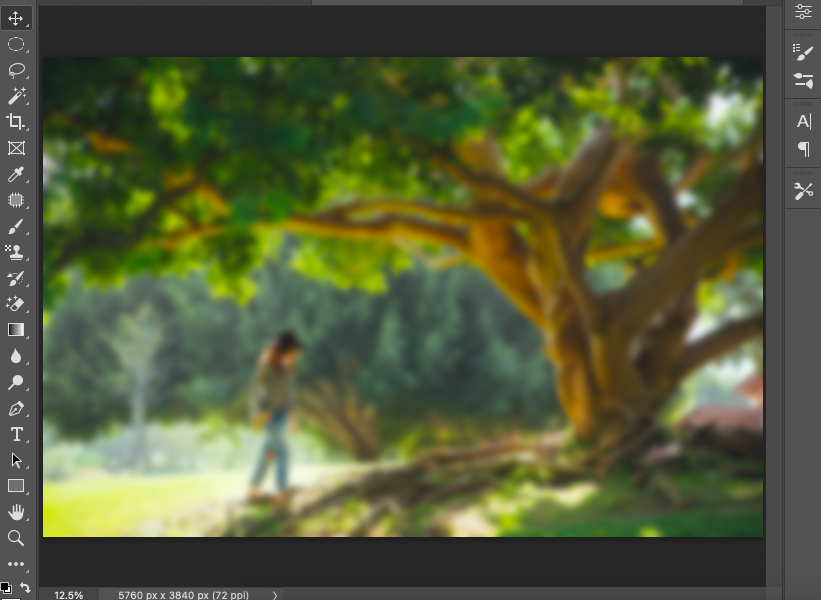
When the Gaussian Blur filter is applied, the entire image will become a foggy blur.
The subject and the background are blurred into one indistinguishable haze.
This is when we will see the advantage of converting the picture to a smart object.
Because the picture is a smart object the blur filter was added as a smart filter.
If the image was not a smart object, the filter would have been applied directly onto the image as an effect.
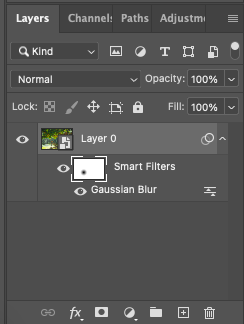
You can edit Smart filters without affecting the original picture.
In the next step, we will unblur the subject while keeping the background area blurred.
Step 4: Add a Gradient Mask
We will use the Gradient tool and add a mask to the Gaussian Blur filter.
In the Layers Panel, check that the Gaussian Blur layer is active.
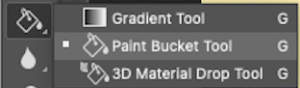
Select the Gradient Tool from the toolbar to the left of your workspace, or hit G for the keyboard shortcut.
The Gradient tool options bar will open above your canvas workspace.
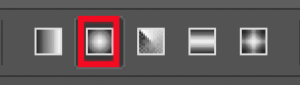
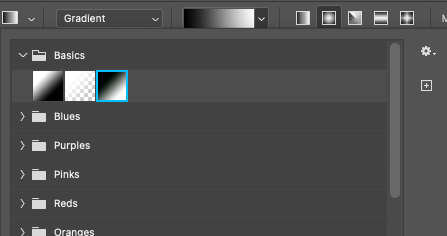
Click the second option from the Radial Gradient icons. The circle gradient.
In the Gradient preset drop-down menu open the Basics folder. From the folder select the last Gradient preset.
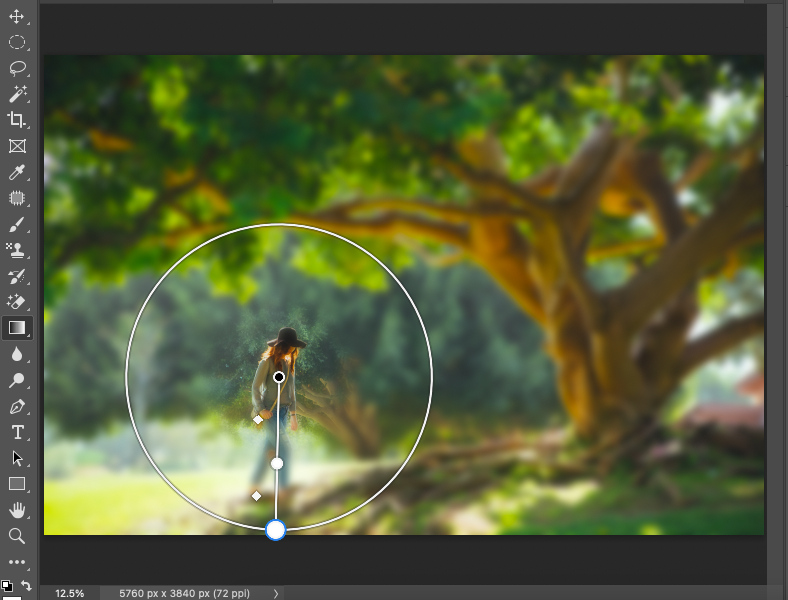
Click your cursor on your subject in the workspace, and the circle gradient dial will appear.
Drag the outer control points of the Gradient dial to increase or decrease the area included.
Drag the inner control point to increase the area of blur.
When you have finished click the picture layer. The gradient circle will disappear.
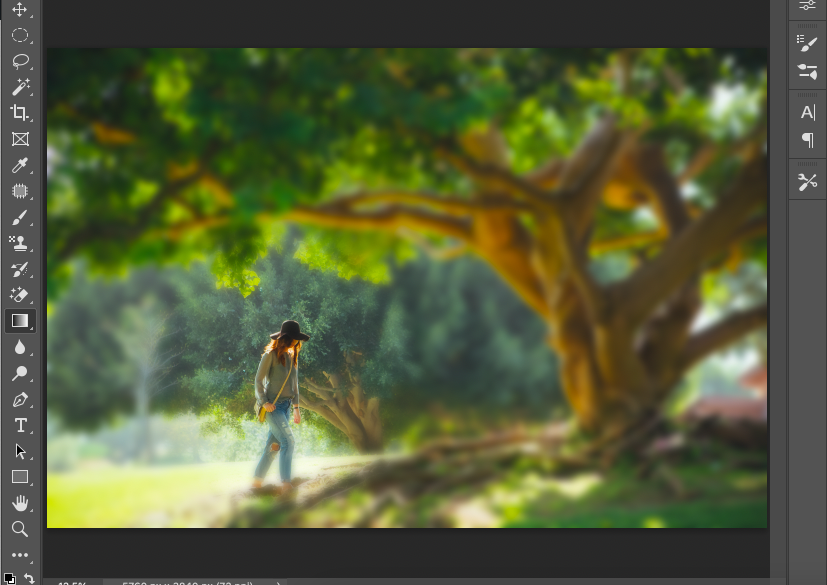
Using this technique, the subject will attract the viewer’s eye as the main subject.
The background is a stunning summer scene that no longer distracts from the subject.
For more Photoshop tutorials, here’s how to smooth edges in Photoshop.
Option 3 – Create a Dreamy Atmosphere
The third option to blur edges generates a soft, soothing atmosphere.
This artistic method blurs one section of the image to add a tranquil, dreamy ambiance.
This is a popular photo editing technique for portraits of couples and babies.
So let’s try it out.
Step 1: Open your Image
Select File > Open and locate your image from your computer.
Or drag your image from your desktop onto Photoshop’s empty workspace.
Step 2: Add a Gradient Adjustment Layer.
Add a Gradient Adjustment layer.
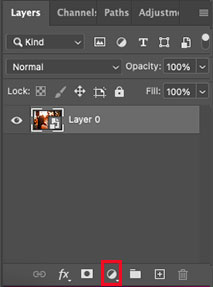
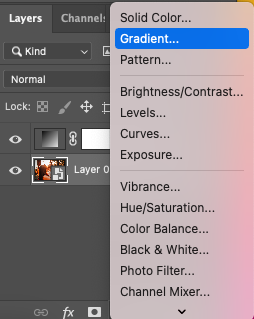
Click the Create a New Adjustment Layer icon at the bottom of the Layers Panel. The half-white and black circle.
The Gradient Adjustment layer will appear in the Layers Panel.
Select Gradient from the drop-down menu.
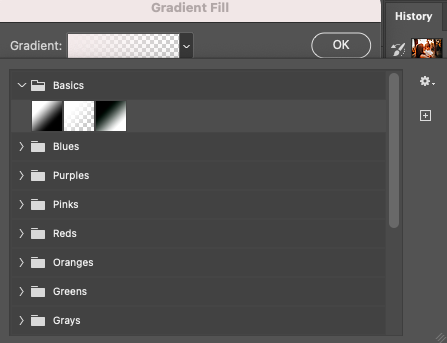
Once clicked, the Gradient Fill dialog box will appear.
From the Gradient presets drop-down menu, select the second option in the Basic folder.
In the box beside Style, select Linear.
Adjust the angle of the Gradient by dragging the dial beside the Angle box or by entering a value.
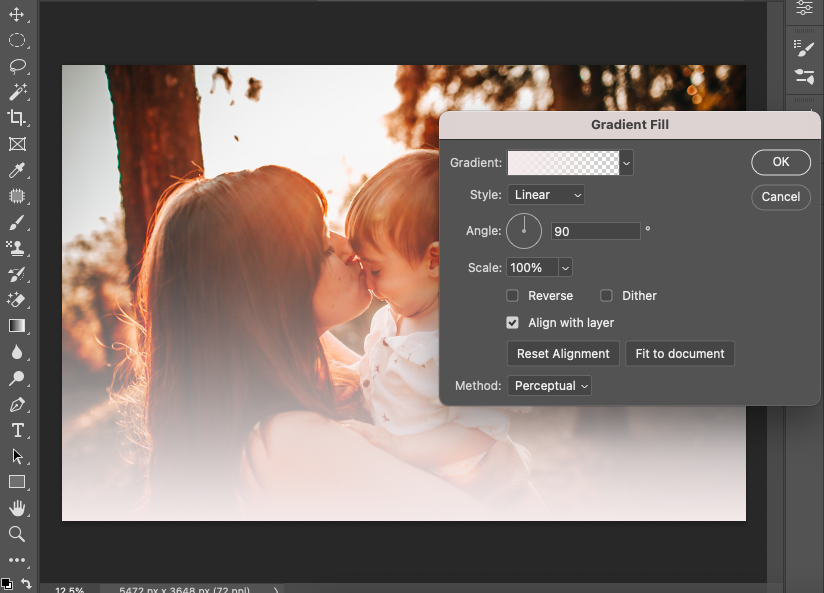
Tick Align with Layer and leave the other boxes unticked.
Check the image in the Preview window. When you are happy with the results, click OK.
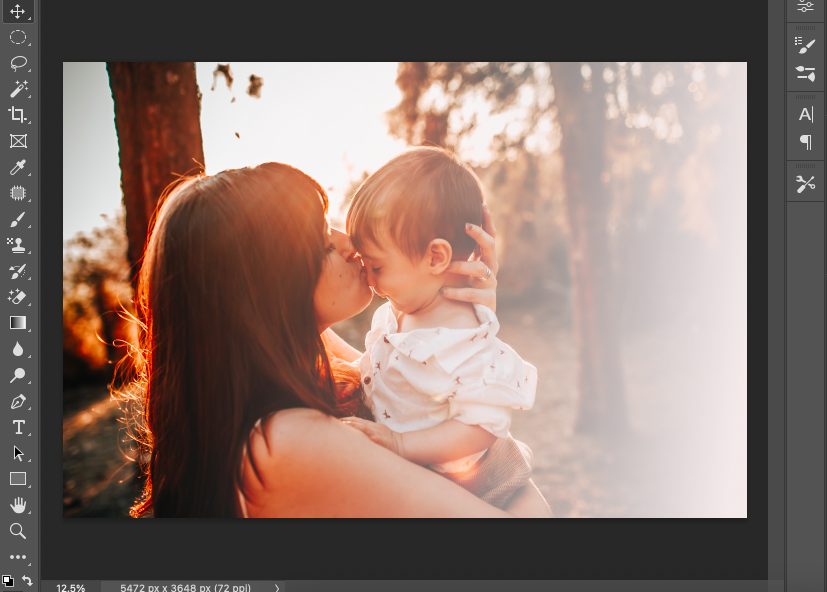
By using a Gradient Fill Adjustment Layer we can create a beautiful, feathered edge. To add a dreamy quality to any image.
Now, you can experiment with the different methods by trying them on your photos to give them a new lease of life.
Learn more about the Gradient tool – here’s how to create a rainbow gradient.
FAQs About Blurring Edges in Photoshop
How do I blur the edges of an image in Photoshop?
To blur the edges of an image in Photoshop, create an active selection of the edges.
Then, use one of the Blur Filters to add the blur.
From the top menu bar, select Filter > Blur and choose a blur filter that suits your design purposes. Then, apply the Filter.
How do you blur the outer edges of a picture?
To blur only the outer edges of a picture, you can follow the same process as mentioned above.
Create a selection of the outer edges and use a Blur Filter to blur the edges.
What tool blurs hard edges in an image in Photoshop?
The tools that blur hard edges in Photoshop are the selection tools.
Elliptical Marquee tool, Rectangular Marquee tool, Lasso tool, Polygonal Lasso tool, or Magnetic Lasso tool.
How do you feather the edges of an image in Photoshop?
There are different options for feathering the edges using Photoshop.
When you first make a selection to create the edge using a selection tool, you can feather the edges. The selection tool’s options bar has a Feather value box. Enter a value in the Feather box to feather the edges.
The greater the value entered, the more intensely feathered the edges will be.
What is a feathering technique?
Feathering is the technique used to soften the edges of a digital image. This is done using computer editing software.
Feathering creates a blurred transition from the edge of the image to the background.
The term ‘feathering’ comes from a technique that used fine feathers to touch up the edges of photos.
 100 Most Popular Photography Keywords in 2023
 How to Smooth Edges in Photoshop (Two Methods)
 How to Create a Transparent Gradient in Photoshop
 How to Create a Rainbow Gradient in Photoshop (& Save as a Preset)

Judyth is an experienced studio photographer and glass artist. When she isn’t Photoshopping comedians into the bellies of sharks, you can find her cooking delicious treats for her guests.

WELCOME TO SHOTKIT
Enter your email to be sent
today's Welcome Gift:
19 Photography Tools
🔥 Popular NOW:


Shotkit may earn a commission on affiliate links. Learn more.