


How to add Bullet Points in Photoshop (3 Options)
Discover the streamlined process of integrating bullet points into your text designs with this comprehensive tutorial for Photoshop.
Photoshop | Software | By Judyth Satyn
In this guide, you will learn how to add bullet points in Photoshop three different ways.

Download a free copy of Adobe Photoshop to follow along with this simple tutorial.
Bullet points draw attention to important information in a design.
Dive in for fast and foolproof ways to add bullet points in Photoshop.
Table of Contents
How to add Bullet Points in Photoshop in 3 Ways
So what do you do when designing a nifty poster and you want to add bullet points?
As we know, Photoshop is not a Word doc software. Text tasks aren’t always as intuitive.
Many simple tasks can be cumbersome and time-consuming.
I have spent far too much time using the Brush tool and grids to make bullet points in Photoshop. I still end up with unsymmetrical bullet points.
I was happy to discover these easy and quick methods.
Now you can save time and frustration by following these simple steps.
Make Bullet Points using the Keyboard Shortcut
This option is swift and damn simple.
You can use a shortcut when using the Type tool to add a bullet point to the line of text you are writing.
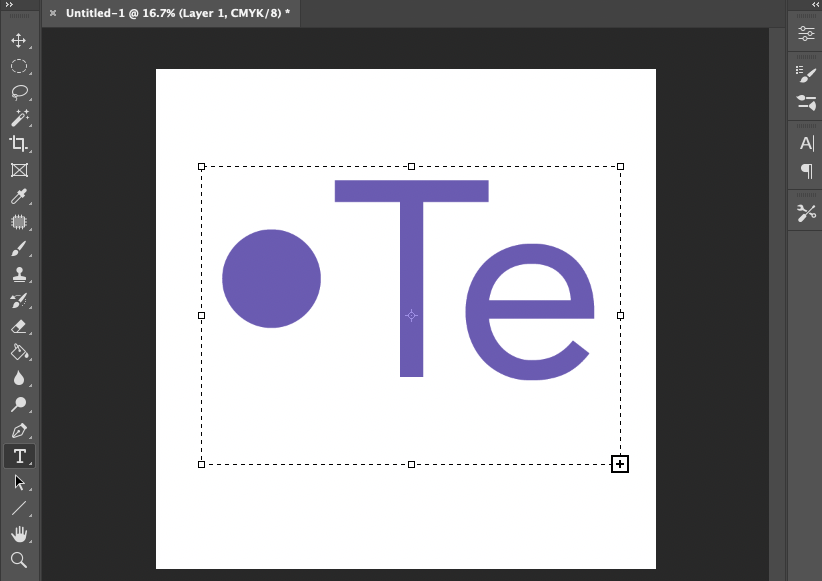
Select the Type tool from the toolbar to the left of your canvas workspace, or hit T for the keyboard shortcut.
Click on your canvas to create a text layer and text box.
Once the Type tool is active, use the keyboard shortcut.
Hold Alt plus 0, 1, 4, and 9 (for Windows) or Option plus 8 (for Macs).
This will add a bullet point to the line of text you are typing on.
You can alter the color and size of the bullet point by heading to the Type tool options bar above the workspace.
![]()
Okay, so using the keyboard shortcut is a bit of a stretch for your fingers.
If you don’t want to play keyboard twister, use the following methods.
Learn more text editing tricks in Adobe Photoshop – How to wrap text in Photoshop.
Make Bullet Points using Photoshop’s Wingdings Font
This is my preferred option as it is easy to access using the type tool.
The Wingdings is a series of dingbat fonts, each letter rendered as a symbol.
Symbols appear instead of letters when you type letters using the Wingdings font.
Included in the Photoshop font Library is the Wingdings font.
The Wingdings font has several options for bullet points.
It is a good option if you want differently-shaped bullet points, not circular ones.
Select the Type tool from the toolbar.
Scroll through the font dropdown menu in the Type tool options bar.
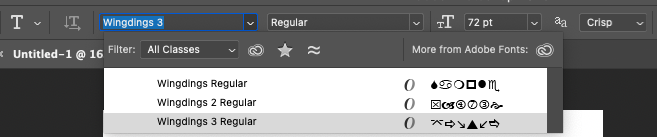
Fonts are in alphabetical order. The Wingdings font will be down the very bottom.
Or, you can type Wingdings into the font box and it will appear.
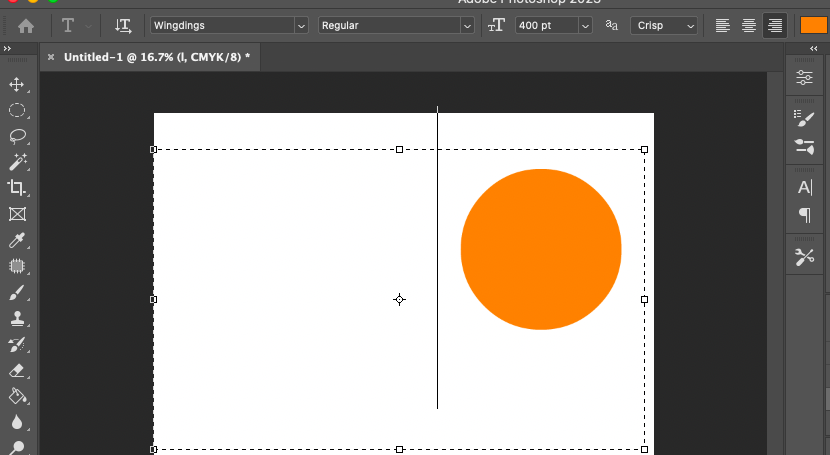
Click on your canvas workspace to create a text box.
Which letter makes a bullet point amongst the plethora of shapes and characters?
Access the traditional bullet point shape by hitting L on the keyboard.
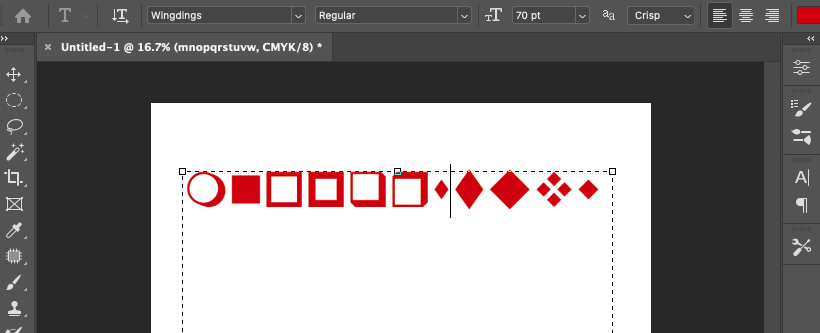
Below is the bullet point created using Wingdings font and the L key.
Wingdings font characters are in alphabetical order from L through to W.
This will make it easier for you to navigate.
To familiarise yourself with the different bullet points, type them onto your workspace.
Here are the alternative-shaped bullet point options using letters M through to W.
If you want numbered bullet points use the Wingsding2 font.
Here below is an example of Wingdings2 font’s numbered bullet points.
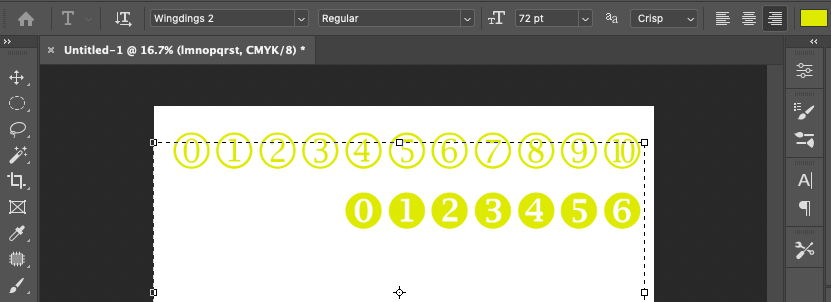
Numbered bullet points start at the letter I (the bullet point containing zero). Through to the letter S (the bullet point containing 10).
Make Bullet Points using the Glyph Panel
The Glyph Panel is where bullet points and other characters hang out.
You will find bullet points for different fonts in the Glyph Panel.
Use the Glyph Panel to insert specialized characters. Such as punctuation, superscript, and sub-script into text.
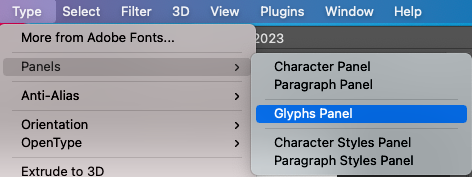
To open the Glyphs Panel head to the top menu bar and select Type > Panels > Glyphs Panel.
When the Glyphs Panel opens, select a font from the font drop-down menu.
Select Entire Font from the box below the font drop-down menu. To include all the font characters, not only the letters.
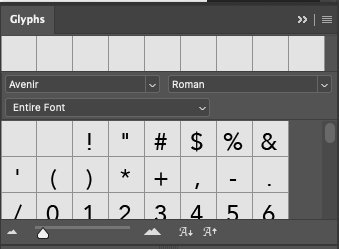
Scroll through the font’s character to find the font’s bullet point.
Sometimes a font won’t have a bullet point included. That’s okay. Go back to the Font drop-down menu and select another.
You can use a bullet point character from a different font and continue to use your preferred font to write.
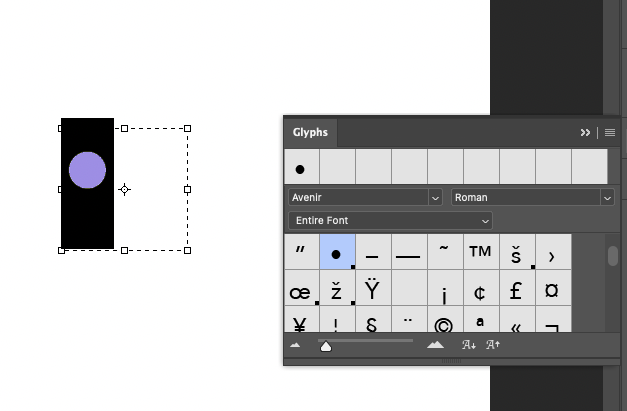
Once you have found a bullet point select the Type tool from the toolbar. Then click on the workspace to create a text layer.
Then double-click the bullet point in the Glyphs Panel.
The bullet point will now appear in the text box.
Again, you can change the color and size of the bullet point by heading to the Type tool options bar.
You can close the Glyph Panel and copy and paste the first bullet point if needed again in your design.
Accessing bullet points via the Glyph Panel is not the shortest route. But when it’s only for occasional poster designs it’s a good option.
If you love this tutorial and want to learn more, try this – How to type on a path in Photoshop
FAQs: Adding Bullet Points in Photoshop
What is the shortcut to insert a bullet in Photoshop?
To use the keyboard shortcut to add a bullet in Photoshop. First, activate the Type tool and create a text box in your canvas workspace.
Then hold down Alt plus 0, 1, 4, and 9 (for Windows) or Option plus 8 (for Macs).
A bullet point will appear in the text box. You can change the size and color of the bullet point in the Type tool options bar.
Where can I find bullets in Photoshop?
To find bullets in Photoshop, open the Glyphs Panel by selecting Window > Glyphs.
The Glyph Panel will open. Scroll through one of the font’s characters to find a bullet point.
How do I manually add bullet points?
To add bullet points in Adobe Photoshop, activate the Type tool and create a text layer in your workspace.
From the Type tools options bar select the Wingdings font from the box beside Font.
On your keyboard, hit one of the following letters to add a bullet point. L, M, N, O, P, Q, R, S, T or U


Judyth is an experienced studio photographer and glass artist. When she isn’t Photoshopping comedians into the bellies of sharks, you can find her cooking delicious treats for her guests.

WELCOME TO SHOTKIT
Enter your email to be sent
today's Welcome Gift:
19 Photography Tools
🔥 Popular NOW:


Shotkit may earn a commission on affiliate links. Learn more.