


How to Plan, Shoot & Edit a Hyperlapse Video
Master the art of hyperlapse videography, from strategic planning and shooting techniques to post-production editing for cinematic results.
In this guide, you’ll learn everything you need to create smooth professional-looking hyperlapses.
We will cover basic concepts from what gear you’ll need to how to edit a hyperlapse video.
Hyperlapses can portray the passage of time in a way that is dynamic and captivating for the viewer, so knowing how to create one is a powerful tool to have in your creative toolbox.
So let’s dive into creating your first timelapse videos.
Table of Contents
What is Hyperlapse?
Hyperlapse videos are timelapse videos with movement. They’re a visually captivating technique that portrays the passage of time in a very dynamic way.
Creating a hyperlapse video involves capturing a series of photos taken at set intervals while moving between each shot, to only then combine these photos into a final video. It’s essentially a moving timelapse.
Capturing a hyperlapse with patience and planning, combined with proper editing and stabilizing the footage ensures the smoothest possible result.
What’s the Purpose of Hyperlapse Video?
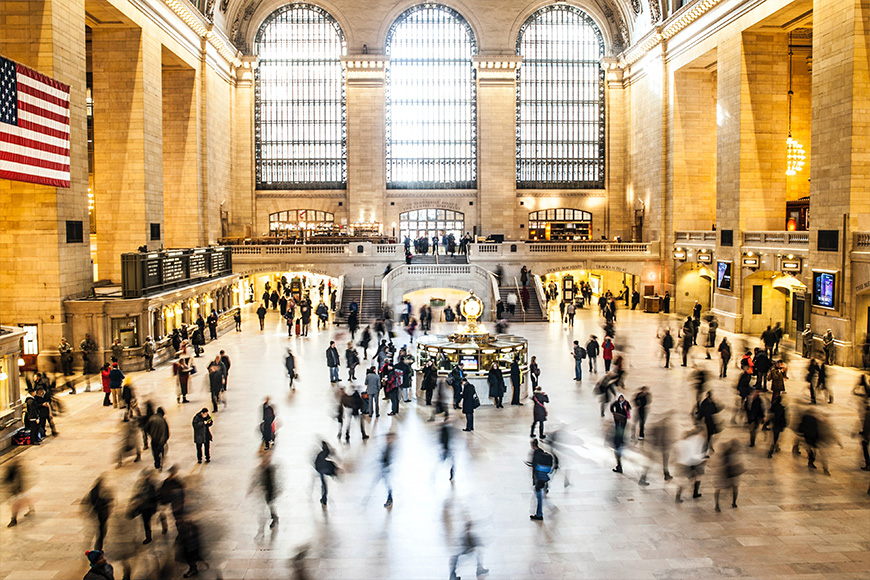
Hyperlapses are often used to create dynamic shot, showing a journey through a location or around a subject.
They’re popular in travel videos, commercials, and vlogs to showcase urban environments, landscapes, and events.
For example, a hyperlapse might show a sunrise over a city, where the camera not only captures the passing of time but also moves through the streets of the city, providing a dynamic perspective on the environment.
Overall, a hyperlapse works well when you want to show the passage of time with a bit of sauce and fun to keep the viewer captivated.
What’s the difference between timelapse and hyperlapse?

While both time lapse videos and hyper lapse videos portray the passage of time in an accelerated manner, time-lapse is a stationary capture of changing scenes, often shot with a steady camera on a tripod.
A hyperlapse is a bit more complicated because it introduces camera movement into the equation, creating the effect of the viewer being taken on a journey.
This movement can be linear, circular, or even complex routes through urban environments or natural landscapes.
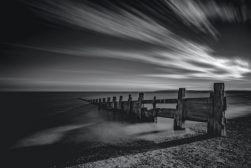
A timelapse video is primarily used to show a long event or process in a short amount of time. For example, showing a flower blooming, a sunset, or the movement of stars at night.
A hyperlapse on the other hand creates a dynamic, moving perspective through an environment, often used to show journeys or pathways through spaces.
For instance, a hyperlapse video might take you through a bustling city street or around a landmark.
Understanding Movements in Hyperlapse
Include brief examples or visuals to illustrate each movement type.
In hyperlapses, camera movements are executed in a step-by-step manner over distances and intervals, unlike traditional video where they’d be executed in real-time.
Here’s a breakdown of the different types of camera movements and how they can be applied in hyperlapse:
Panning
- What is: Panning involves moving the camera horizontally from a fixed position. It’s like turning your head left or right.
- Hyperlapse Application: Instead of a smooth turn, the camera is moved a set distance and direction (e.g., turning 5 degrees to the right) between each shot. Over the duration of the hyperlapse, this creates the effect of a panoramic sweep across a scene.
Tilting
- What is: Tilting is moving the camera vertically up or down from a fixed position as if nodding your head.
- Hyperlapse Application: Similar to panning, but the camera is tilted upward or downward by a consistent angle between shots. This can be used to gradually reveal tall structures or landscapes.
Zooming
- What is: Zooming changes the focal length to get closer to or farther away from the subject without physically moving the camera.
- Hyperlapse Application: Achieving a zoom effect in hyperlapse is tricky. It requires changing the lens focal length incrementally between shots while adjusting the camera’s position to maintain framing consistency. This creates a “dolly zoom” or “vertigo” effect, where the background appears to shift in relation to the foreground. I, personally, rather do this in post.
Dolly Shots
- What is: A dolly shot involves moving the entire camera forward or backward, typically on tracks, gimbal or a dolly.
- Hyperlapse Application: The camera is moved forward or backward by a consistent distance between each shot. The resulting hyperlapse creates a sensation of traveling through space, such as moving down a long corridor or approaching a building.
Handheld Techniques
- Traditional Meaning: The camera is held by the operator, without the aid of stabilizing equipment. This often results in a more “organic” or shaky feel.
- Hyperlapse Application: Instead of using a tripod, the photographer moves and aligns each shot by hand. This method can be more flexible and faster, but it often requires a lot of time in post-production stabilization if you mean for it to be smooth at the end. Some photographers use gridlines, screen overlays, or specific points in their frames to ensure consistent alignment.
What Gear Do You Need to Create Hyperlapse Videos?
Creating hyperlapse videos requires specific gear to ensure precision, stability, and quality.
Here’s a list of equipment you might need to make hyperlapse videos:
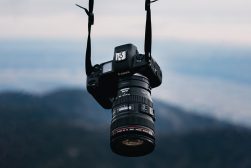
Camera
- A DSLR or mirrorless camera offers the best quality and control.
- Many modern smartphones have built-in time-lapse or hyperlapse modes which, while not as flexible as professional cameras, can still get you impressive results.
Lenses
- A wide-angle lens is often preferred for its broader field of view.
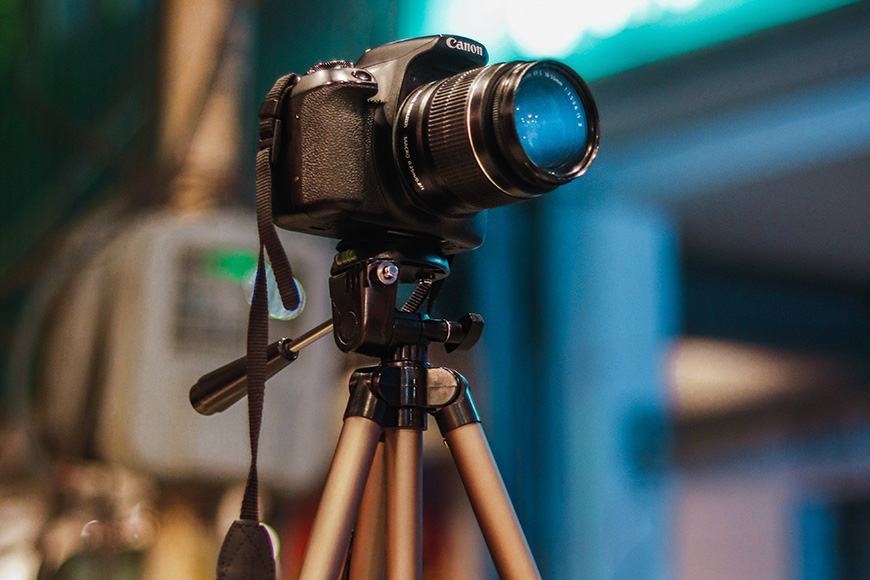
Tripod
- Essential for stabilizing shots and ensuring consistent camera height and orientation.
- Some hyperlapses can be done handheld, but stabilization in post-production will be necessary.
Intervalometer
- Some cameras have a built-in intervalometer which can automatically take photos at set intervals.
- If your camera doesn’t have one, you might need an external intervalometer, which triggers the camera to take photos at specific intervals. You don’t have to, but it helps for a smoother result.
Neutral Density (ND) Filters
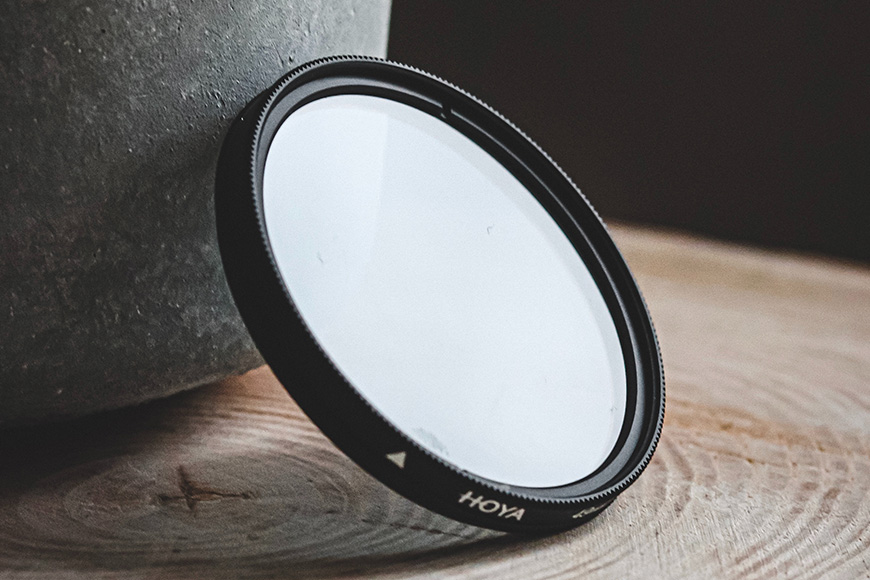
- These reduce the amount of light entering the lens, allowing for longer exposures in brighter conditions.
- They’re useful for capturing motion blur, especially in daytime hyperlapses.
Grid Overlays or Screen Markers
- Useful for maintaining consistent framing and alignment between shots, especially when done handheld.
Tape Measure or Rangefinder
- Helpful for ensuring consistent distances between each camera movement. You don’t have to, but it can be helpful if you want to be clinical about it.
Batteries and Storage
- Hyperlapse photography can quickly consume battery life and storage space, so bring extra batteries and memory cards.
Smartphone or Tablet Apps
- There are several apps available for planning hyperlapses, like sun trackers to plan lighting or augmented reality apps to visualize shots.Here are five free hyperlapse apps:
Hyperlapse from Instagram iOS
Microsoft Hyperlapse Mobile Android
Time Spirit – Time Lapse Camera Android
Framelapse – Time Lapse Camera Android
While this list might seem extensive, you don’t need every item for every hyperlapse.
Depending on the complexity of your shoot, the environment, and your desired result, you might opt for a more minimal setup or go all out with advanced gear.
There are cameras on the market that come with built-in hyperlapse/time-lapse features, making it easier for users to capture these dynamic sequences without extensive post-production.
Here are a few noteworthy ones:
Insta360 Cameras
- This is a 360-degree camera that allows users to capture everything around them.
- The built-in hyperlapse feature, often termed “timelapse video” or “timeshift”, lets you record a scene and then speed it up.
- The advantage of the Insta360 cameras is the “FlowState” stabilization, which results in incredibly smooth hyperlapses, even when the camera is moved by hand.
GoPro HERO series
- Starting from the HERO7, GoPro introduced the “TimeWarp” video feature, which is essentially a stabilized hyperlapse mode.
- The camera captures stabilized time-lapse videos while in motion. Users can speed up or slow down the footage directly within the camera.
DJI Osmo Action
- DJI’s answer to the GoPro series also has a built-in hyperlapse feature.
- Combined with its RockSteady stabilization, it produces smooth hyperlapse sequences.
DJI Mavic Drone series
- DJI’s drones, especially the Mavic series, have built-in hyperlapse modes that allow you to capture aerial hyperlapses with various trajectories.
- These drones automate the process, capturing consistent, stabilized footage as they move through the air.
- The quality and how smooth the hyperlapse is will depend on conditions such as wind and route of the drone.
Smartphones
- Many modern smartphones now include hyperlapse or time-lapse modes in their camera apps.
Planning Your Hyperlapse
Considering how much it takes to create a smooth hyperlapse, creating one requires a bit of planning, especially when selecting locations and visualizing how camera movements will impact the final shot.
Here’s how to plan a hyper lapse video:
Objective & Conceptualization
Start by asking yourself:
- What story do I want to tell?
- What emotion or theme am I aiming for? Understanding your objective will guide your scouting process and shot selection.
Scout for Dynamic Elements
Dynamic elements add life to your hyperlapse. While scouting a location, look for:
- Moving Clouds: These can add drama and indicate the passage of time.
- People or Vehicle Traffic: Movement of crowds or traffic creates a dynamic contrast against static buildings or landscapes.
- Lighting Changes: Sunrises, sunsets, or areas with shifting lights can enhance the time-passing effect.
Seek Visually Appealing Subjects

- Landmarks & Iconic Buildings: They’re recognizable and often provide a strong focal point.
- Natural Elements: Water bodies, trees, or mountains can offer contrasting textures and movements.
- Urban Landscapes: Skyscrapers, bridges, busy streets or intersections can provide depth and complexity.
Composition & Framing
- Rule of Thirds: Place key subjects or horizon lines along the thirds of your frame to create balance.
- Leading Lines: Roads, railways, bridges, or pathways can guide the viewer’s eye and enhance the sense of movement.
- Symmetry: Perfectly balanced compositions can be striking, especially with reflective surfaces like water or glass buildings.
- Foreground Interest: Adding elements in the foreground can create depth and a parallax effect during movement.
Visualize Camera Movement
- Path & Trajectory: Sketch out or mentally plan your camera’s path. Will it be a straight line, a curve, or perhaps a spiral around your subject?
- Effect on Final Shot: Visualize how your chosen movement will affect your composition over time. For instance, a dolly-in movement can make a subject more dominant in the frame, while a panning movement can reveal hidden elements in a scene.
Test Shots & Previews
Before committing, take a few test shots or short sequences to visualize the final result.
Making a video on your phone for the same trajectory of the hyperlapse will give you a rough idea of how it could feel.
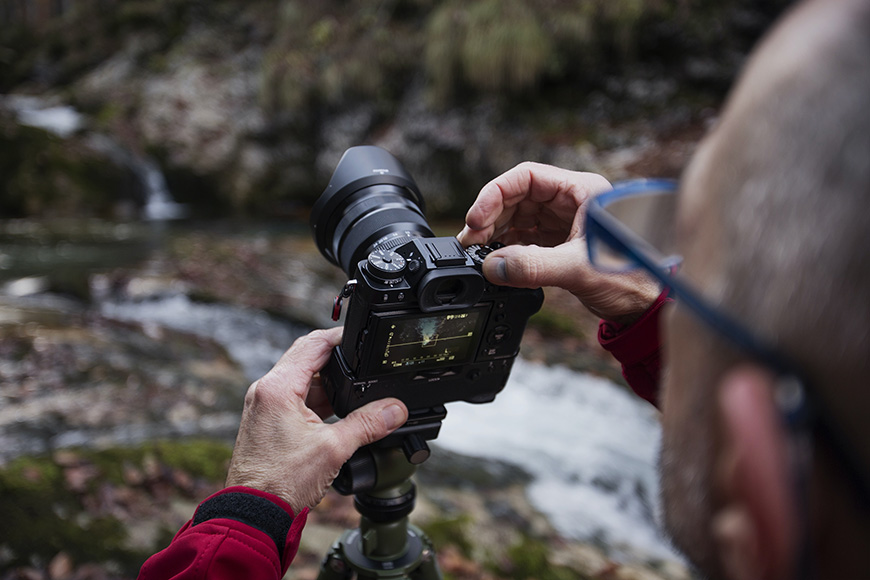
Shooting the Hyperlapse
Setting Up Your Equipment
Camera & Tripod Setup:
- Stability: Ensure your tripod is on even ground. Extend the legs and lock them securely. If it’s windy, weigh the tripod down with bags or weights.
- Camera Alignment: Attach your camera to the tripod head. Make sure it’s level, using either the camera’s built-in level or a bubble level on the tripod.
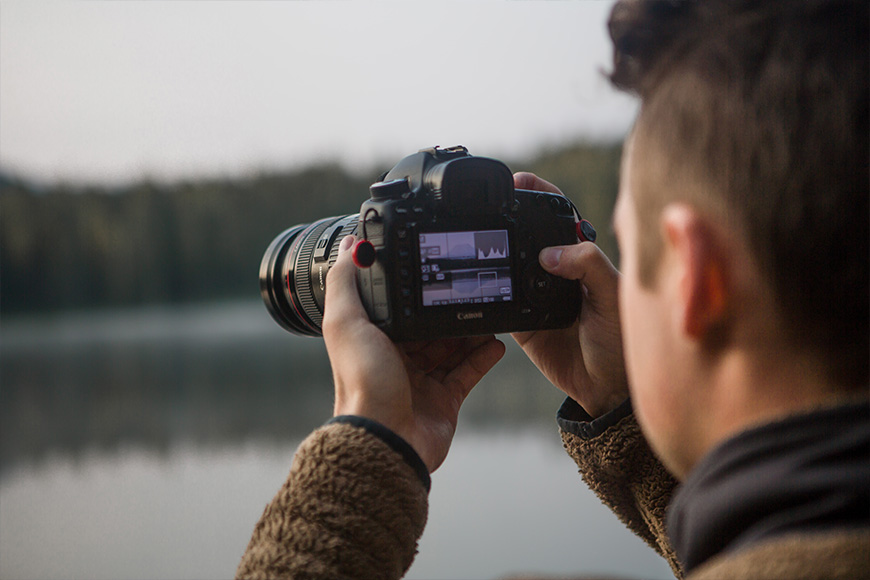
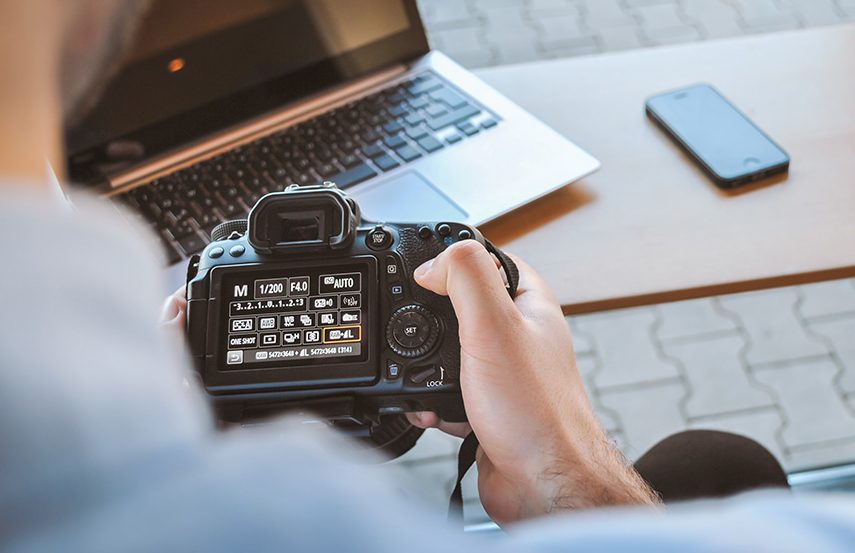
Exposure Settings:
- Manual Mode: Switch your camera to manual mode. This gives you control over all settings, ensuring consistency throughout the sequence.
- Shutter Speed: Aim for a slower shutter speed, like 1/50th of a second, to achieve a slight motion blur. This creates smoother transitions between frames. If it’s too bright, use an ND filter to cut down the light.
- Aperture: Set it according to your desired depth of field. A higher f-number (e.g., f/11 or f/16) will keep more of the scene in focus.
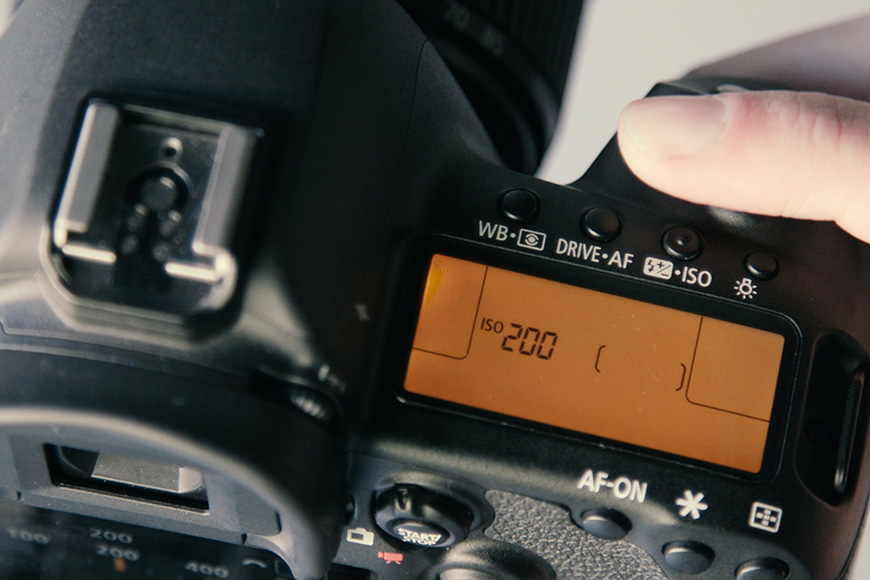
- ISO: Keep it as low as possible to reduce noise. Adjust only if lighting conditions require it.
Focus Settings:
- Switch to manual focus to prevent the camera from refocusing between shots.
- Frame your shot, focus on your subject, and then ensure the focus ring doesn’t move during the sequence.
Choosing Intervals and Frame Rates
Determine Your Subject:
- Fast-Moving Subjects (e.g., bustling people, busy traffic): Shorter intervals like 1-3 seconds work well.
- Slow-Moving Subjects (e.g., cloud movement, sunsets): Longer intervals, possibly 5-30 seconds, can be appropriate.
Frame Rate for Playback:
- Most videos play at 24 or 30 frames per second (fps). If you take a photo every 2 seconds and play it at 30 fps, 1 second of hyperlapse footage will represent 60 seconds of real-time movement.
Executing Camera Movements
Panning:
- Determine the start and end points of your pan.
- Between each shot, move the camera horizontally by a small, consistent angle.
- Use gridlines on your camera’s display or specific landmarks to ensure consistency.
Tilting:
- Decide on the vertical start and end points.
- After each shot, tilt the camera up or down by a consistent angle.
- A bubble level can help maintain a straight horizon.
Dolly Shots:
- Measure a set distance to move the tripod between each shot. This could be as small as a few inches.
- Use tape, chalk, or physical markers to ensure consistent spacing.
Handheld Techniques:
- While challenging, you can execute hyperlapses handheld.
- Use landmarks or gridlines on your camera’s display for consistent framing.
- Post-production stabilization will be necessary if aiming for a smooth result.
Ensuring Smooth and Visually Pleasing Hyperlapse Shots
Slow & Steady Movements:
- Consistency is key. Each camera move should be methodical and uniform.
- Avoid rushing. Take your time to measure or eyeball distances and angles accurately.
Review Periodically:
- Periodically check your shots to ensure consistency and to detect any potential issues early.
Stay Patient:
- Hyperlapse photography is time-consuming. Embrace the process and stay patient to ensure the best results.
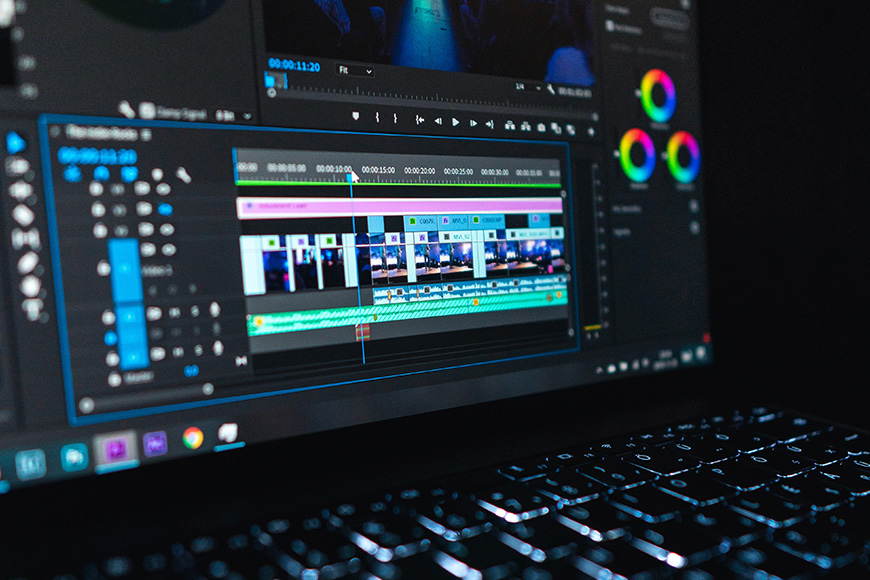
How to Edit Your Hyperlapse Video Sequence
Importing and Organizing Captured Frames
- Connect and Transfer: Transfer all the images or video frames to a dedicated folder in your computer.
- Chronological Order: When importing, ensure that the images are named sequentially (e.g., frame_1, frame_2, etc.) Most cameras do this automatically. Organizing them in chronological order will save you a lot of time in post.
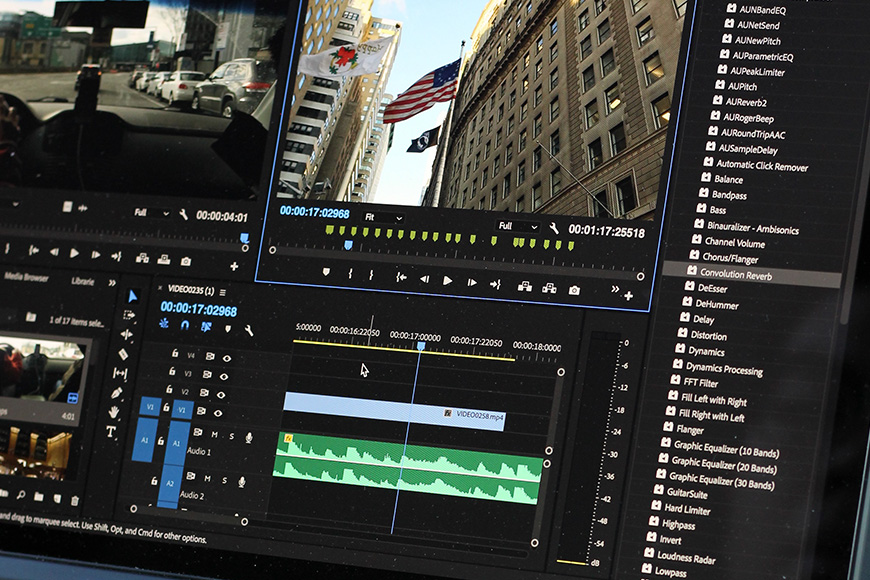
Choosing Video Editing Software
There are various video editing software options available:
- Adobe Premiere Pro.
- Adobe After Effects.
- Final Cut Pro.
- DaVinci Resolve.
They all work well, so choose which one you feel more comfortable with.
Stabilizing Handheld Footage
- Adobe Premiere Pro and After Effects: Use the Warp Stabilizer effect. Simply drag and drop it onto your sequence for automatic stabilization. You will have to adjust settings as necessary.
- Final Cut Pro: Use the Stabilization feature found in the video inspector panel.
- DaVinci Resolve: Navigate to the “Color” workspace, select the clip, and click on the “Stabilizer” tab.
Note: Over-reliance on software stabilization can lead to unwanted warps on your footage. It’s always better to capture as steady footage as possible in the first place.
Adjusting Speed and Timing
- Timeline Assembly: Import and place your images or video frames on the timeline in sequential order.
- Set Frame Duration: For images, you’ll need to set a consistent duration for each frame. Depending on your desired speed, each image might represent 1/24th or 1/30th of a second for 24fps or 30fps playback.
- Playback Speeds: Most software allows you to adjust the playback speed of your sequence. Experiment with different speeds to achieve the desired effect. Speeding up will make the hyperlapse feel more frenetic, while slowing down can give a more relaxed feel.
Exporting the Final Hyperlapse Video
- Choosing a Format: The best formats for preserving quality are .mp4 or .mov with H.264 codec. These are widely accepted and provide good compression.
- Resolution and Aspect Ratios: Choose the resolution based on the platform:
- YouTube or Vimeo: 4K (3840×2160) or 1080p (1920×1080)
- Instagram: 1080×1080 for square, 1080×1350 for portrait, or 1080×1920 for stories.
- Facebook: 1080p (1920×1080) for general videos.
- Frame Rate: Typically 24fps or 30fps.
3 Examples of Cool Hyperlapse Videos
Here are a few cool hyperlapses and tutorials to be inspired by:
Final Thoughts
Crafting a hyperlapse video involves a delicate fusion of meticulous planning, precise execution, and thoughtful post-processing.
From the initial stage of selecting a dynamic location to the final touches in video editing software, each step is a testament to the photographer’s dedication and vision.
The tools and techniques, from stabilization to speed adjustments, empower creators to transform raw captures into immersive visual stories.
As with any art form, mastering hyperlapse videos requires patience and practice, but the results—a seamless dance of time and motion—are undeniably worth the effort.


Hello, my name is Leo Cavazzana, I’m a professional photographer and film director. As a photographer, I’ve been photographing our natural world for the past 8 years and worked on assignments with NatGeo, BBC, and UN on all 5 continents. As a film director, I’ve been directing commercials and campaigns for brands for the past 4 years. I’m passionate about sharing about the world and photography with others.

WELCOME TO SHOTKIT
Enter your email to be sent
today's Welcome Gift:
19 Photography Tools
🔥 Popular NOW:


Shotkit may earn a commission on affiliate links. Learn more.