


How to Take Real Estate Photos With an iPhone
Make the most of your high quality smartphone camera with these tips for taking interior and exterior real estate photos with an iPhone, whatever the model.
iPhone Photography | Learn | By Jeff Collier
This guide for how to take real estate photos with an iPhone will help you make your property listing look amazing.
If you don’t have the budget to hire a professional real estate photographer, knowing how to capitalize on your iPhone camera’s capabilities is a must.
To take the best real estate photos with an iPhone, you need to use the correct settings.
Make sure that HDR is on and avoid using the camera’s zoom and flash features.
To further enhance iPhone real estate photos, ensure you have plenty of natural light, and remember to stage the house correctly.
Read on for detailed step-by-step instructions for making the most out of your iPhone’s camera and taking stunning photos of your home.
You should also read up on our guides to interior photography and real estate photography for more handy tips.
Table of Contents
Taking Amazing Real Estate Photos With Your iPhone: Step-By-Step Instructions
Who said you need a professional photographer to take photos of your home? Your iPhone is more than capable of taking stunning real estate photos if you know how to do it right.
Here are detailed step-by-step instructions for how to get the most out of your iPhone camera when snapping shots of your home:
1. Have the Right Gear
You can get pretty good photos of your property using your iPhone without extra accessories. However, if you want to take your photos’ quality to the next level, we recommend using a tripod.
iPhone tripods are compact and lightweight, so they aren’t cumbersome and won’t take up much space. Additionally, they make it easier for you to capture more stable and sharp images of your real estate.
Tripods made espeically for the iPhone also give you added flexibility in the potential angles of your photos. This is especially true for tripod models that allow you to adjust the legs’ orientation.
Another feature to look out for when buying a tripod is whether it comes with a wireless remote. If it does, you can control your iPhone camera shutter from afar and avoid interfering with the photo’s lighting and sharpness when tapping the button on your iPhone’s screen.
Some tripods also come with built-in leveling capabilities, which ensure that your iPhone is positioned correctly when taking photos.
If your tripod doesn’t have this feature, you may want to invest in a spirit or bubble level to make sure your photos don’t turn out lopsided. Uneven real estate photos can hurt your listing’s chances of attracting potential buyers or renters no matter how amazing your property is.
You should also consider investing in auxiliary lenses. iPhone cameras have taken leaps and bounds over the years, but still have constraints.
If you have an older iPhone model, we recommend getting an external wide-angle lens set. You don’t need this for newer iPhones because they have a wide-angle lens built in.
Wide-angle lenses for iPhone enhance your real estate photos because they allow you to include more space in the same photo. Note that external lens sets don’t come cheap though, so take your budget into consideration.
2. Stage Your Property
The next step is to make your property look as attractive as possible before you take shots of it – this is known as home staging.
This involves making the living space itself the center of attention without your personal belongings acting as a distraction. You can do so by:
- Clearing clutter from all surfaces
- Making the room look larger by removing some furniture and carpets
- Covering up any defects in the walls or floor
- Opening curtains and blinds to let in more natural light
Note that you’re not trying to make the room look like no one has lived there before. The objective here is to give the person looking at your home’s photos the ability to imagine themselves living there.
Staging your home also includes giving it a thorough cleaning. You want your property to look as inviting as possible to potential buyers or renters.
Additionally, you’ll be getting two birds with one stone since you’ll need to clean the house before prospective buyers visit anyway.
3. Optimize the Lighting
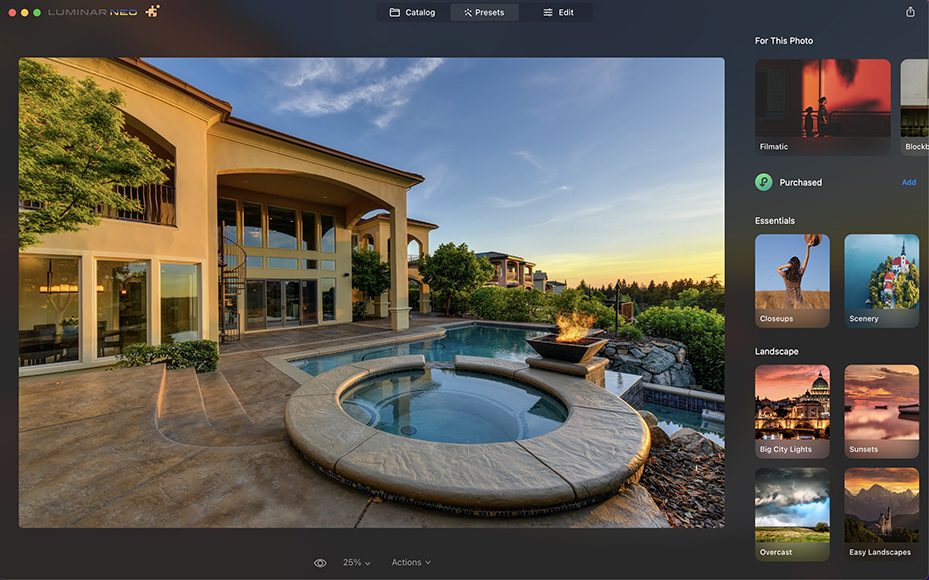
Bring your iPhone real estate pictures into Luminar Neo to realistically relight your interior and exterior property scenes.
Lighting is probably the most important factor that determines how good your real estate photos turn out.
When taking photos with your iPhone, you should try to have as much natural light as possible. This is because natural light goes a long way in producing clear shots with vibrant colors and great depth.
Choosing the right spot to place your iPhone and the right time of day to take your photos is essential.
In these cases, windows are your best friends. They let in plenty of warm, natural light, especially right before sunset.
The result is glorious shots that make your home look like paradise.
If natural light is hard to come by where you live, the alternatives are fluorescent lights and your iPhone’s flash. Both these options aren’t ideal because they require plenty of adjustments on your part.
Additionally, they don’t have the same aesthetic appeal that natural light gives your photos.
You can also go for an external light source, such as an LED light system. This is a better option than regular flash because it allows you to adjust the lights’ power output to best suit your needs.
Then there are AI-powered photo editing software tools like Luminar Neo (see image above) with tools that can relight entire scenes in one click.
4. Optimize the Composition
Composition is another factor to consider when snapping pictures of your real estate with an iPhone. This refers to the arrangement of different objects in your photo to make your home look its best.
The most important element of photo composition is the foreground object. Try to place an appealing piece of furniture near your iPhone.
This could be a posh table, an inviting couch, or an antique rocking chair.
You may wonder why this is important.
The foreground object’s role is to catch the viewer’s eye. Once they’re focused on the picture, their eyes will roam around the frame and ultimately reach the background.
Additionally, the foreground element provides contrast and depth to your photos. It makes the space you’re photographing look bigger and gives the viewer a better sense of what it would be like to live there.
You should also apply the rule of thirds when setting up your photo composition.
The rule of thirds corresponds to placing most of the photo’s elements in either the right or left third of the frame. This leaves the other two-thirds more open and leads to more professional shots.
Applying the rule of thirds is easier said than done. However, iPhone camera software has a nifty feature to help.
You can enable the grid view from your iPhone’s camera settings. This feature splits the screen into nine equal sections and makes it easier for you to locate each third.
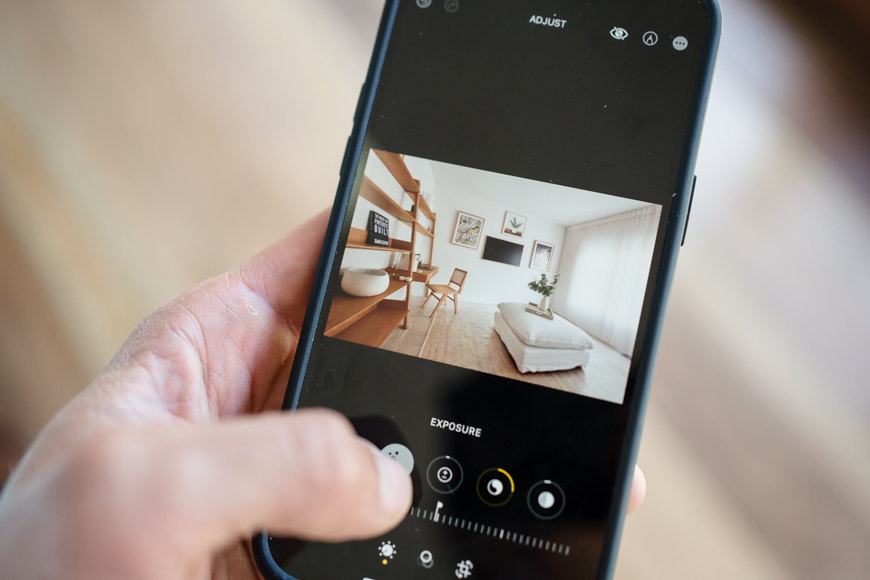
5. Optimize Your iPhone’s Camera Settings for Real Estate Photos
When taking real estate photos, the biggest challenge is navigating the color contrasts and shadows to produce the perfect picture.
It takes a lot of skill and top-of-the-line cameras to do so, so you can imagine how challenging it is when using an iPhone.
This is where the iPhone High Dynamic Range (HDR) features come in. Apple includes this technology in its phones to enable the camera to capture several shots in quick succession at varying brightness levels.
The goal is to capture the brightest portions of the room at low brightness and the darkest portions at high brightness to enhance detail.
The camera then merges all the shots to produce photos with superior detail and color quality.
To enable HDR on your iPhone, open the settings menu, go into the iPhone camera settings, and make sure the HDR toggle is turned on.
On another note, avoid using your iPhone camera’s zoom feature. We say this because zooming in will likely make the resulting shots pixelated and grainy.
Instead, you should bring your iPhone closer to the area being photographed so you can get a sharper image.
Another thing to avoid is your iPhone’s flash. It’s better to rely on natural light when taking your photos. Only use the flash if you have no other lighting option.
If you decide not to use HDR mode for whatever reason, I strongly recommend turning on burst mode on your iPhone. This will help to ensure you get at least one photo from a series that you want to use.
One final pro tip to remember is to set the timer on your iPhone camera when you have it set up on a tripod or placed somewhere sturdy. This will ensure the sharpest possible shot.
6. Use Third-Party Apps to Edit the Photos
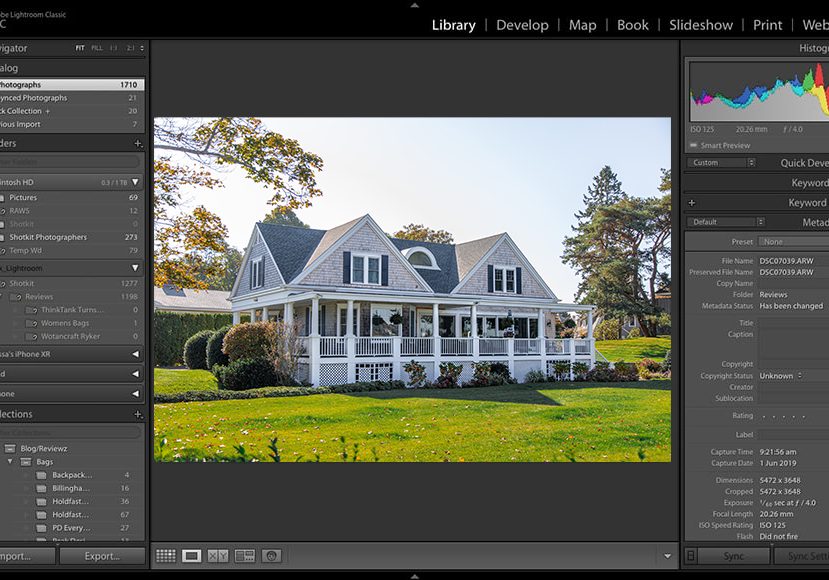
Be sure to edit your real estate photos, whether using a desktop or smartphone.
If you think you’ll get the perfect picture of your home every time you use your iPhone camera, think again.
Sure, HDR technology helps, but oftentimes, the contrast between the brightly-lit exterior and your property’s interior is too extreme, and you end up with a photo that’s too dark.
As a result, both amateur and professional photographers rely on software to enhance their shots.
Adobe Lightroom, Photomatrix, and Exposio are excellent photo editing software for real estate photography to consider.
Regardless of which app you go for, here are some of the main iPhone photo editing aspects to consider:
First, there’s your photo’s horizon. Optimizing this helps keep your shot from being lopsided.
Through cropping and leveling, you can use editing apps designed for your iPhone to achieve the perfect balance for your photos.
You can also adjust the photos’ brightness. By doing so, you can rectify any excess or insufficient light exposure in your shots.
However, take care not to overdo this because you may end up compromising your photos’ level of detail.
Another editing option is to play around with the colors. For example, accentuating the whites in your shots can give your home a brighter and more appealing aesthetic.
Why You Need High-Quality Photos For Real Estate
You may wonder what all the fuss is about in the first place. Why can’t you just take average photos of your property?
The answer lies in the purpose you’re taking the photos for.
If you’re going to list your property for rent on Airbnb, you’ll be competing with thousands of other listings. As a result, yours needs to stand out in every way.
Unsurprisingly, the photos you post of the listed property are the first thing that catches potential renters’ eyes.
Having stunning photos that highlight your property’s beauty and ambiance will draw more people to your listing and make your property more likely to be fully booked for months to come.
The same applies if you’re listing your home for sale.
Sure, the “for sale” sign in front of your house will lead to some walk-ins. However, it doesn’t have nearly as wide a reach as listing your home on an online platform.
Taking professional-looking photos of your home and including them in the listing will widen your pool of prospective buyers.
Ideally, you should hire a professional real estate photographer for this job. However, using your iPhone to take high-quality shots is a great option if your budget doesn’t allow this.
Frequently Asked Questions
Here are some common questions that people typically have about taking real estate photos with an iPhone:
What is the best way to take interior photos with your iPhone?
To ensure getting the best shot of your real estate’s interior, you shouldn’t take photos from your natural vantage point.
More often than not, this point of view is too high. As a result, the photo turns out as if you’re looking down on the furniture, and objects in the frame look distorted.
Instead, you should crouch down and take the photo from a low position. Alternatively, you can use a tripod to set your iPhone up in the optimum position.
Which external lens set is best for taking real estate photos with an iPhone?
There are many great external lens sets available for iPhones, but we recommend the Moment Wide Mobile Lens. This wide-angle lens is ideal for real estate photography because it lets in lots of light.
This is useful when you’re taking shots in low natural light.
Additionally, the lens’ width means you can include more space in the frame.
Which iPhones have a wide-angle lens?
Apple included the Ultra-Wide lens for the first time in the iPhone 11. This feature has continued in all following iPhone models.
Therefore, you don’t need to buy an external wide-angle lens set if you have any of these models.
 Guide to Real Estate Photography in 2023 (18 PRO Tips!)
 Best Camera for Real Estate Photography
 Best Drone for Real Estate Photography in 2023
 Best Wide Angle Lenses in 2023 for Nikon, Canon & More

Jeff Collier is an experienced film photographer who enjoys experimenting with modern digital photography equipment, software and apps. He’s also an ex-world champion triathlete and avid cyclist, clocking hundreds of km each week in the beautiful Tweed Valley of northern NSW, Australia.

WELCOME TO SHOTKIT
Enter your email to be sent
today's Welcome Gift:
19 Photography Tools
🔥 Popular NOW:


Shotkit may earn a commission on affiliate links. Learn more.