


How to Create Light Leaks
Want to learn how to create light leaks in Photoshop or Lightroom? Easily add dreamy vintage effects with this step-by-step guide!
Learn | Photography Guides | By Teryani Riggs
Analog film effects have long been popular among retro enthusiasts, and light leaks are no exception.
Light leaks look great with some images and can give your photo a dreamy effect. They can soften or add texture to an image.
Whether you’re old enough to be nostalgic for film photography or have come to love the look and feel of old photos, light leaks can add a creative element that’s at once both retro and contemporary.
In this post, we’ll take a look at how to create light leaks in your own digital photos.
Table of Contents
What are Light Leaks?
In the days when film cameras were all that we had, light leaks happened when light hit the camera sensor, or more frequently, the film. Also known as film burns, they were the bane of any film photographer’s existence, and the images usually would have to be thrown out.
These days, however, the effect has become popular, both in still photography and in video editing.
In the video world, light leaks are often used to let the audience known that the scene taking place is something less than “real.” For example, it could be a memory or hallucination.
Other times you’ll see them being used much as any still photographer would use them, to create a vintage or wistful vibe, or simply to add a softer feeling to an image.
Now that most of us are using digital cameras, in-camera light leaks are rare, as there’s no film to inadvertently expose.
Your camera body would have to become damaged and/or there’d need to be a gap between the lens and camera body.
That means that if you’re wanting to intentionally add a light leak, you’ll need to to do it either in post-processing or by removing the lens.
Unsurprisingly, post-processing tends to be the most popular option – who wants to risk getting their camera sensor dirty?
Light leaks happen to be popular enough that you can download them as presets and overlays, either for free or commercially.
They also happen to be super easy to make in both Photoshop and Lightroom. In this guide, I’ve included a few different ways to do it.
Let’s start off with by far the easiest/fastest option…
Light Leak Effects Presets (aka Overlays)
Light Fantastic are a set of great Light Leak effect presets.
The fastest way to create Light Leaks is by using a Lightroom preset.
All you need is a copy of Lightroom for desktop or mobile – even if you don’t subscribe to the Adobe Creative Cloud, you can still download the free version of Lightroom for your mobile phone and tablet, and use presets in the same way.
‘Light Fantastic‘ are a set of 20 presets produced by Shotkit which you can apply with one click on any of your images, to give them a unique and alluring light leak effect.


The beauty of these presets is that you can ‘stack’ them on top (or beneath) your other edits, or even other presets.
This allows you to apply them to images you’ve already edited, or ones you intend to edit further, without affecting the appearance of the original preset.
Light Fantastic are currently on sale, so click the button below if you’d like to grab them.
CLICK HERE TO SAVE 40% ON LIGHT FANTASTIC PRESETS
How to Create Light Leaks in Photoshop

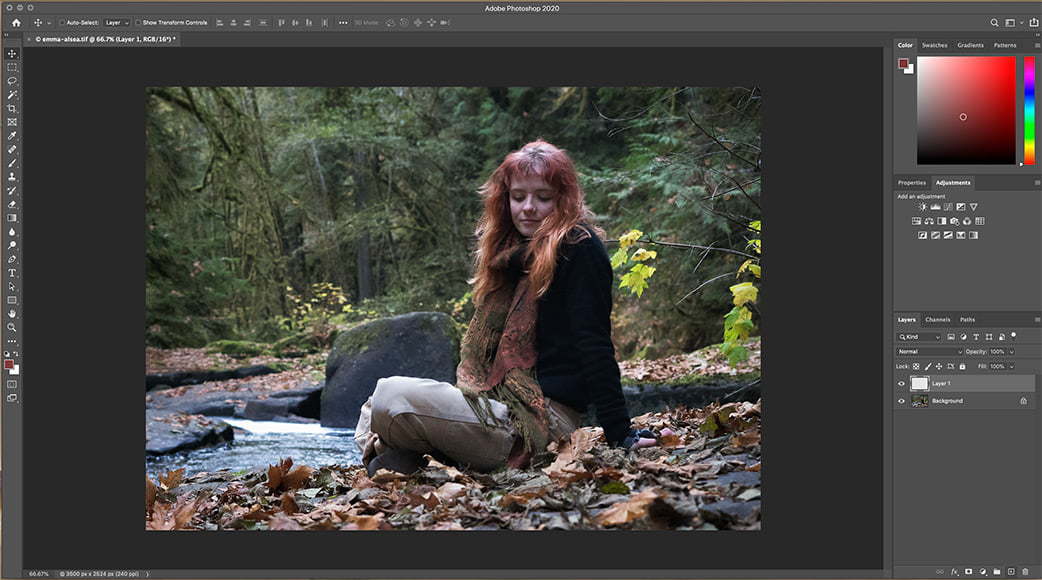
First, choose an image.
Creating light leaks is super easy in Photoshop. You get complete creative control and can do just about anything when it comes to creating the effects you’re looking for.
• First, choose an image that you want to work with and open it in Photoshop.
• Next, create a new layer. You can do this either by clicking on the square icon next to the trash can, holding down command-shift-N, or by going up to the Layer pull-down menu and selecting New -> Layer.
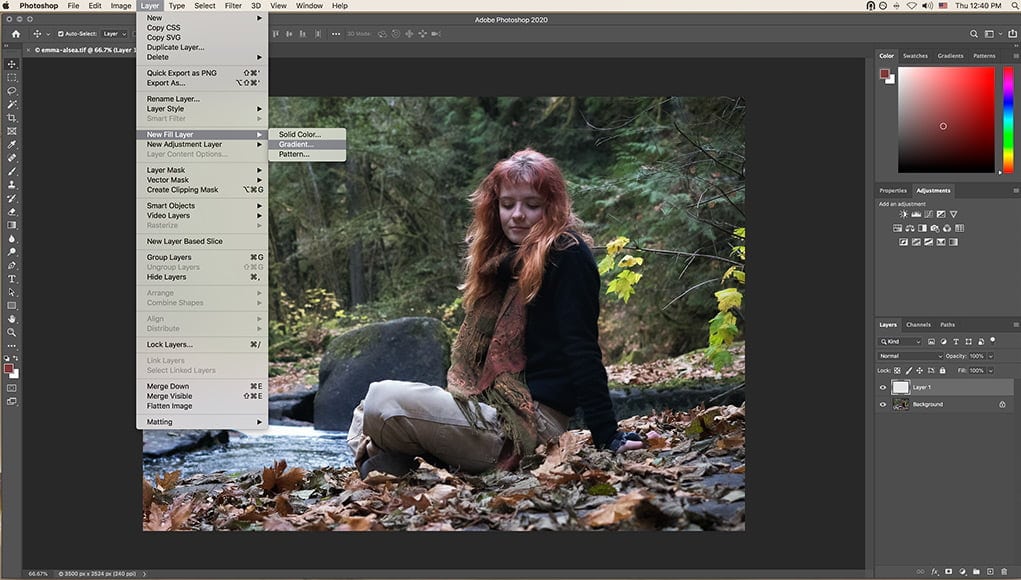
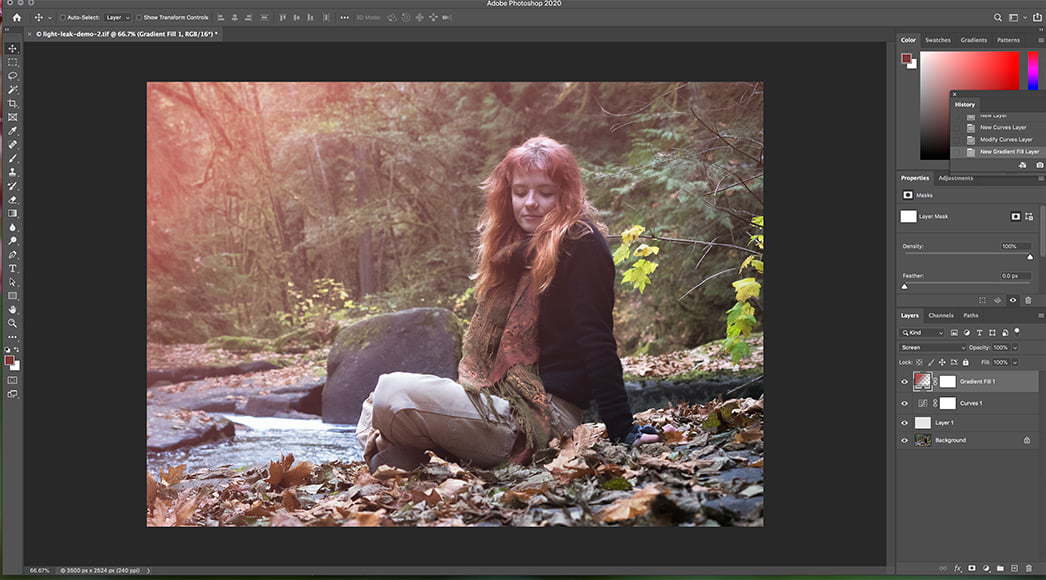
• Now that you have your new layer, create a new gradient fill layer on top of it. To do this, go to the Layer pull-down menu, select New fill layer -> Gradient.
Make sure you choose a gradient that fades from a foreground to a transparent background. (You can tell it’s a transparent background when it’s checkered – see how to create a transparent gradient in Photoshop to learn more.)
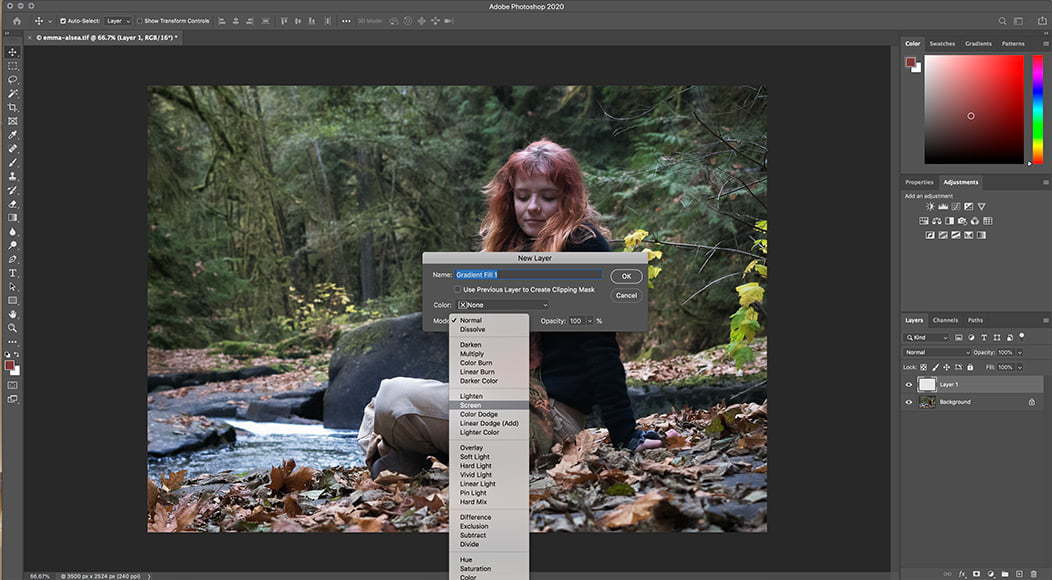
• When the New Layer dialogue box opens, change the blending mode to Screen.
Adjustments
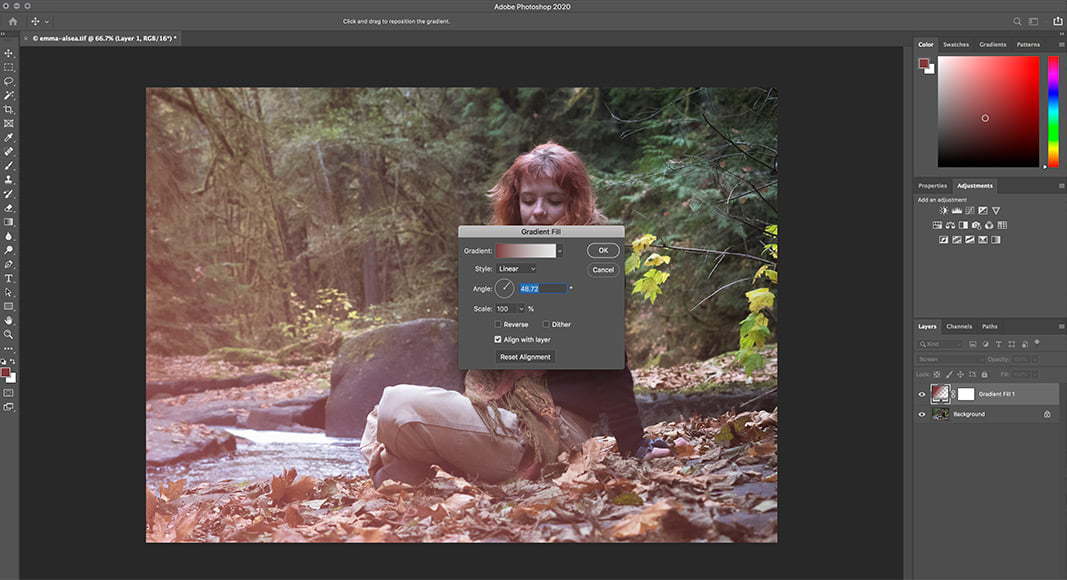
Now that you’ve got the basic gradient in place, it’s time to fine-tune it. Using the Gradient Fill dialog box, you can change the angle, color, and style of the light leak.
Changing the Angle
You can change the angle by clicking in the circle. Light leaks are most realistic when you place them on the edge of the image where the light is already coming from. That being said, it’s not always the best effect. Play around until you have something that looks good to you.
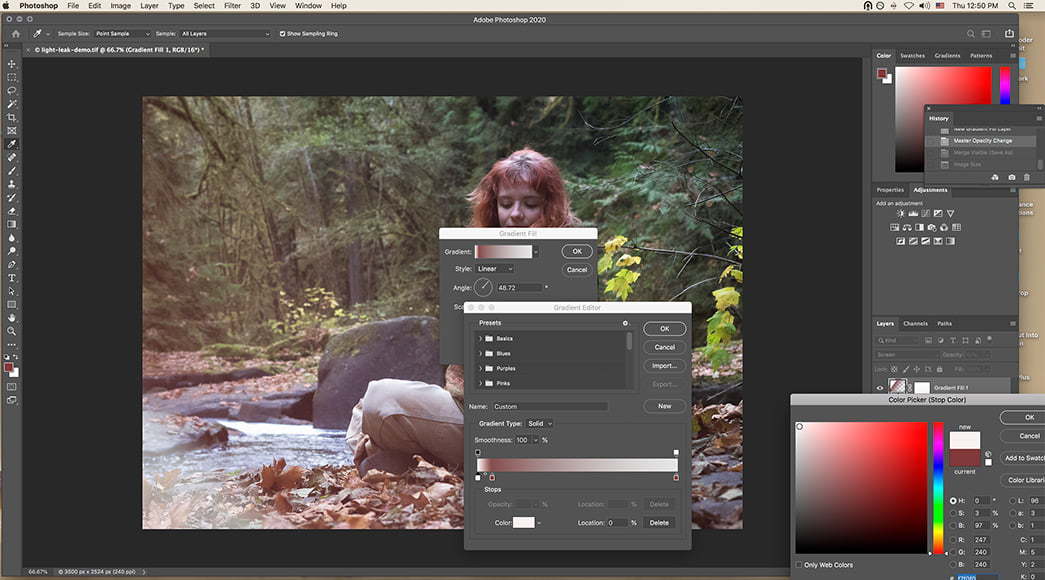
Adding Colors
If you click on the gradient strip you’ll get to the gradient editor. That’s where you can change the color, adjust its fade, and add new colors.
Light leaks usually range in the red-yellow-orange color range, but obviously you can use whatever color suits your image the best.
To change the color, click in the little box that’s all the way to the left of the fade strip. A color picker window will open up.

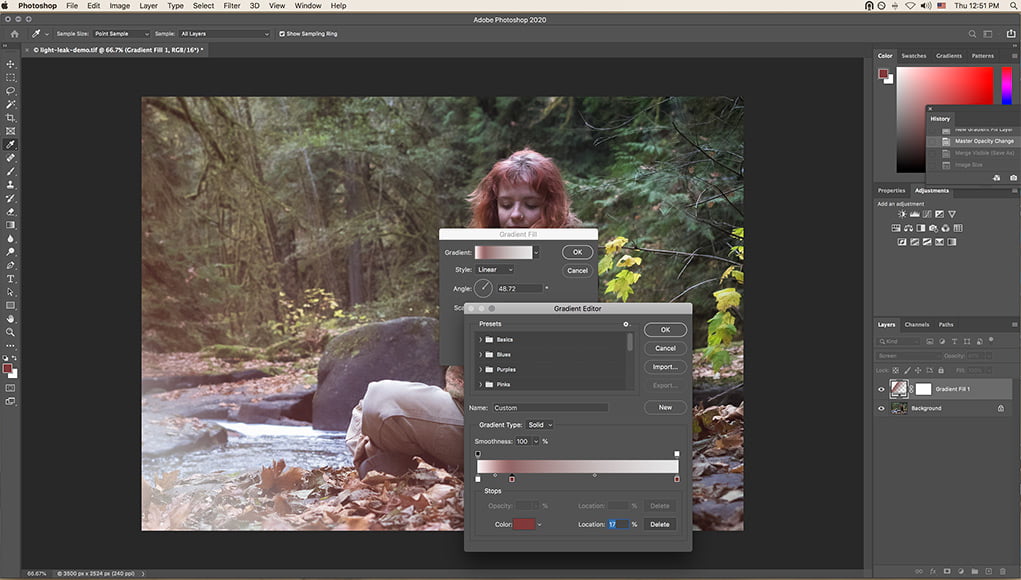
If you want the leak to look a bit more realistic, add a bit of white to it by moving the original box to the right and then clicking at the far left of the fade strip. Click in the new box and select white as the color.
By changing the distance between the two color boxes, you’ll affect how they fade and blend together, to further enhance the effect of texture in the photo:
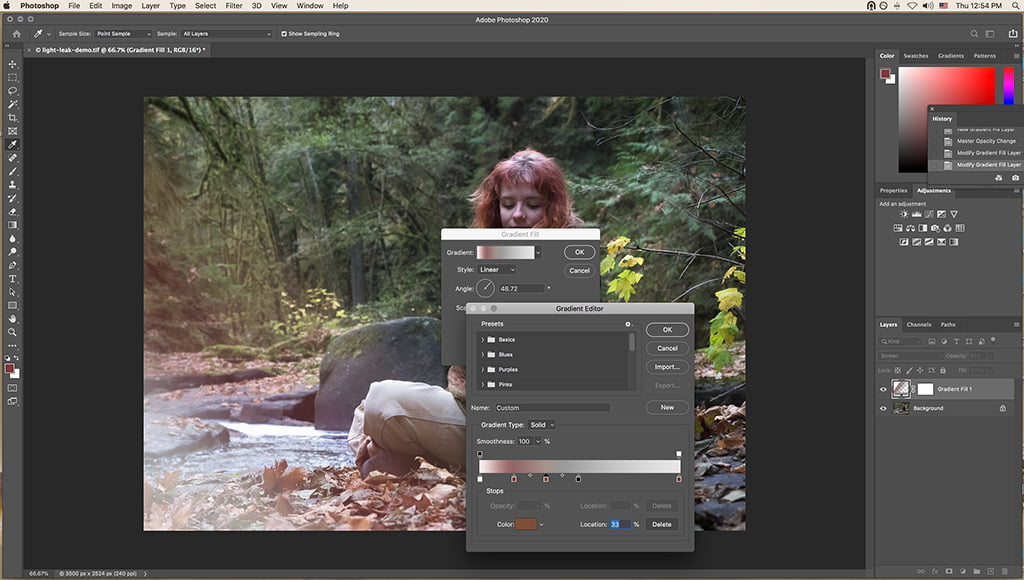
 If you’d like a more complex effect, add another color.
In the example below, I added a lighter color towards the middle of the photo. Realistically, it would be between the white and the deeper color, but I sort of liked it this way.

To add a third color, simply click on the fade strip where you want the color to show up. Then move the color square to the left or the right to get the right fade/blend effect.
Adding black as your final color towards the center of the image helps to create a sort of fall off effect.
Increasing the Highlights
Depending on the image, you might want to think of increasing the highlights before adding in the light leak/gradient layer.
If you want to play around with this, add in a curves adjustment layer to the image and pull the curve upwards 2 or so points.
In the end, I chose a subtler effect: no added highlights and only a 2-color blend.
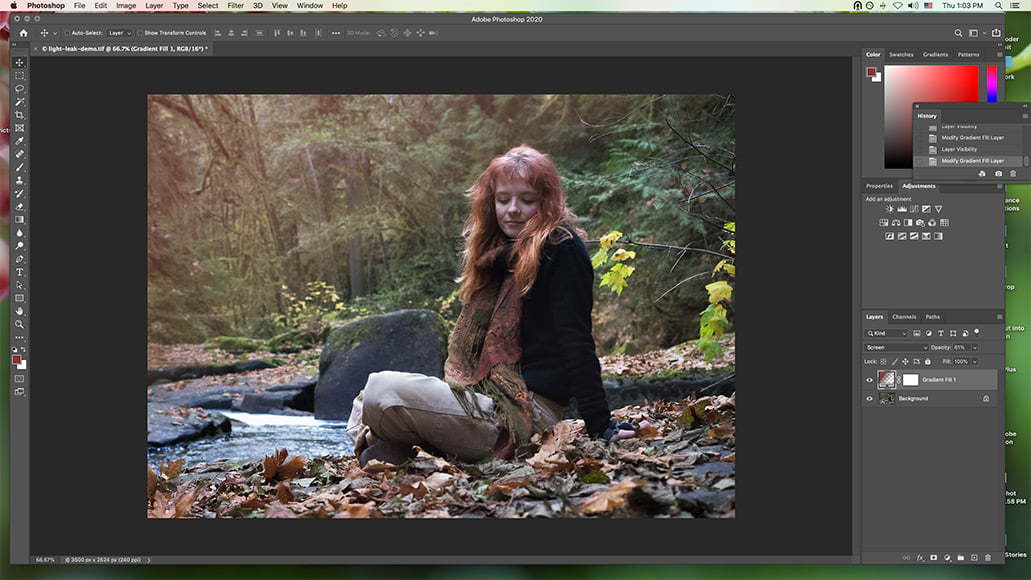
The final image. I like my effects on the subtler side. You can, of course, make it far more intense.
Light Leak Photoshop Overlays
If you’re not into creating light leak overlays yourself, you can find plenty available for download. The downside is that while some are free, most come with a price tag.
With some searching, though, you should be able to find some free light leaks out there, both for still photography and for video editing.
If you do come across a pack of light leak effects that you like, they’re simple to use in Photoshop or any other editing program that has layer functionality.
Simply open the desired light leak file and place it in a layer over the image you plan to apply it to. (Make sure it’s scaled to fit.)
From there, set the blending mode to Screen and then adjust the layer opacity to the amount of the effect you’re looking for.
Voila!
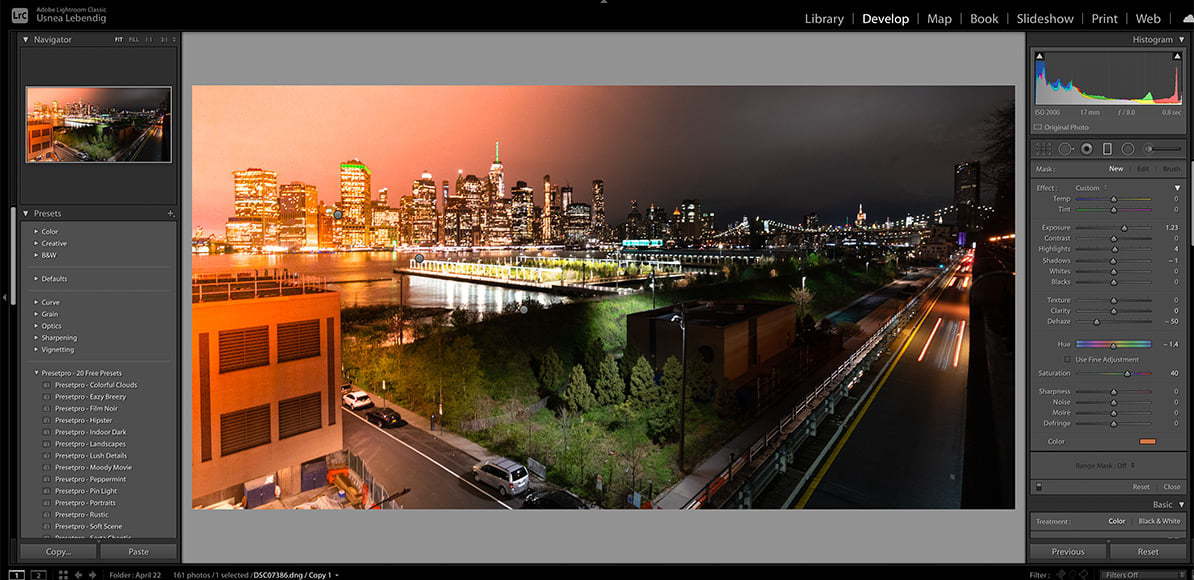
How to Create Light Leaks in Lightroom
If you don’t have Adobe’s Photography Plan (which includes Photoshop) or you want to all your image editing in just one program, you can get a similar light-leak effect using Lightroom.
You won’t have as much control over it as with Photoshop, but you can still create some interesting effects.
Before beginning, I’d recommend making a Virtual Copy. This will allow you to make multiple edits to the same image without affecting the original at all. You can do this by going to Photo -> Create Virtual Copy.
Now you’re ready to start with the light leak.
• Start by selecting a Graduated Filter. Reset all the settings by double-clicking on Effect.
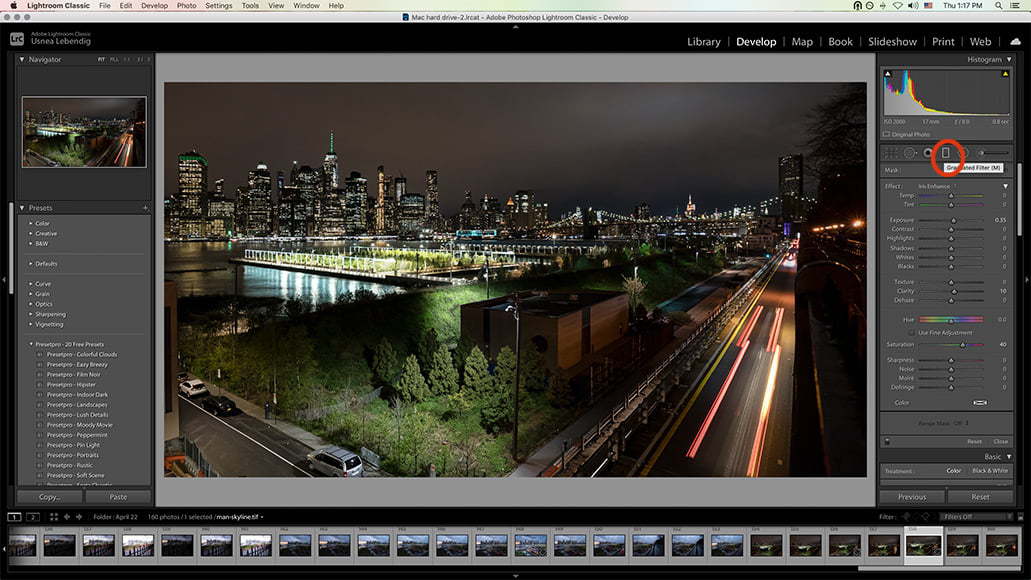
• Once that’s done, decide on the direction you want your light leak to be coming from. (Again, it’s more realistic if it’s coming from the same direction as your main light source.)
Click on that edge and then drag the cursor as far into your photo as you like. You don’t have to get it perfect – it can always be adjusted later.
Adjustments
Now you can make any adjustments you like.
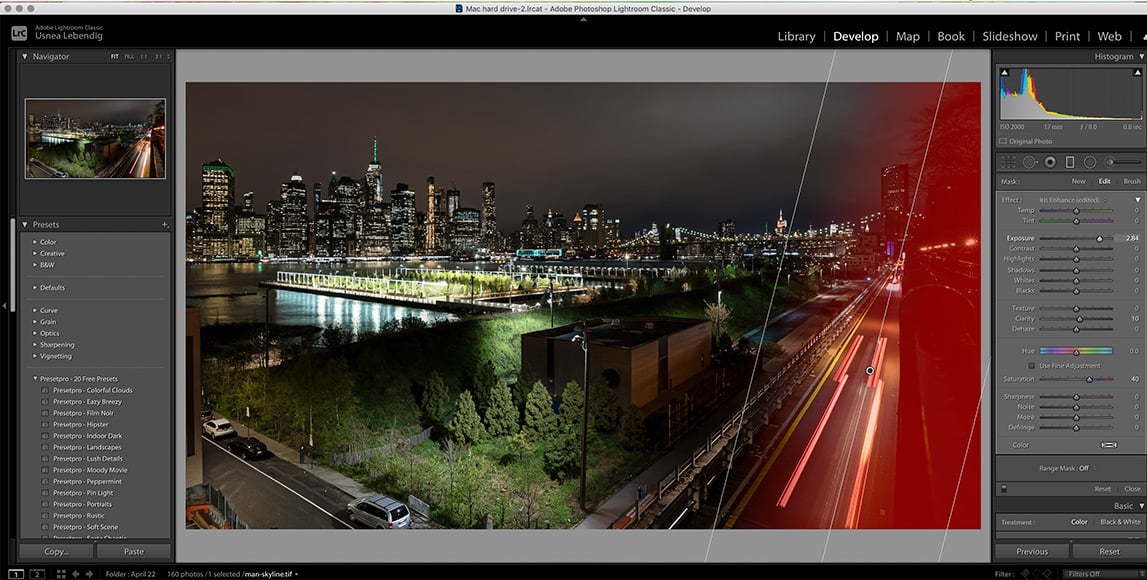
Increasing the Exposure a little and dragging the Dehaze slider to the left often makes a significant difference to the overall effect. Reducing the shadows can also heighten the effect.
Adding In Color
To add color to your graduated filter click on the Color box at the bottom of the filter adjustment box. Use the eyedropper to select your color.
If you’re having a hard time seeing the color, reduce the Saturation a bit. You can also right-click on the pin and hit Duplicate to double the effect.
In the end, you won’t have the ability to make nuanced adjustments that Photoshop gives you – especially regarding color and fading – but you can still make it work.
Light Leaks FAQs
What causes film light leaks?
Light leaks happen when a film roll is accidentally (or deliberately) exposed to light, either because the camera was prematurely opened or because some faulty seals inside the camera let in light.
How do I add light leaks in Lightroom?
One very effective method is to add a graduated filter. You can then adjust the exposure and add colour to the filter to mimic the effect of a light leak. See above for detailed instructions.
How do you make a light leak overlay?
You can create your own overlay in Photoshop or Lightroom following the instructions above. Alternatively, you can download presets (like these) that allow you to easily overlay a light leak effect onto your image.
Final Words
Whether you’re a still photographer or into video, light leaks can add some great effects to your work.
As it turns out, making your own in Photoshop isn’t really that much more work than searching around through the internet to find free light leaks to download. Really, the sky’s the limit!
(You should also check out this guide on how to develop film at home, if you want to experience light leaks the analog way!)
What about you? What do you think of light leaks and how to make them? Would you use them on your own photos?


Teryani Riggs (they/them) is an adventure, who loves all things wild and free. Teryani can often be found in the midst of a social/eco-justice campaign, hiking through wild backcountry, or hitchhiking around the world listening to other people’s stories. While their focus has historically centered on landscape, travel, and wilderness photography, they’ve also been hired to shoot genres as varied as historical fiction reenactments in the studio to product and food photography.

WELCOME TO SHOTKIT
Enter your email to be sent
today's Welcome Gift:
19 Photography Tools
🔥 Popular NOW:


Shotkit may earn a commission on affiliate links. Learn more.